Integrate Airborne in React Native
This guide takes a bare React Native app from zero to a live over-the-air release. You'll install the SDK, do the native wiring on Android and iOS, set up your project with the CLI, and cut your first release in the dashboard. Using Expo? Follow Integrate Airborne in Expo instead — the release steps are identical.
A React Native app that boots from an Airborne-managed bundle, plus a release you can ramp and roll back from the dashboard — no app-store round-trip for JS and asset updates.
Prerequisites
- A React Native app (this guide assumes the bare workflow, not Expo).
- Node.js and npm, plus the usual Android (JDK + Android SDK) and iOS (Xcode + CocoaPods) toolchains.
- An Airborne account. Create an organisation and application in the dashboard, and generate an access token (client ID + secret) for the CLI.
Step 1 — Install the SDK
Add the package to your app:
npm install airborne-react-native@^0.37.0
cd ios && pod install && cd ..
Add the Airborne Maven repository to your Android Gradle config (android/build.gradle or android/settings.gradle):
maven { url "https://maven.juspay.in/jp-build-packages/hyper-sdk/" }
Full details: Install the SDK.
Step 2 — Wire up the native side
Airborne boots before React Native so it can hand React the right bundle path. That wiring lives in your native modules.
- Android — swap in
AirborneReactActivityDelegate,AirborneReactNativeHost, and aninitializeAirborne()call inMainApplication. Walkthrough: Android setup. - iOS — add a bridging header, initialize Airborne in
AppDelegate, and implement theAirborneDelegateextension. Walkthrough: iOS setup.
When you create the Airborne instance you point it at your release config URL and provide a namespace and dimensions:
airborneInstance = Airborne(
    this.applicationContext,
    "https://airborne.juspay.in/release/<organisation-name>/<application-name>",
    object : AirborneInterface() {
        override fun getNamespace(): String = "<application-name>"
        override fun getDimensions(): HashMap<String, String> = HashMap()
        // onEvent(...) and startApp(indexPath) — see the Android setup page
    }
)
The getNamespace() value must match the namespace segment of your release URL. A mismatch is the most common reason a bundle fails to load — see Verify the integration.
Step 3 — Set up your project with the CLI
The React Native CLI (airborne-devkit) scaffolds local config, bundles your app, uploads files, and cuts packages.
Authenticate with the client ID and secret from your access token:
npx airborne-devkit login --client_id <client-id> --client_secret <client-secret>
Create the local Airborne config (interactive — it asks for your organisation, namespace, entry files, and whether you use Expo):
npx airborne-devkit create-local-airborne-config
Then create the release config and bundle for a platform, register the files, and cut a package:
# Create a platform release config (boot/release timeouts)
npx airborne-devkit create-local-release-config -p android

# Bundle your JS (your normal RN bundle step), then register + upload the files
npx airborne-devkit create-remote-files -p android --upload -t "v1.0.0"

# Assemble a deployable package from the local release config
npx airborne-devkit create-remote-package -p android -t "v1.0.0"
See Local configuration and Remote files & packages for every flag.
Step 4 — Create a release in the dashboard
With files and a package on the server, open the dashboard and create a release. (You can also do this entirely from the CLI with CreateRelease — the dashboard is the visual path.)
If this is a brand-new account, you'll first create an organisation:
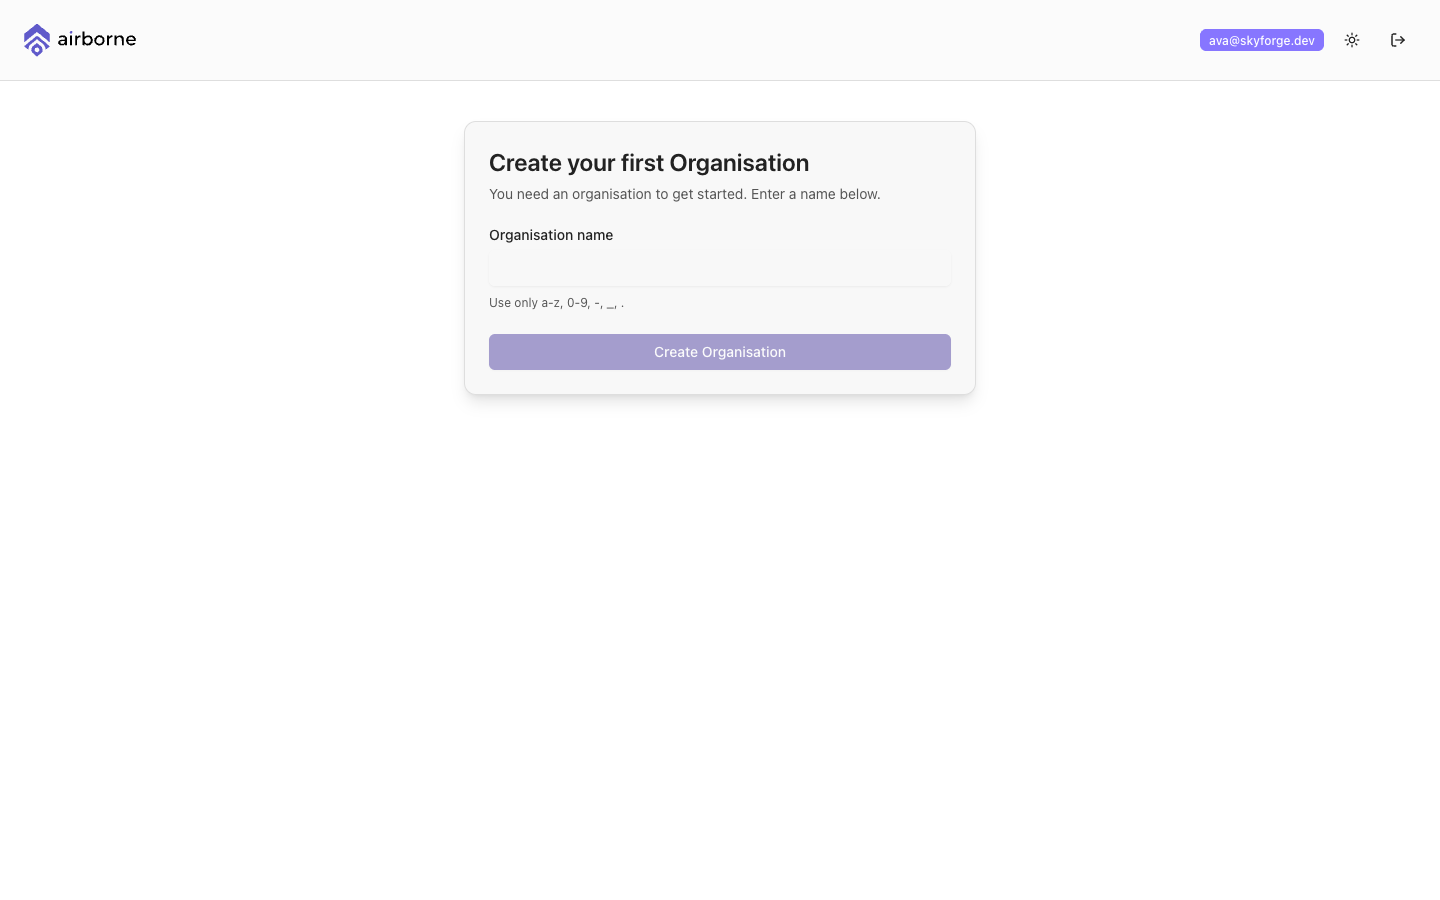
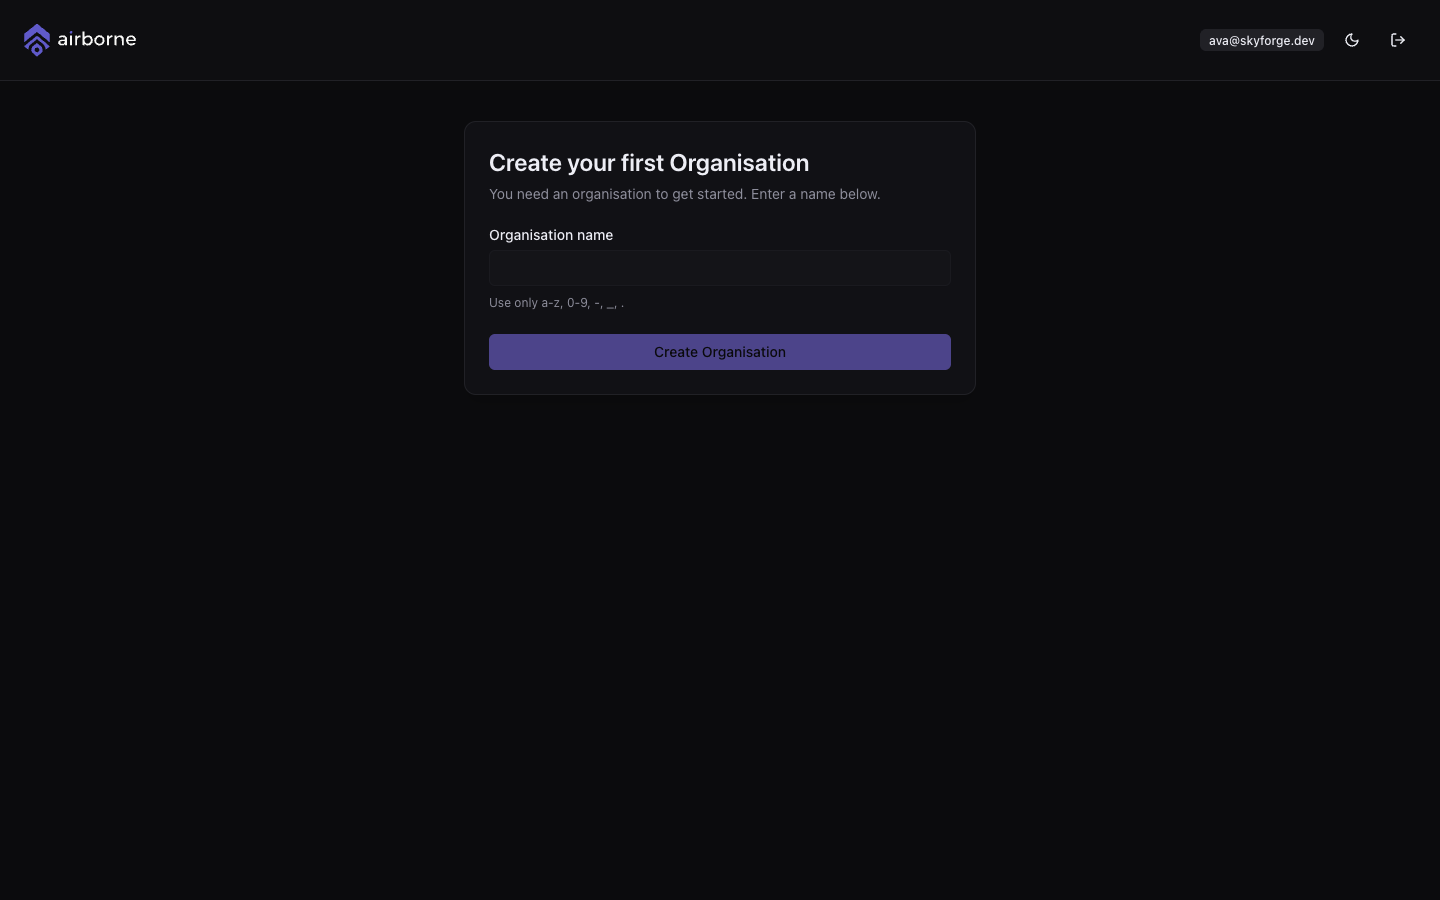
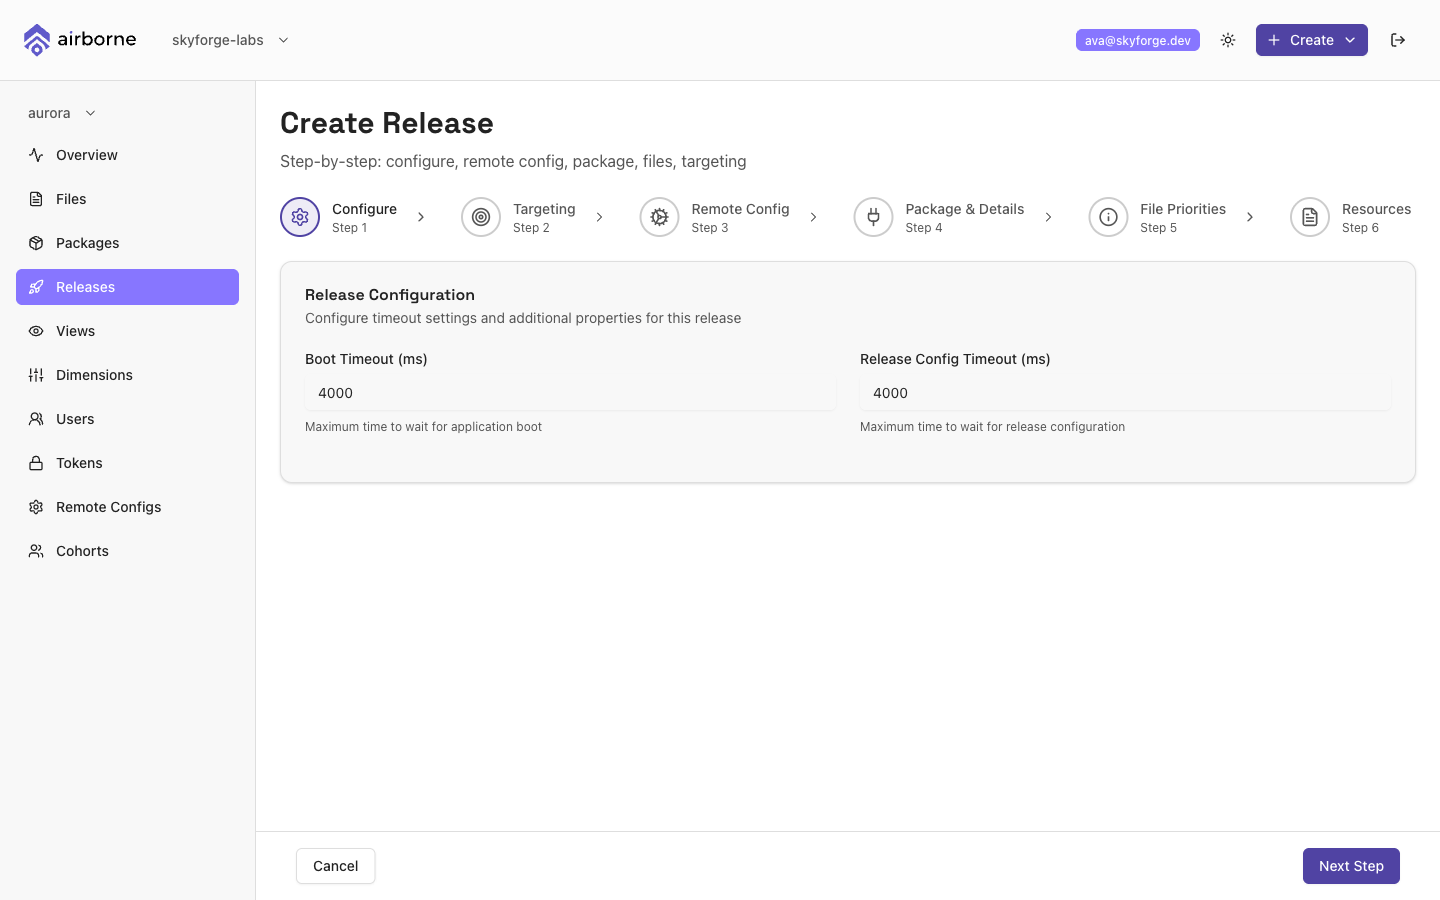
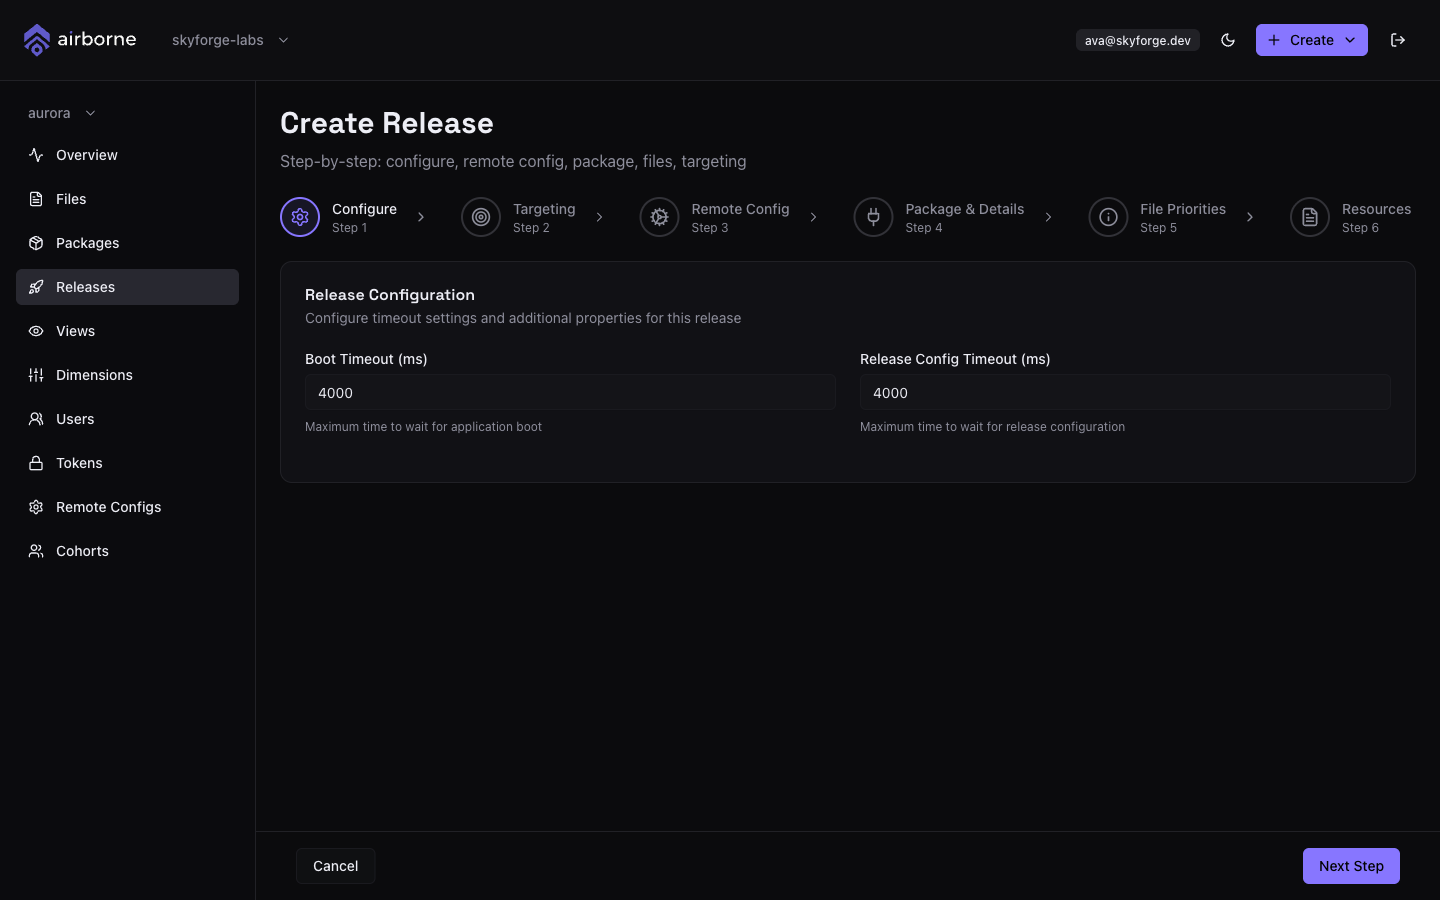
Open Releases → Create Release. Step 1 sets the boot and release-config timeouts:
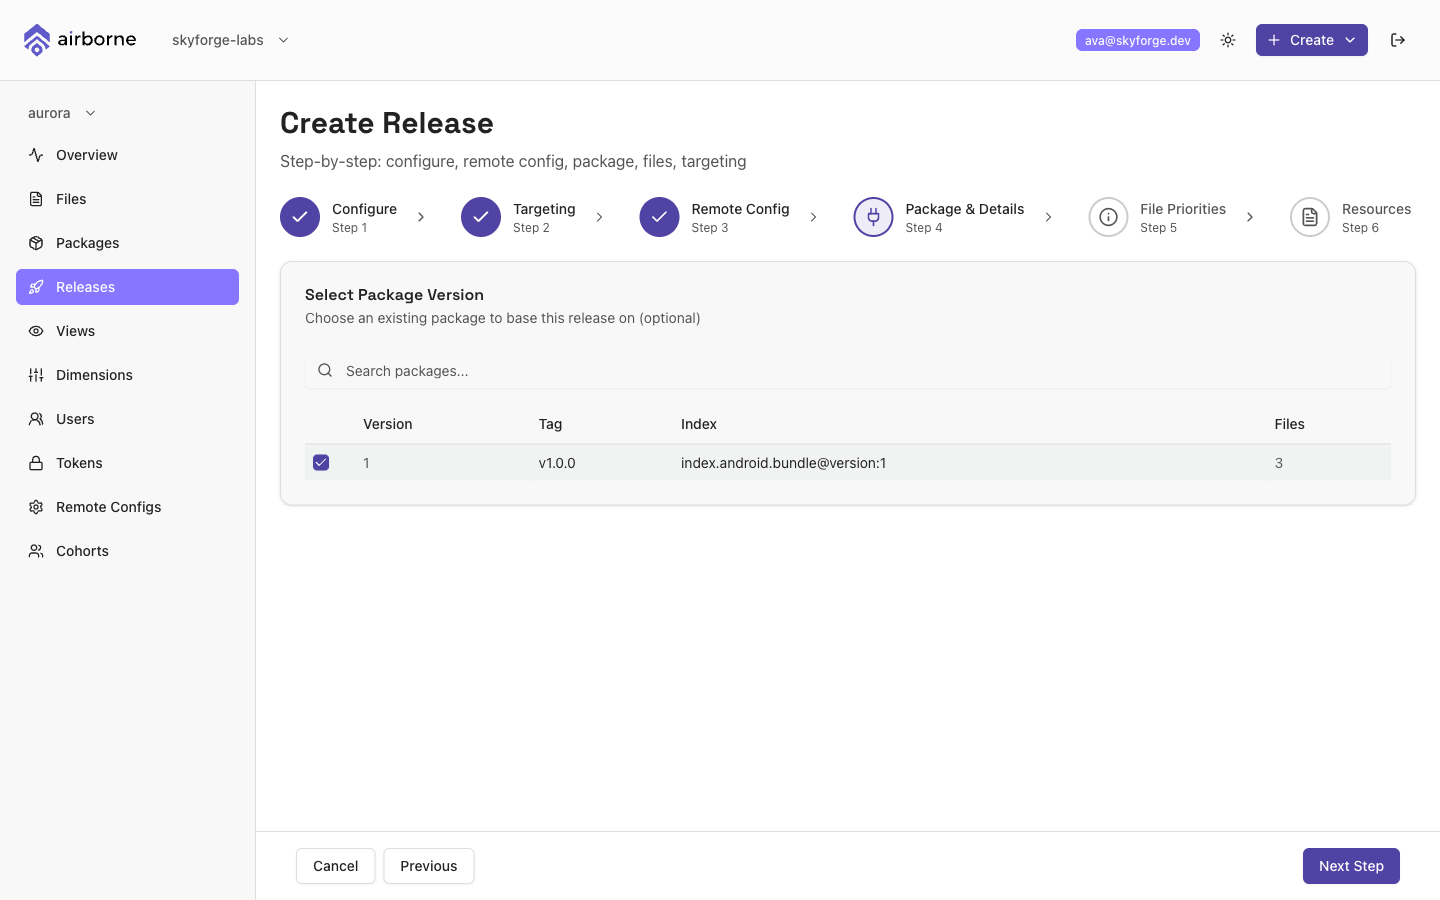
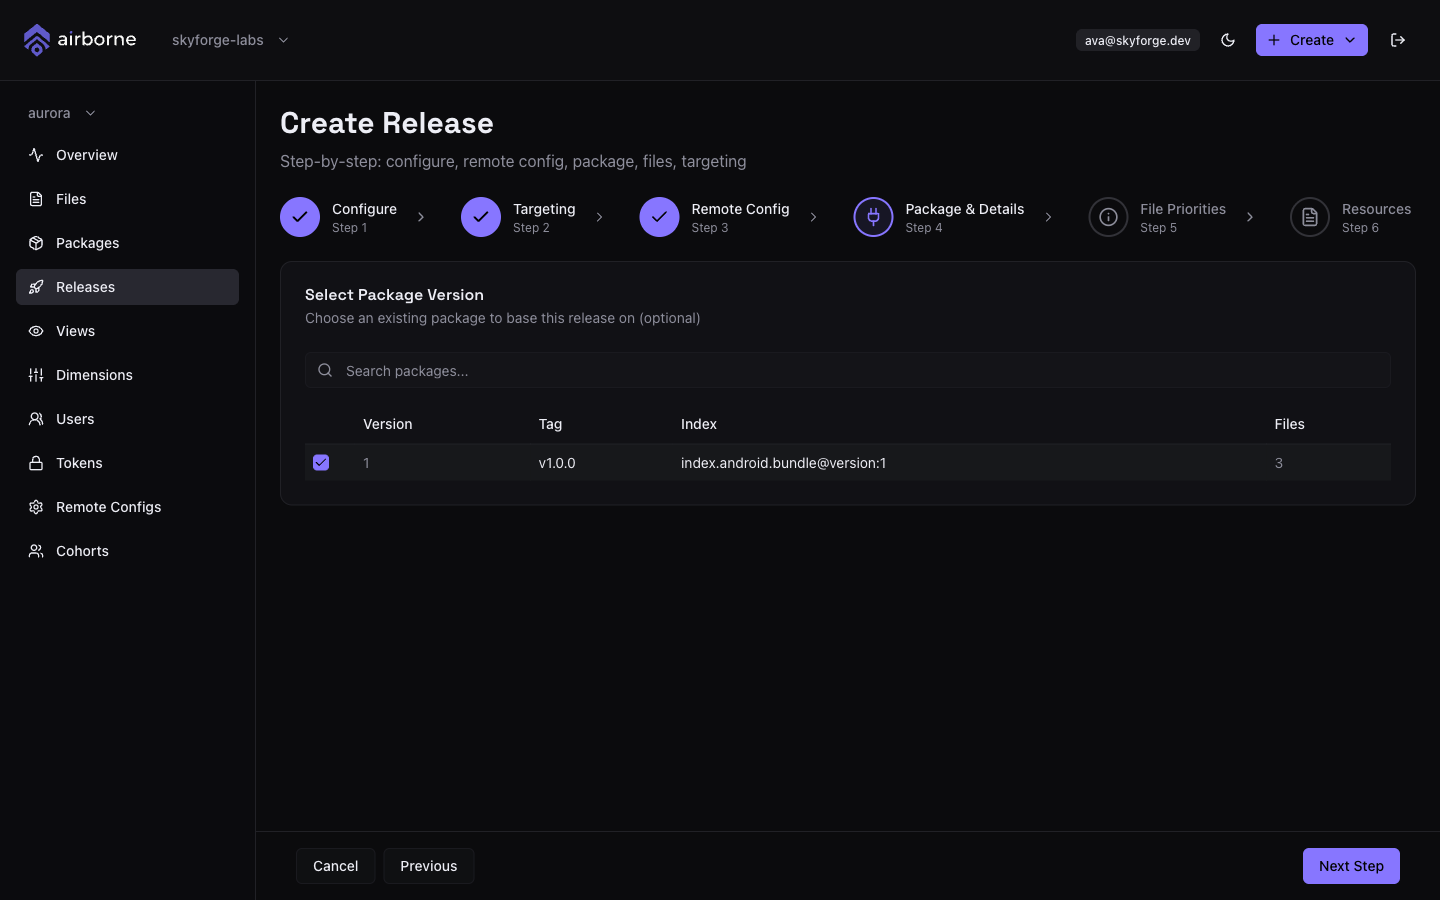
Skip targeting for your first release (it goes to all users — see the targeting guide for later releases), then pick the package you just created:
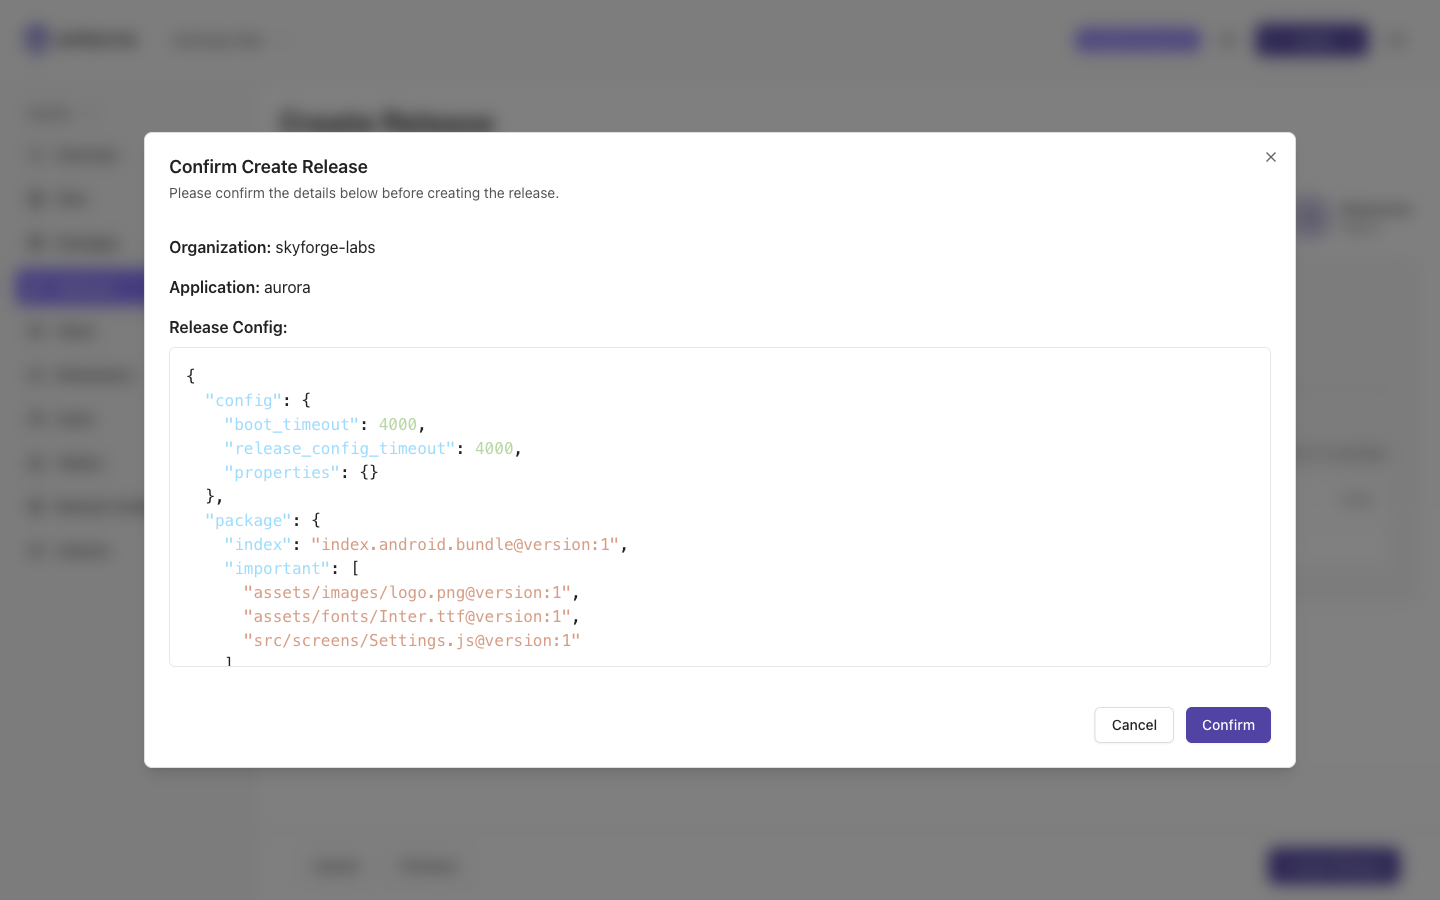
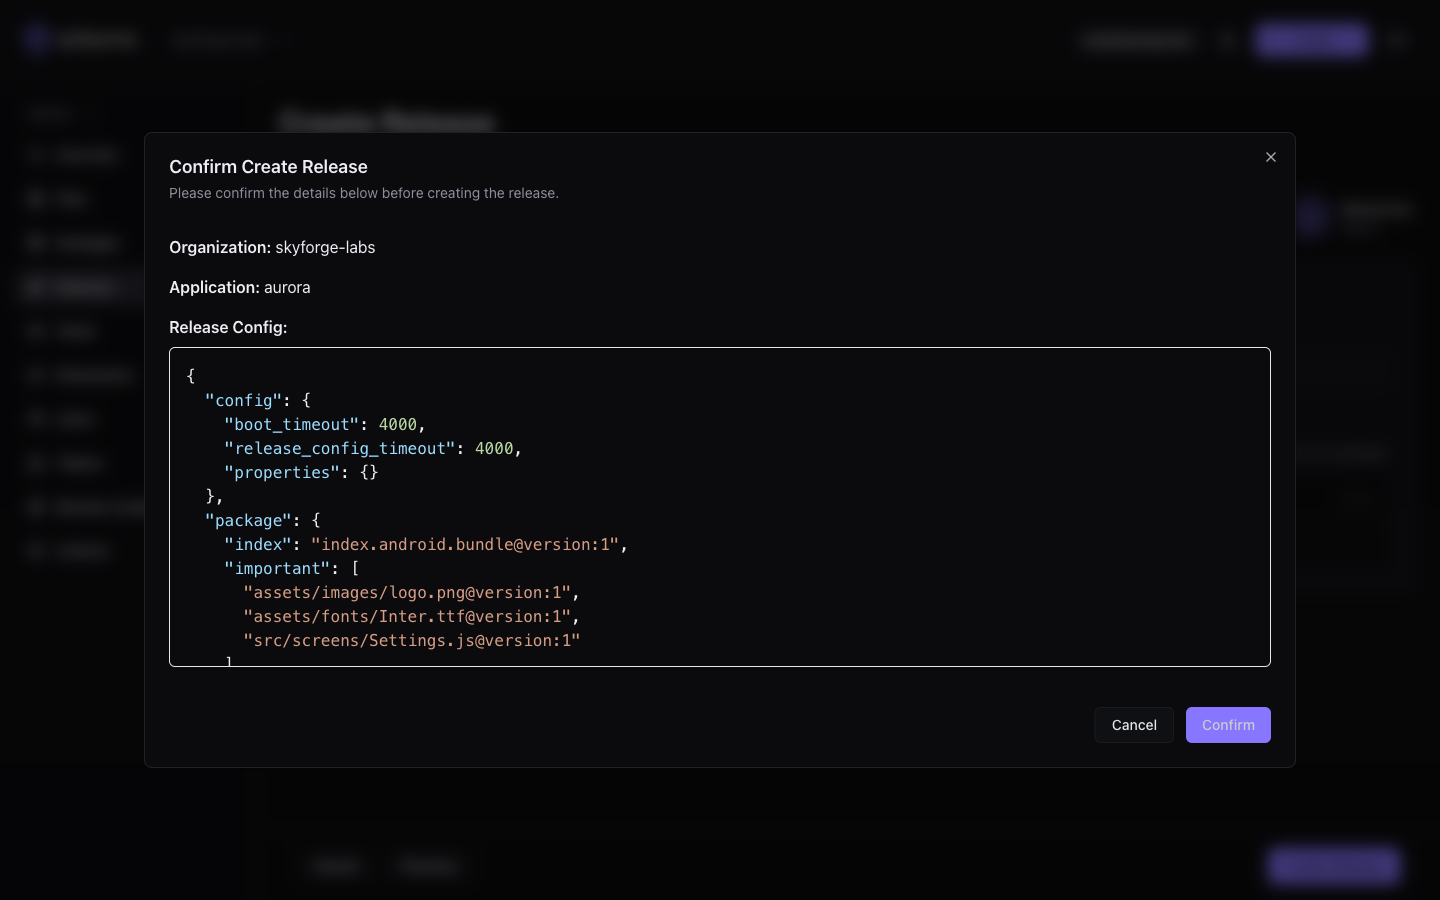
Review the generated release config and confirm:
Your release now appears in the list:
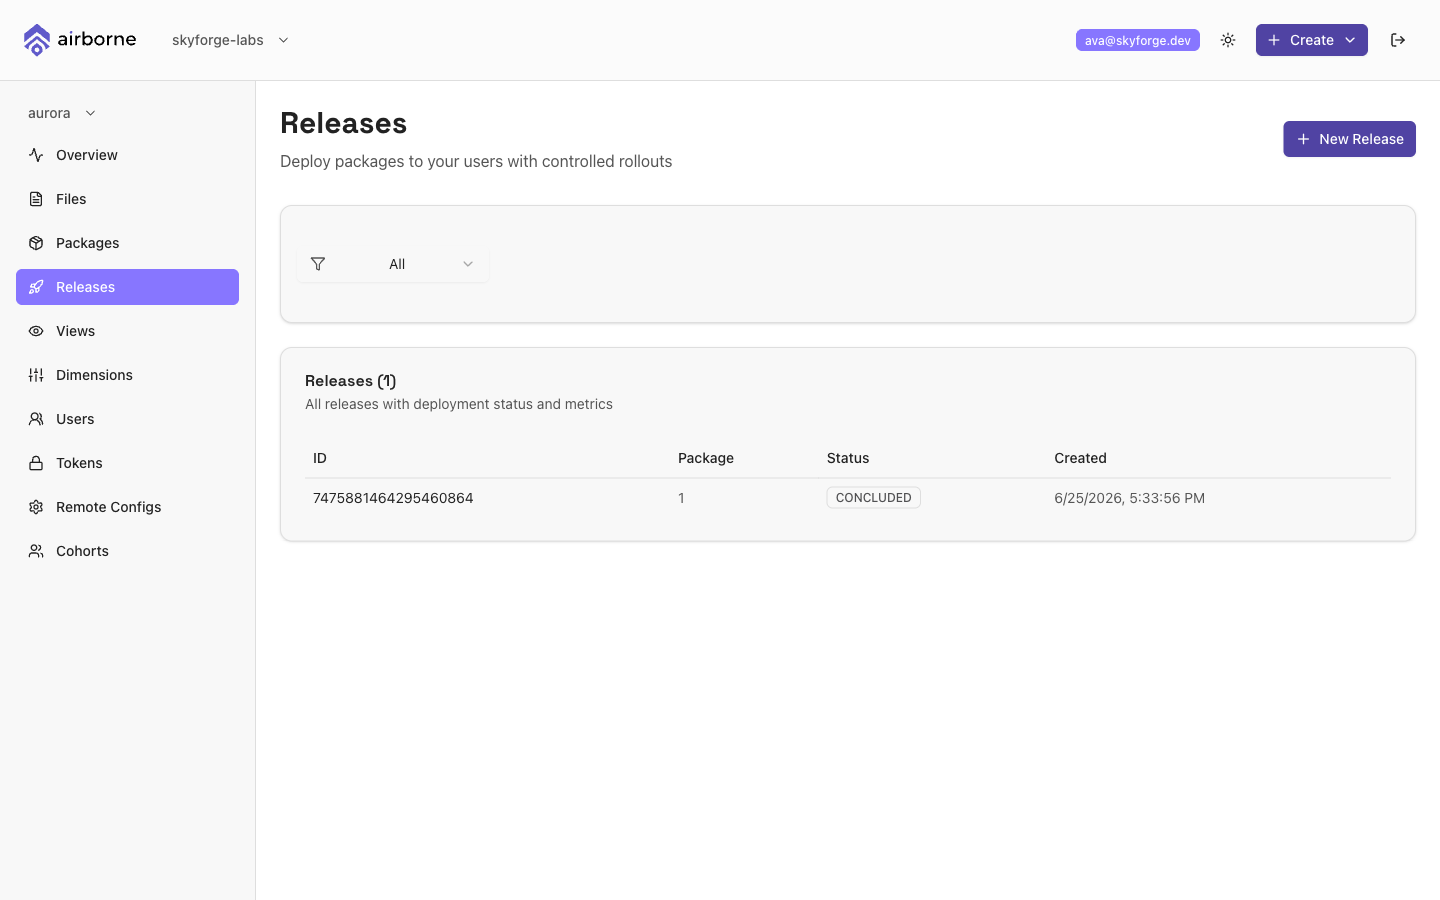
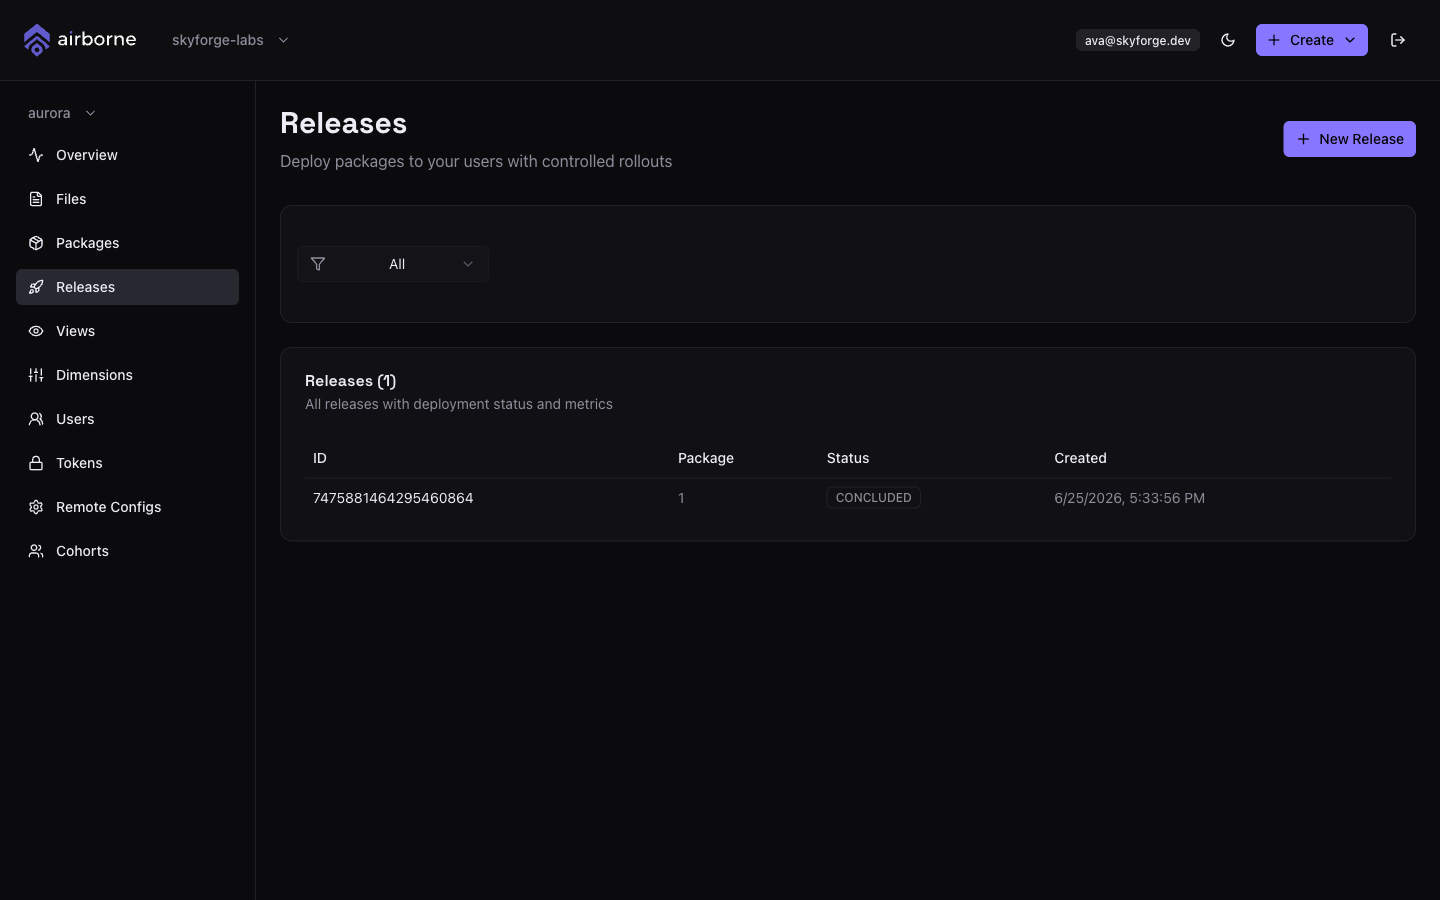
The full wizard (remote config, file priorities, resources) is documented in Dashboard → Releases.
Step 5 — Verify and roll out
Open the release to watch it. A first release is served to everyone; later releases run as experiments you ramp from here.
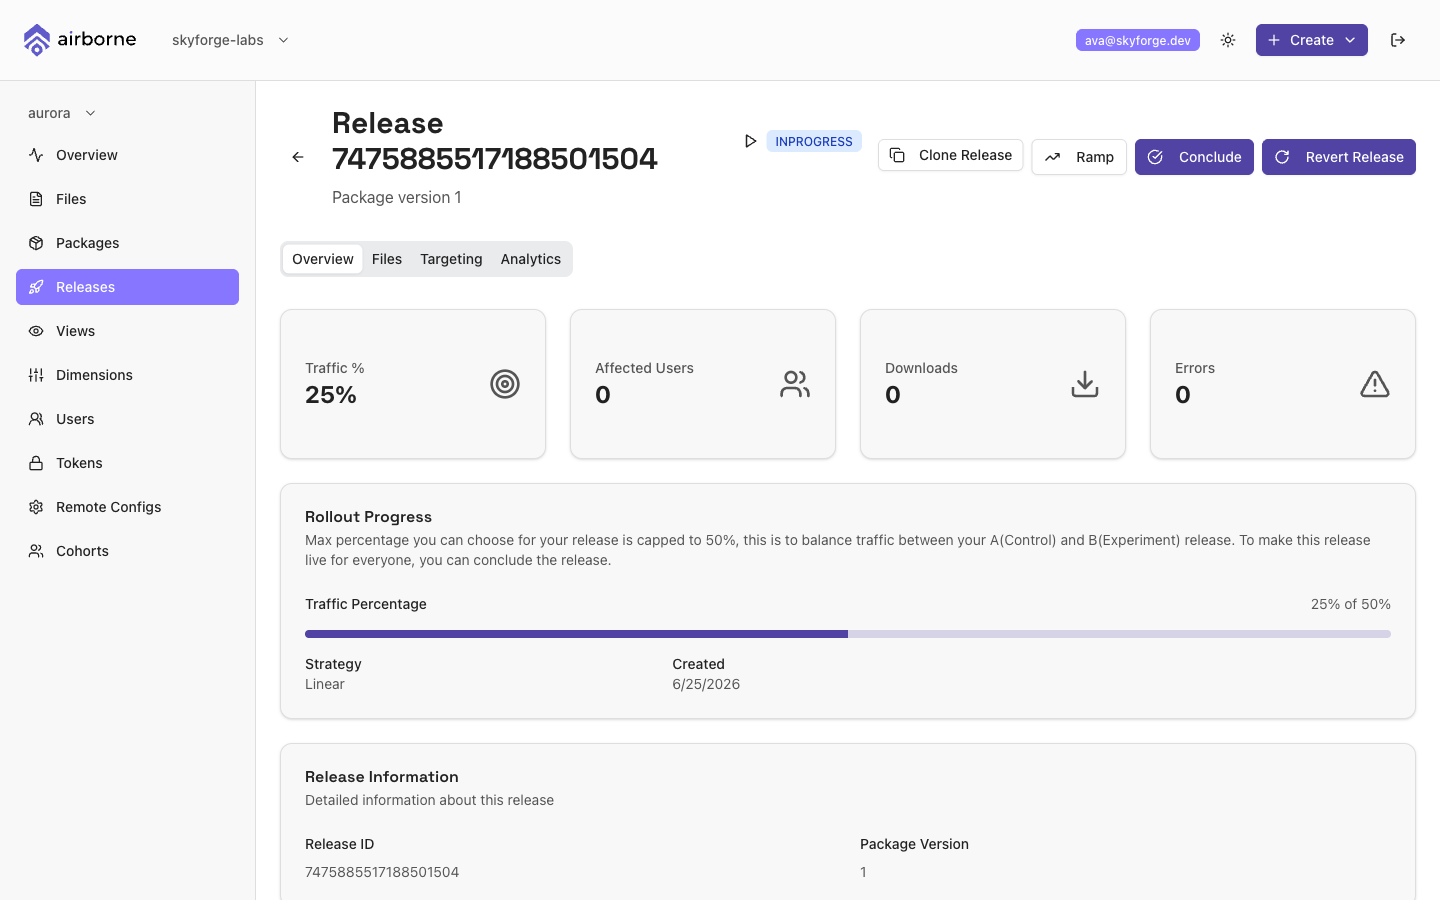
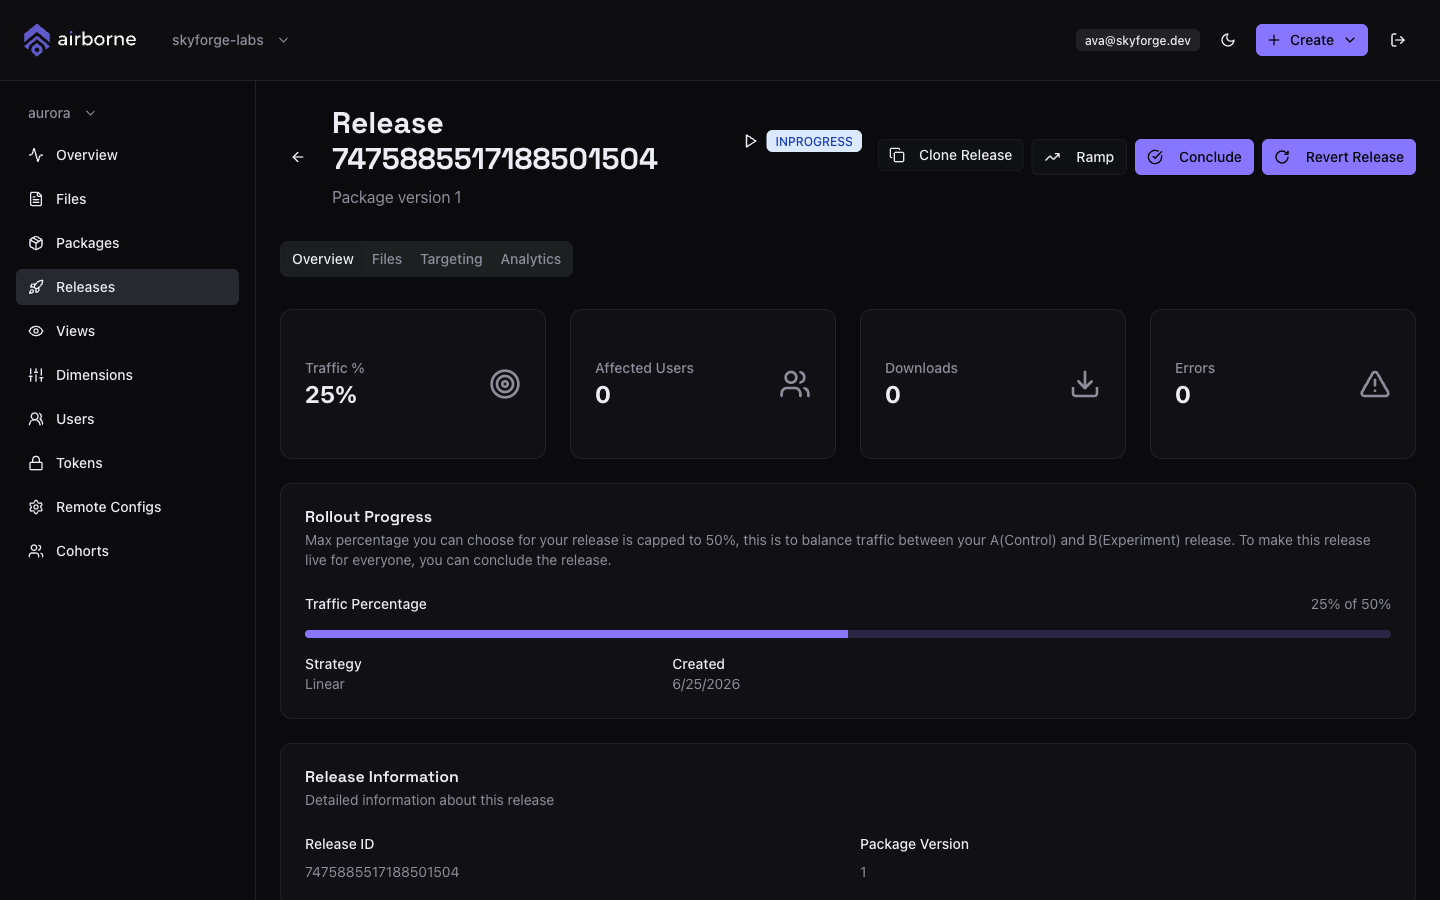
On the device, confirm Airborne booted from the downloaded bundle by watching the SDK's lifecycle events (onEvent) or reading the bundle path from JS:
import { getBundlePath } from 'airborne-react-native';

const path = await getBundlePath('<application-name>');
console.log('Booted from', path);
Details and troubleshooting: Verify the integration and the SDK events reference.
Next steps
- Create & target a release — dimensions, version cohorts, checkpoints, and ramping.
- JavaScript API —
readReleaseConfig,getBundlePath,getFileContent. - Bundling the release config — the first-boot fallback shipped in your binary.