Integrate Airborne in Expo
This guide integrates Airborne into an Expo app and ships an over-the-air release. The native wiring differs from bare React Native (Expo wraps the host and delegate), but the CLI workflow and the release steps are the same. If you're on bare React Native, use Integrate Airborne in React Native.
Airborne boots before React Native, so it integrates at the native layer. You need a project with native directories — use expo prebuild (or the bare workflow / a development build). It does not work with Expo Go.
Prerequisites
- An Expo app with native projects generated (
expo prebuild). - Node.js + npm, the Android toolchain (JDK + Android SDK), and the iOS toolchain (Xcode + CocoaPods).
- An Airborne organisation, application, and access token.
Step 1 — Install the SDK
npx expo install airborne-react-native
# or: npm install airborne-react-native@^0.37.0
cd ios && pod install && cd ..
Add the Airborne Maven repository to android/build.gradle (or settings.gradle):
maven { url "https://maven.juspay.in/jp-build-packages/hyper-sdk/" }
Step 2 — Wire up the native side (Expo specifics)
Expo apps wrap React Native's activity delegate and host, so the Airborne wiring uses Expo's wrappers:
- Android — wrap
AirborneReactActivityDelegateinReactActivityDelegateWrapper, andAirborneReactNativeHostinReactNativeHostWrapper, with the JS main module set to.expo/.virtual-metro-entry. Full walkthrough: Expo Android setup. - iOS — your
AppDelegateextendsExpoAppDelegate; you initialize Airborne and, importantly, only update thedidFinishLaunchingWithOptionsmethod (Expo has threeapplicationfunctions). Full walkthrough: Expo iOS setup.
The Airborne instance still points at your release config URL with a matching namespace:
airborneInstance = Airborne(
    this.applicationContext,
    "https://airborne.juspay.in/release/<organisation-name>/<application-name>",
    object : AirborneInterface() {
        override fun getNamespace(): String = "<application-name>"
        // getDimensions(), onEvent(), startApp(indexPath) — see the Expo Android setup page
    }
)
Pass -e / --expo to create-local-airborne-config (next step) so the CLI generates Expo-aware config.
Step 3 — Set up your project with the CLI
Authenticate and scaffold, marking the project as Expo:
npx airborne-devkit login --client_id <client-id> --client_secret <client-secret>
npx airborne-devkit create-local-airborne-config --expo
npx airborne-devkit create-local-release-config -p android
npx airborne-devkit create-remote-files -p android --upload -t "v1.0.0"
npx airborne-devkit create-remote-package -p android -t "v1.0.0"
See Local configuration and Remote files & packages.
Step 4 — Create a release in the dashboard
Open Releases → Create Release. Configure the timeouts, leave targeting empty for your first release (it goes to everyone), and select the package you just cut:
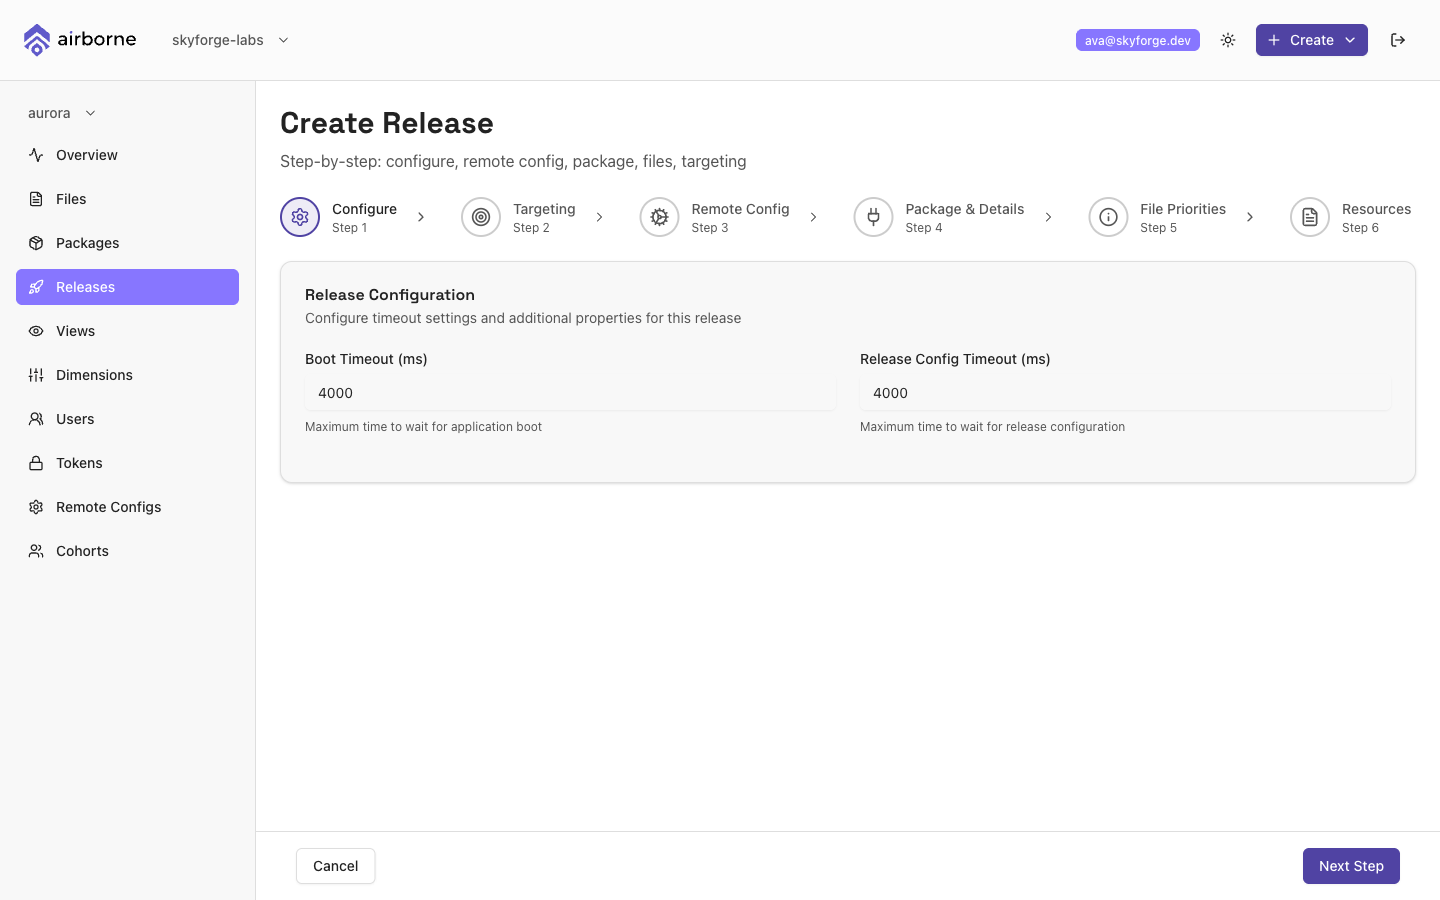
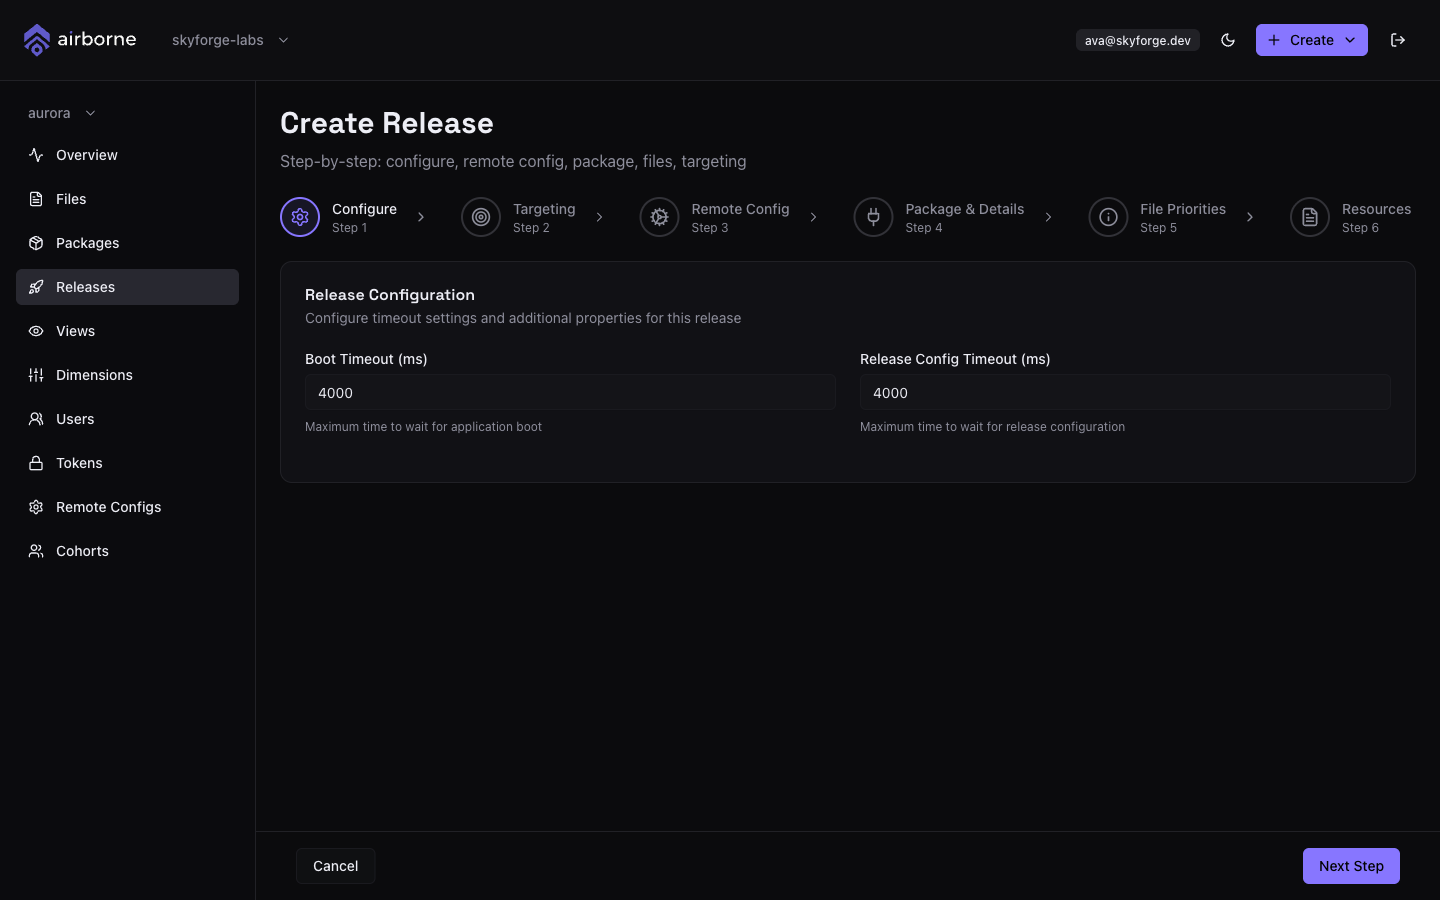
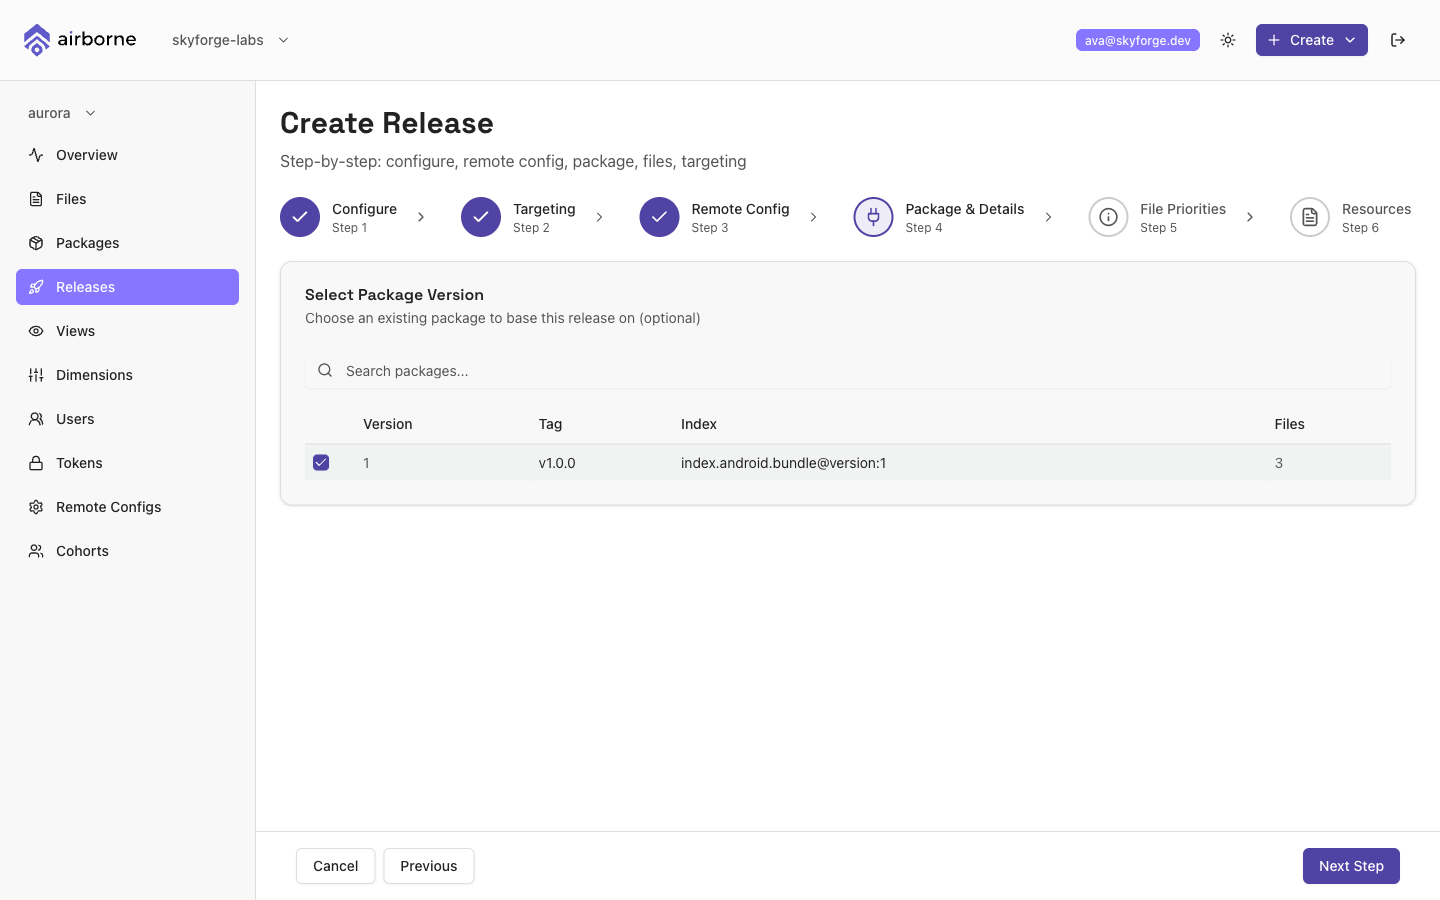
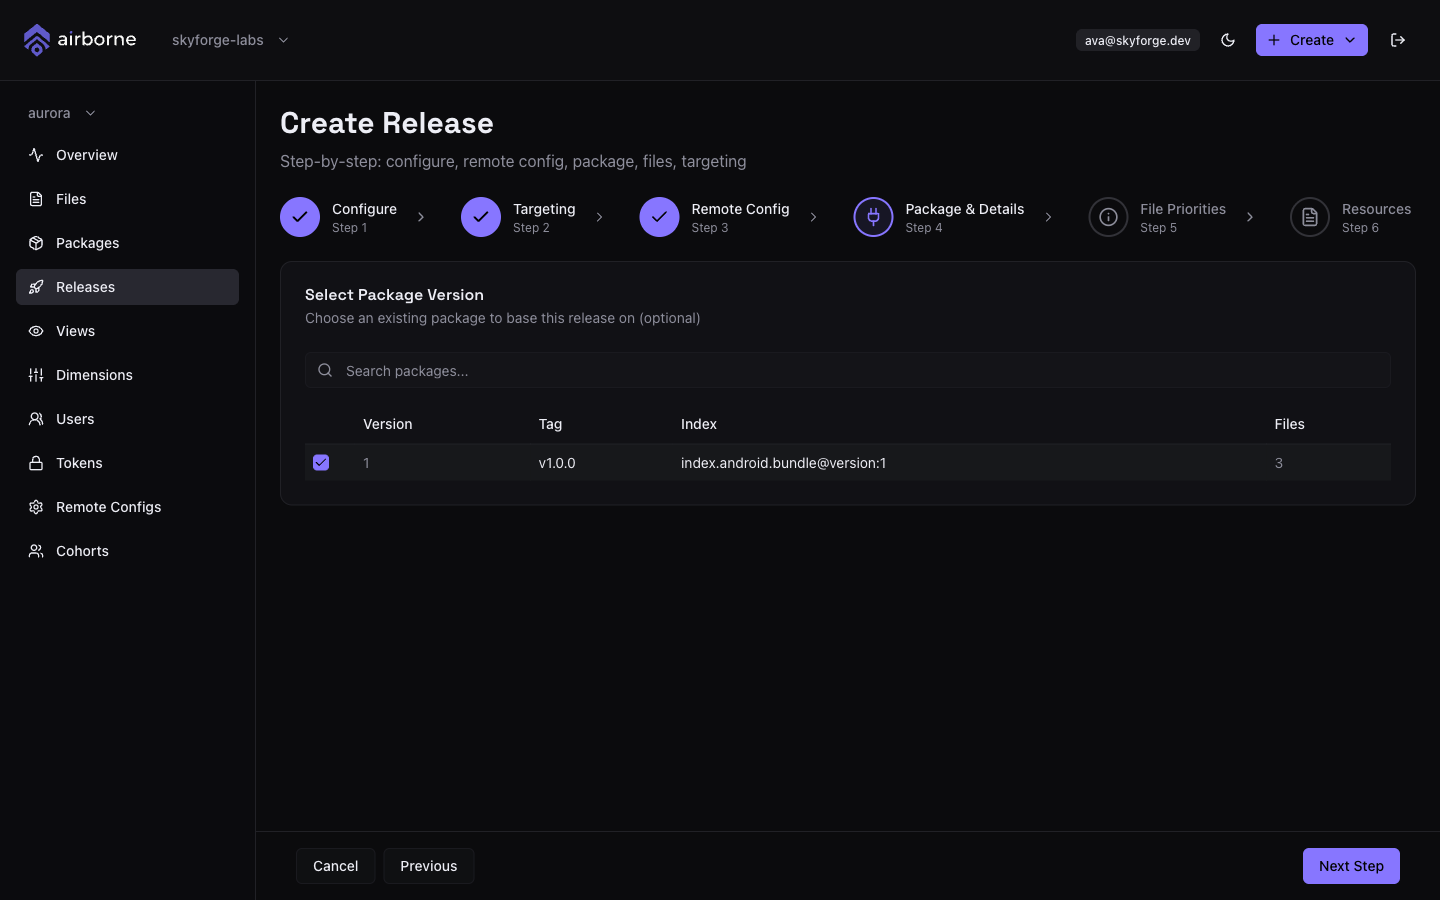
Confirm the generated config:
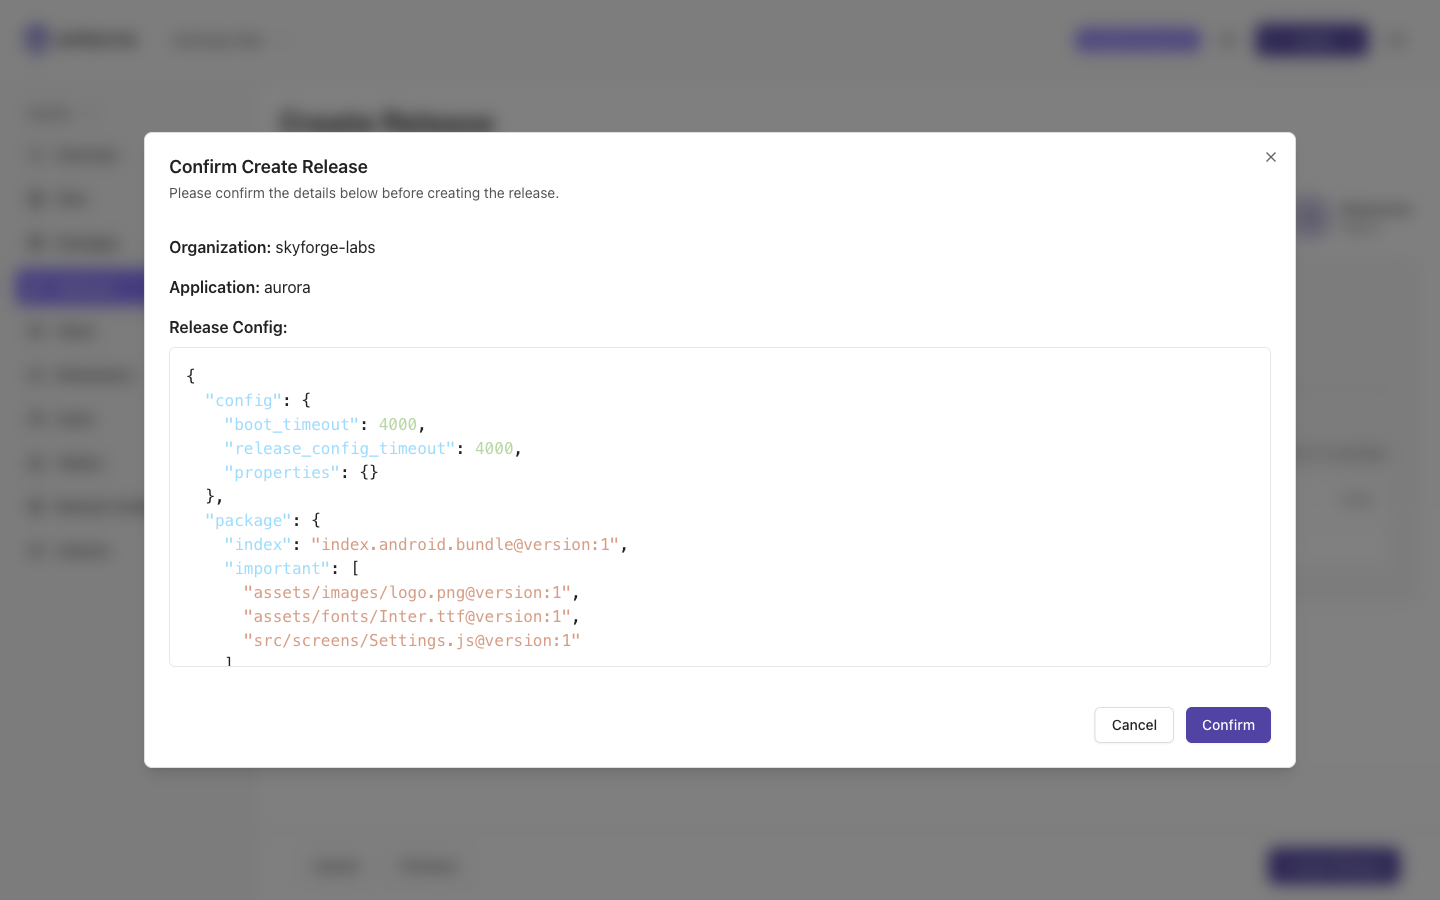
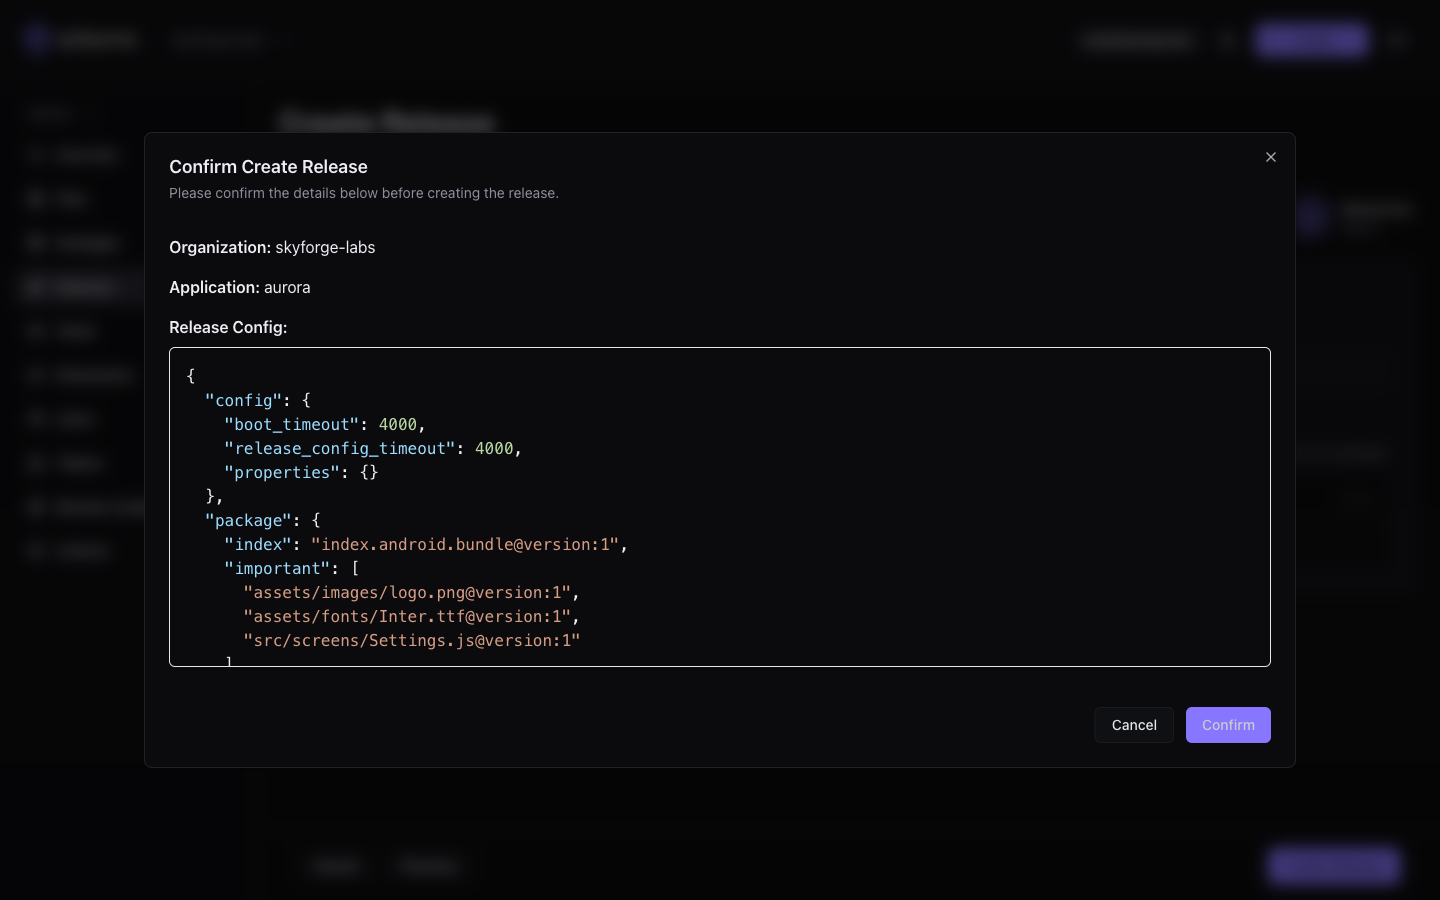
The wizard's other steps (targeting, remote config, file priorities, resources) are covered in Dashboard → Releases.
Step 5 — Verify and roll out
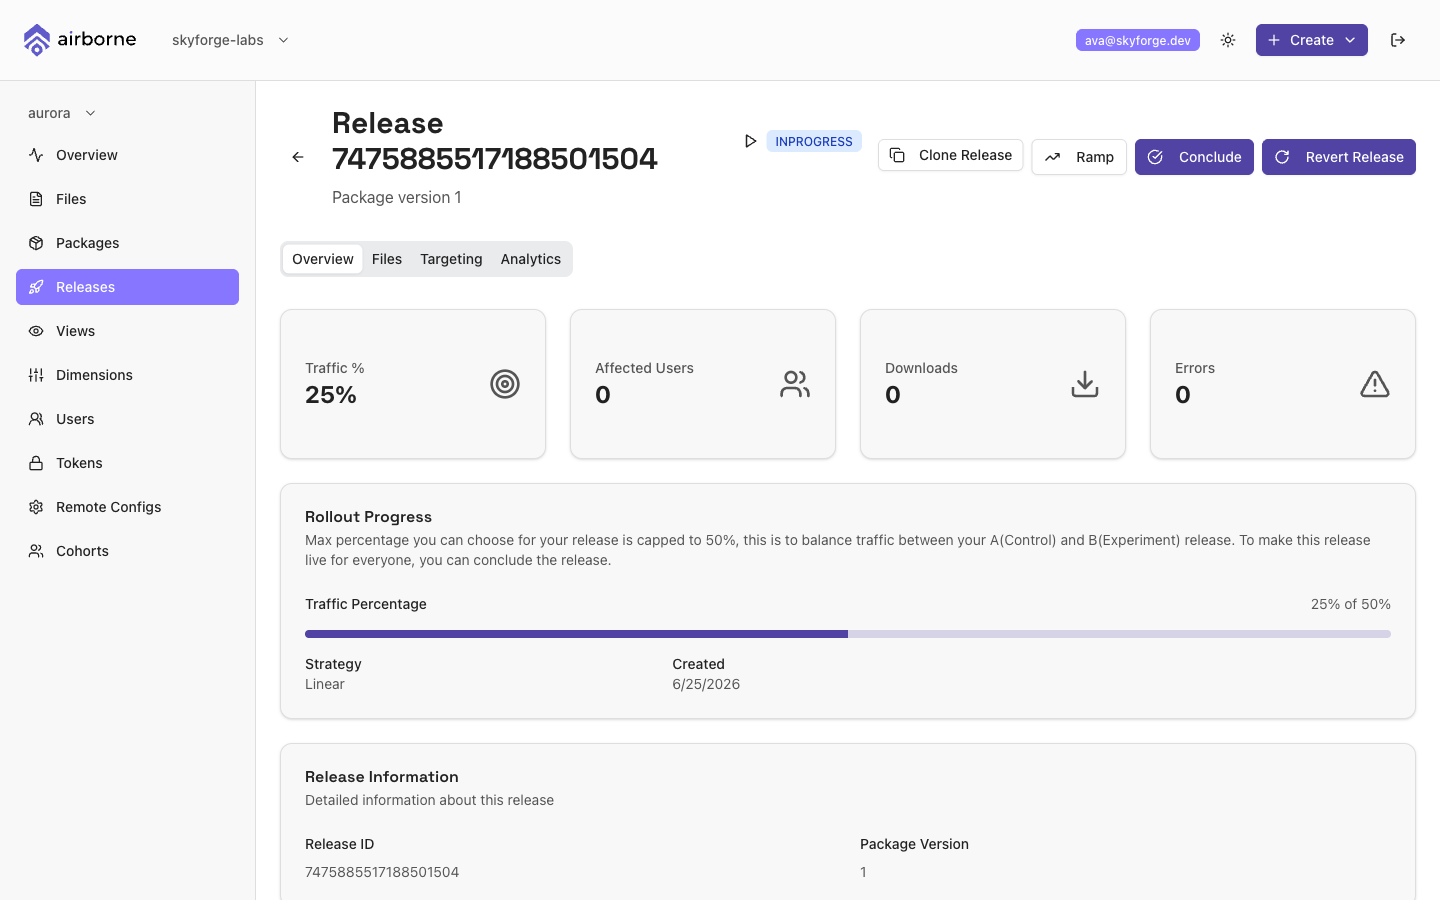
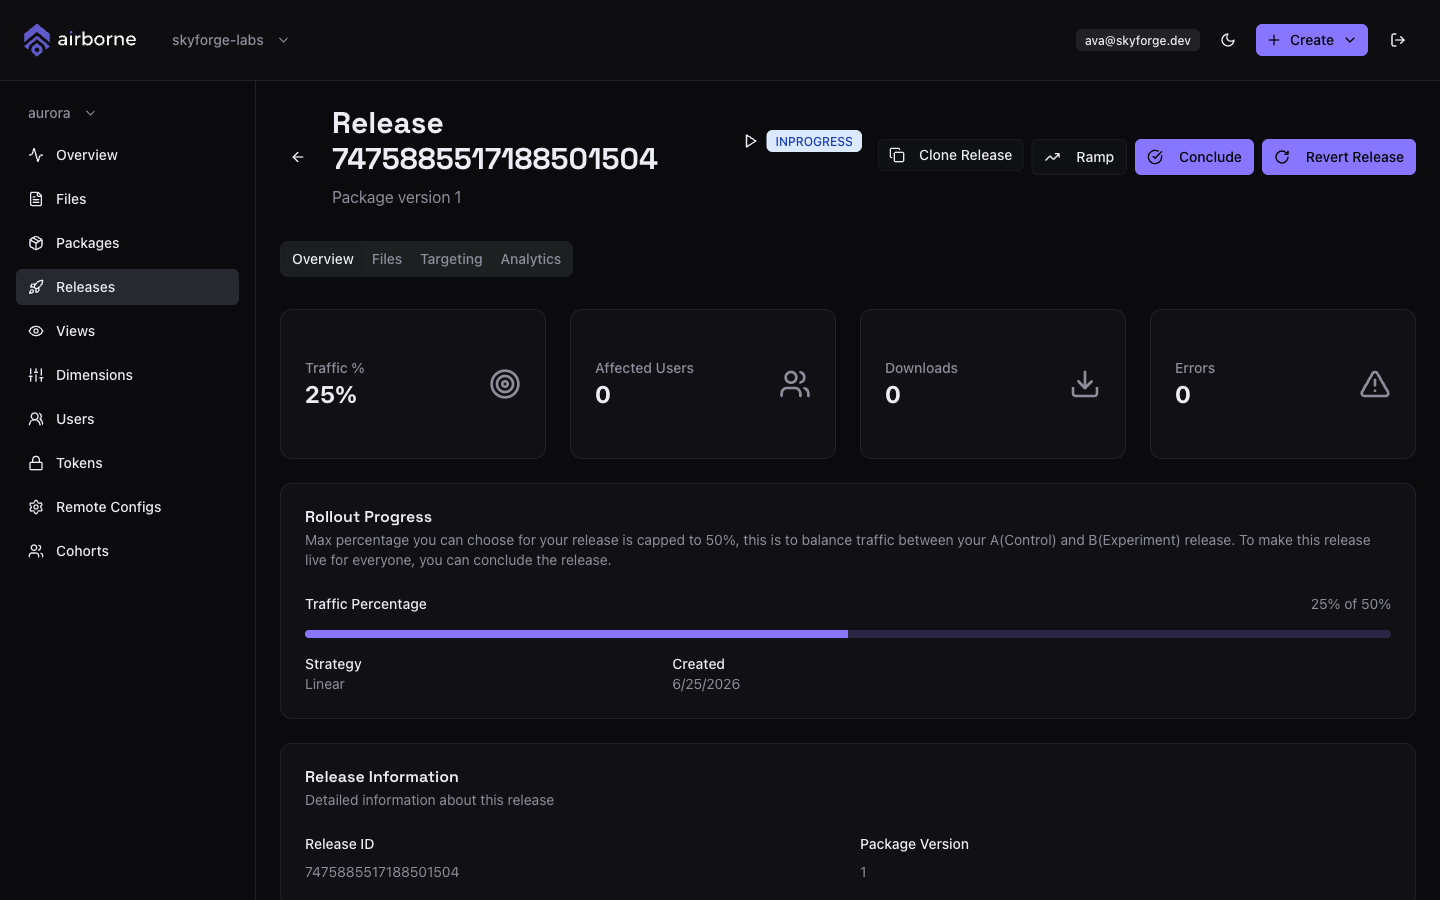
Watch the release and confirm the device booted from the downloaded bundle:
import { getBundlePath } from 'airborne-react-native';

const path = await getBundlePath('<application-name>');
console.log('Booted from', path);
Troubleshooting and the lifecycle event sequence: Verify the integration and the events reference.
Next steps
- Bundling the release config (Expo) — the first-boot fallback added to your binary.
- Create & target a release — roll out to specific segments and app versions.
- JavaScript API.