Create & target a release
A first release goes to everyone. Real rollouts are more careful: ship to one city first, hold an update back from old native versions, or expose a change to internal beta devices only — then ramp traffic up while you watch adoption. This guide shows how Airborne's dimensions, version cohorts, and checkpoints make that precise, and how to ramp and monitor a release safely.
A release is targeted by matching the dimensions sent by each device against the release's targeting rules. Dimensions are evaluated in priority order, and rules are AND-ed together. A cohort dimension turns a raw value (like an app version) into named segments (like "v2 and above"). You then ramp the matched audience between a control and experiment, and conclude to make it 100%.
Step 1 — Create the dimensions you'll target on
Open Dimensions. Each dimension has a Weight (priority) and a type: Standard (a raw attribute like city, os, or app_version) or Cohort (segments derived from a standard dimension).
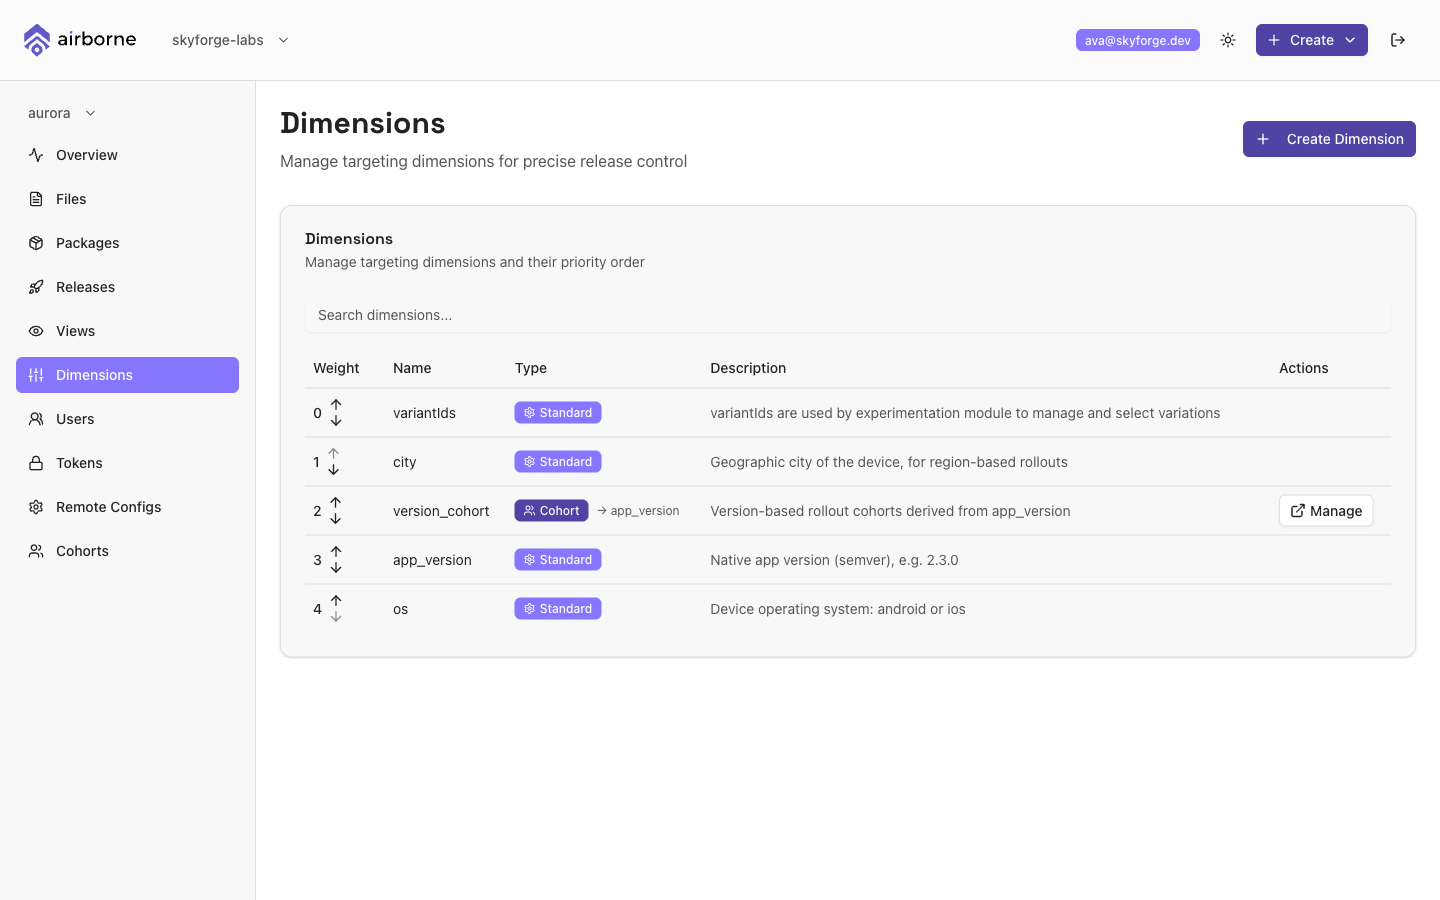
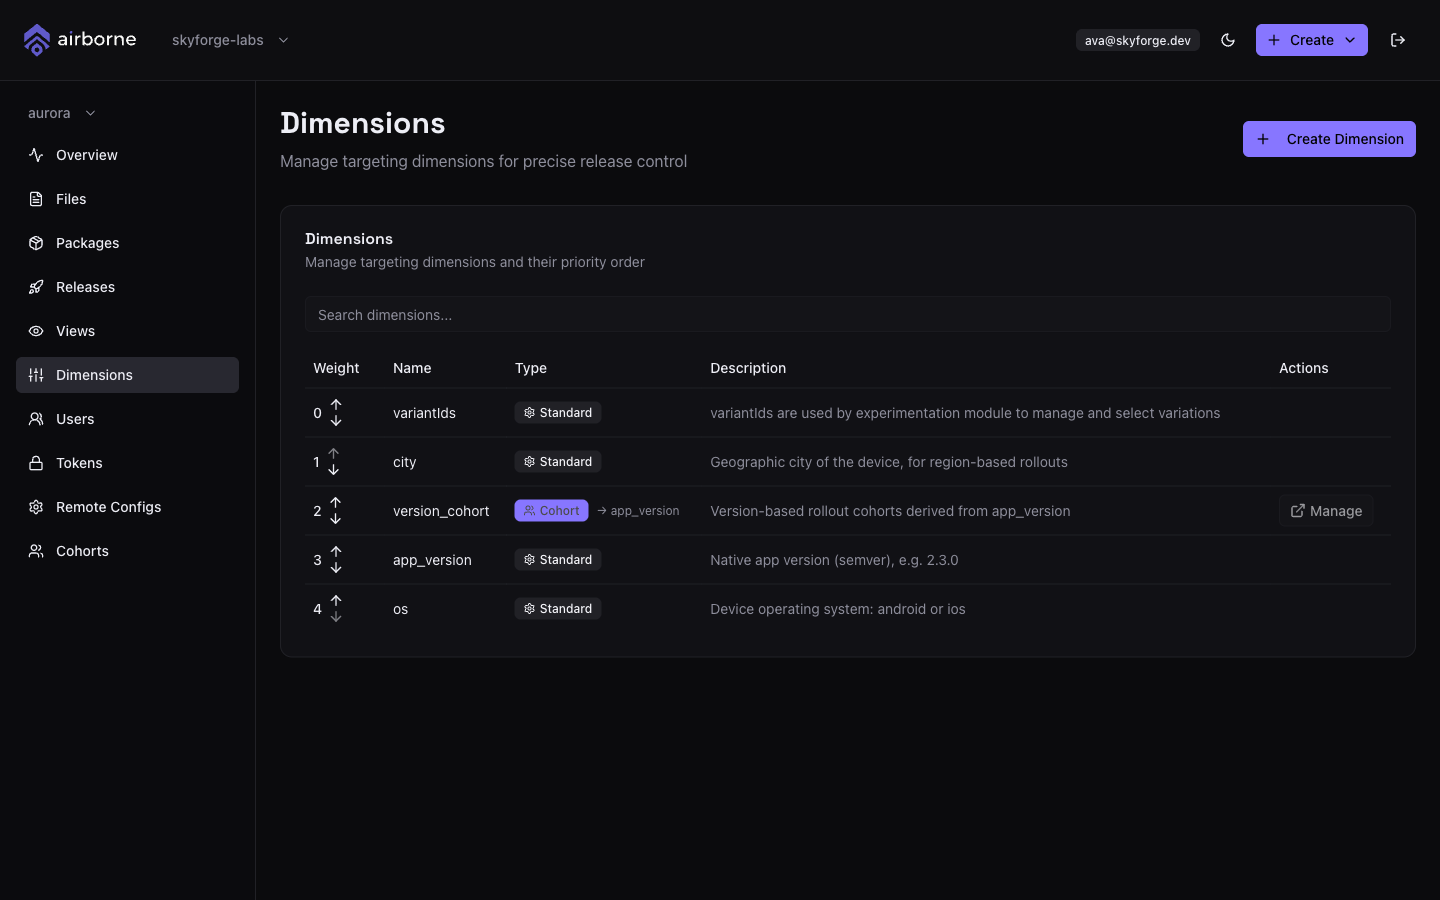
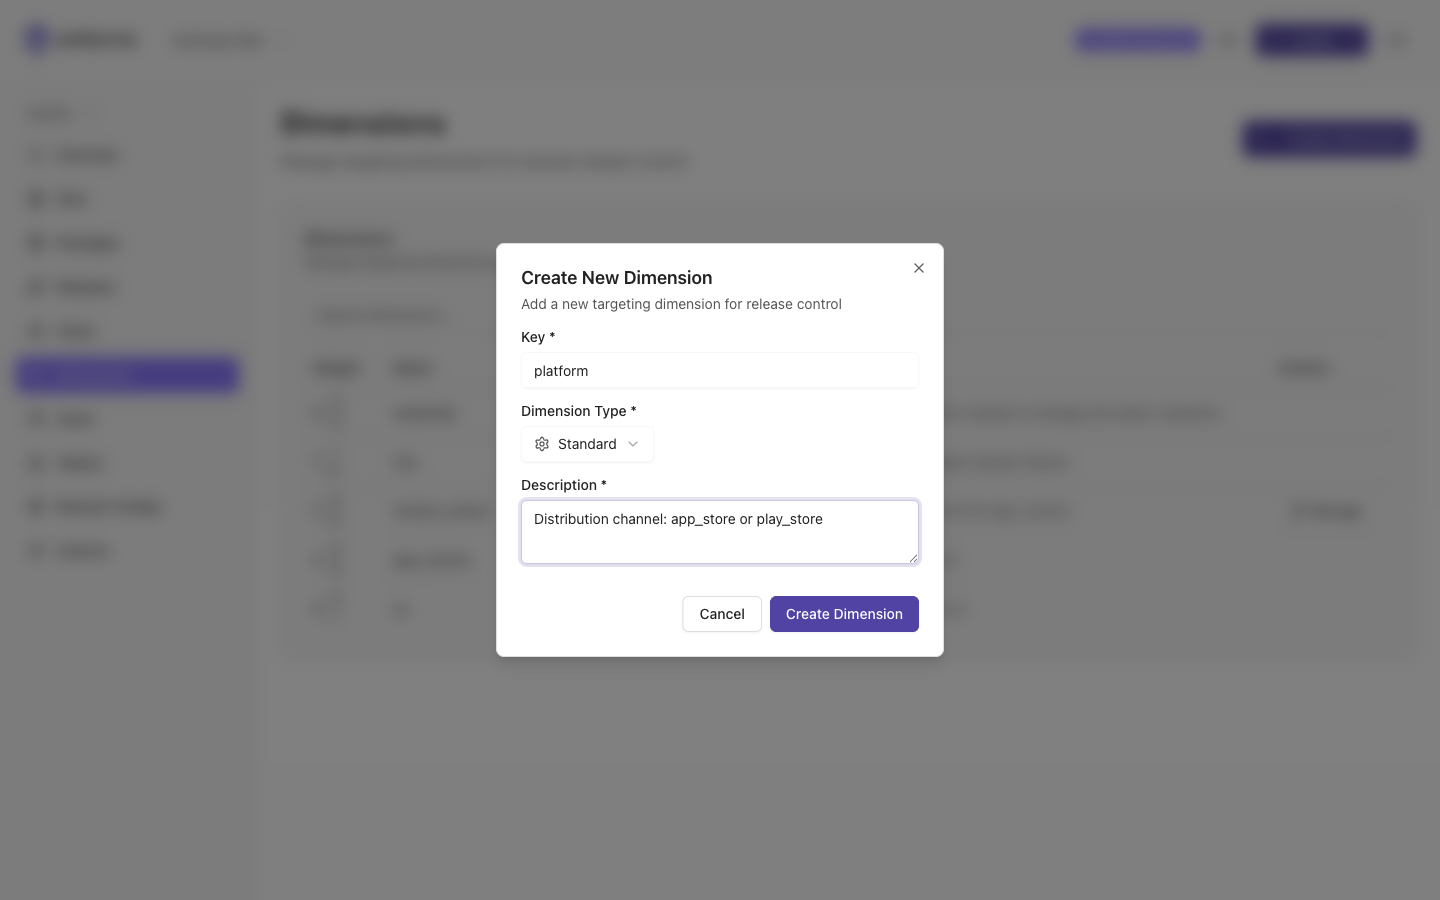
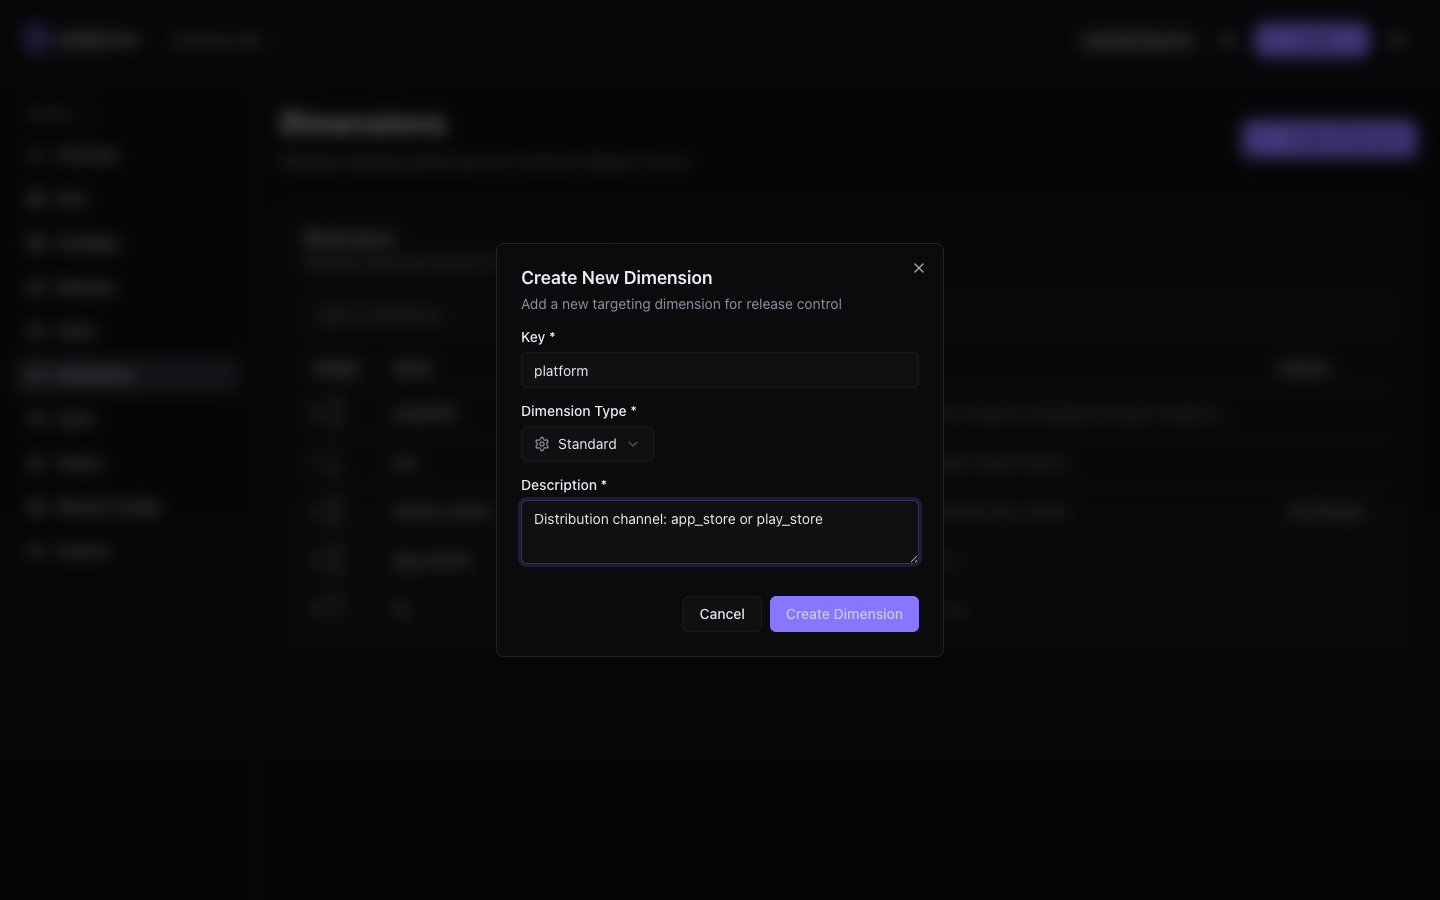
Click Create Dimension, give it a key, pick the type, and describe it. Your app must send a matching value in getDimensions() (RN/native) for targeting to apply.
For this guide, assume you have a standard app_version dimension (the native app version your SDK reports) and a standard city.
Step 2 — Build a version cohort with checkpoints
To target by native app version you use a cohort dimension that depends on app_version, then define checkpoints — semver boundaries that become selectable segments.
Open Cohorts, select your cohort dimension (here version_cohort, which depends on app_version), and add checkpoints on the Checkpoints tab. A checkpoint like v2_and_above with value: 2.0.0 and a semver_ge comparison matches every device on 2.0.0 or newer.
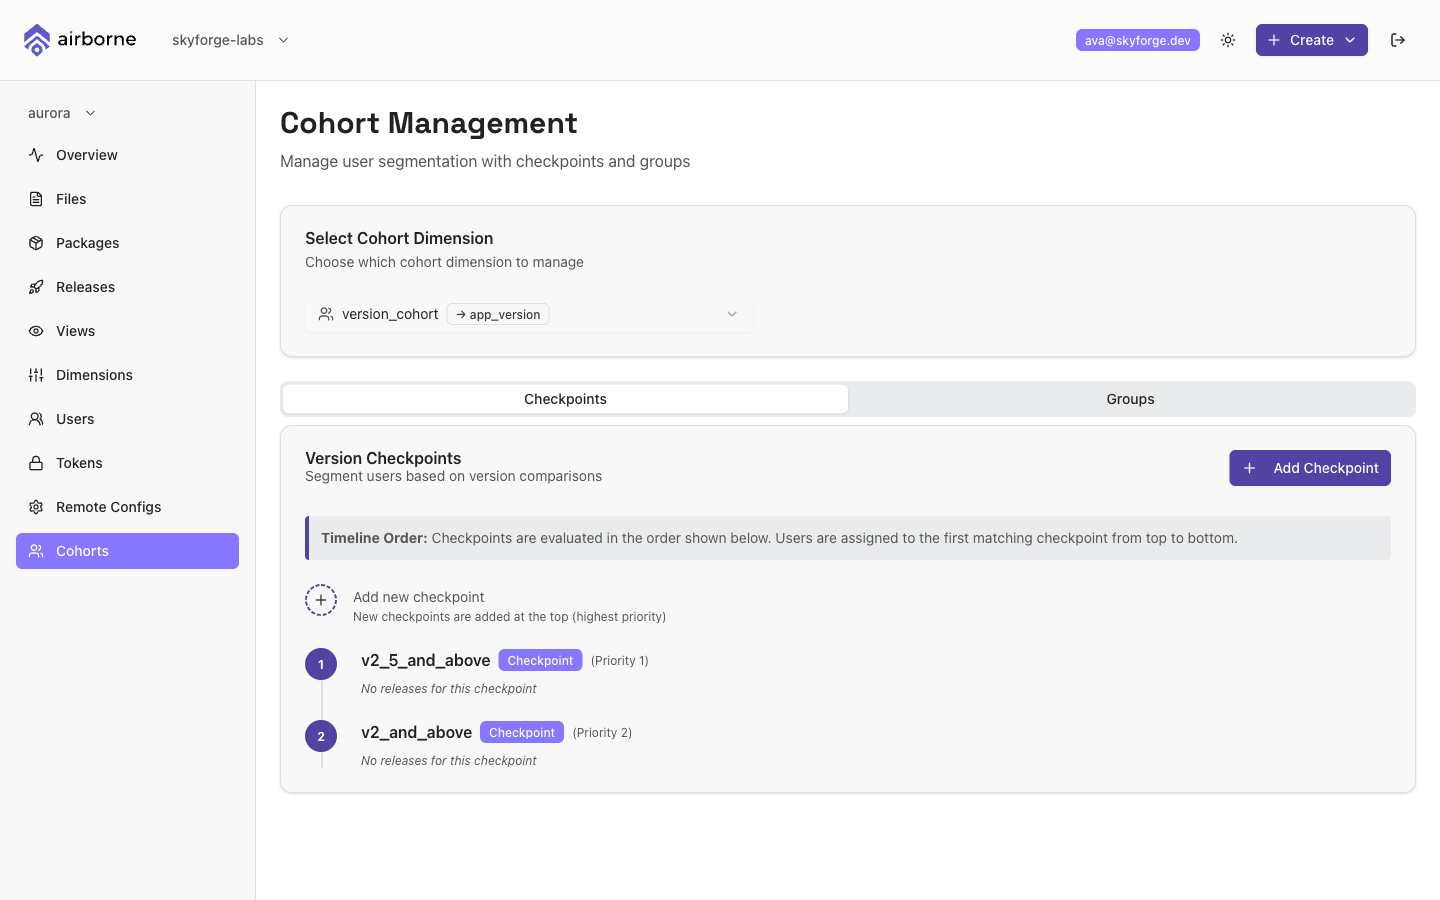
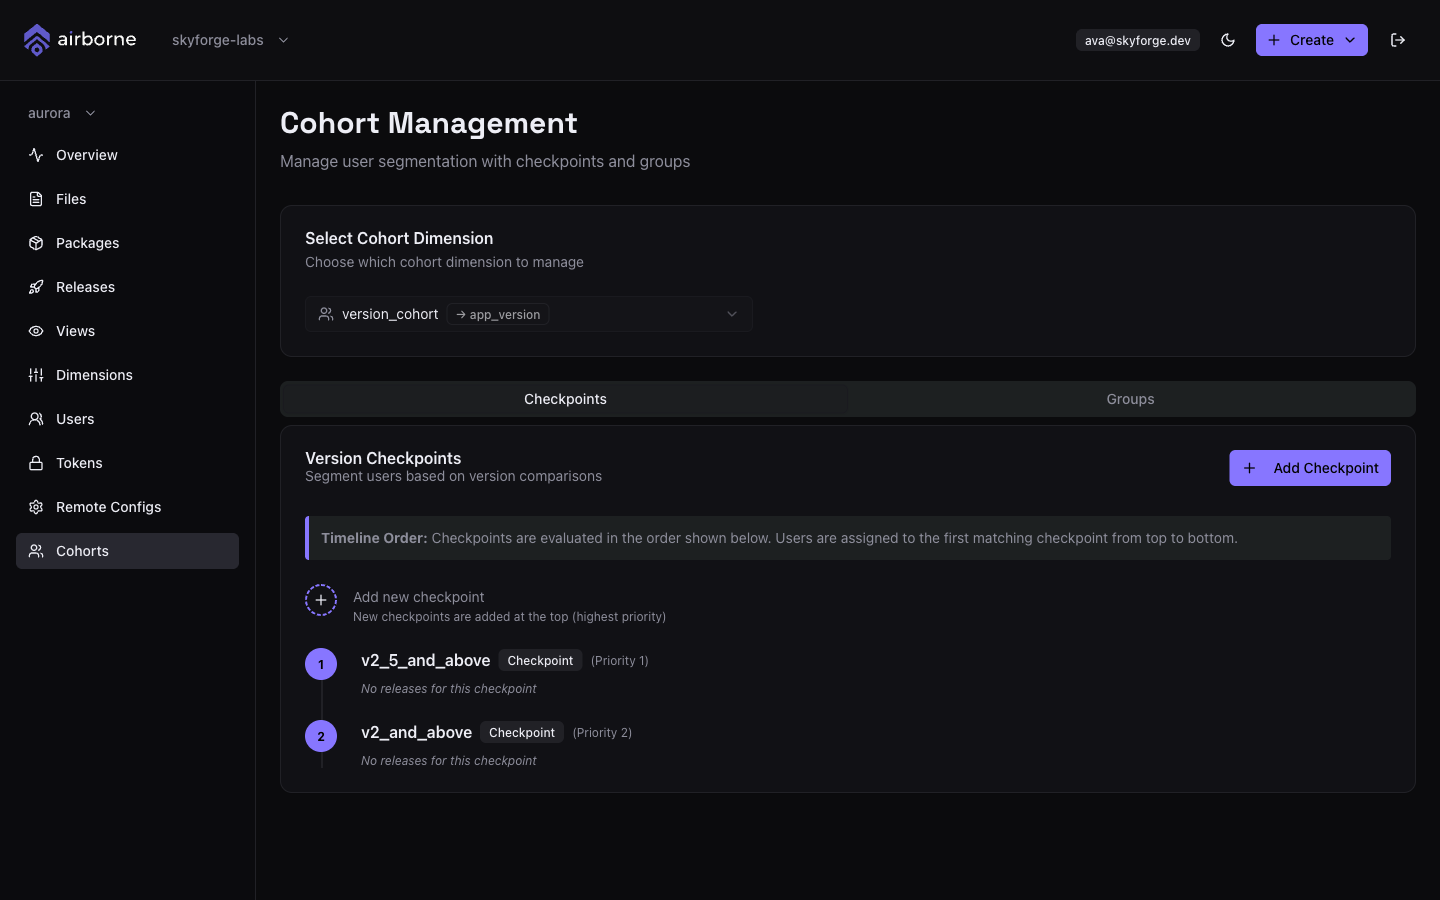
Checkpoints are a timeline: the first one that matches (from the top) wins. Put your most specific / highest boundaries first. New checkpoints are added at the top (highest priority). Use the Groups tab instead when you want an explicit membership list (for example, beta device IDs).
Why a cohort instead of targeting app_version directly? Because checkpoints give you stable, human-named segments (v2_and_above, v2_5_and_above) that you can reuse across releases and that express ranges, not just exact values.
Step 3 — Create a targeted release
Open Releases → Create Release and step through to Targeting (step 2). Because this isn't your first release, you can add rules. Click Add Rule and build a rule from three parts:
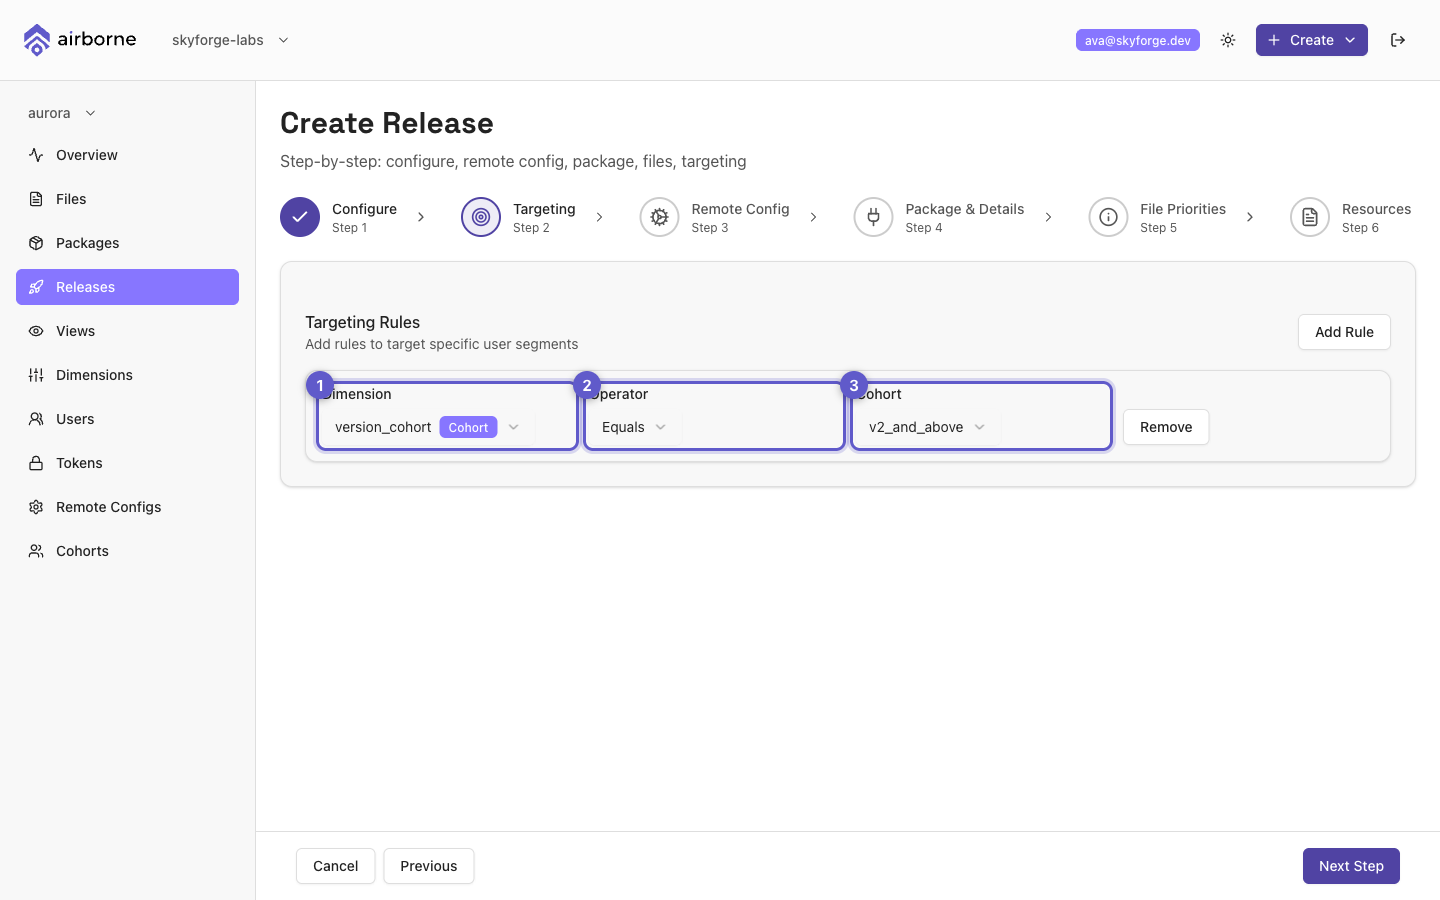
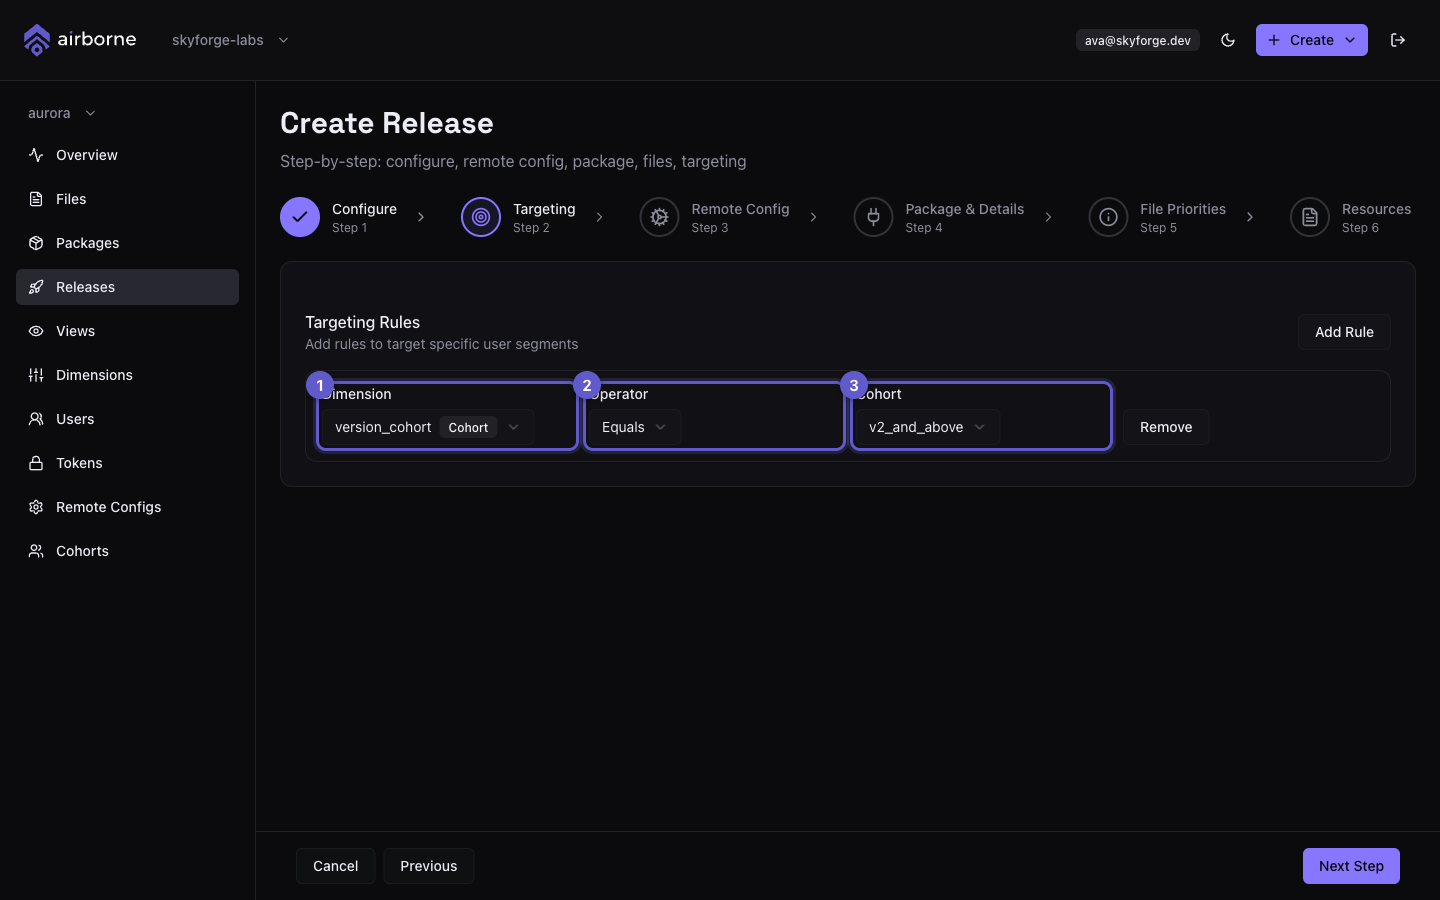
- Dimension — pick
version_cohort(or any dimension). - Operator —
Equals,Not equals, or a comparison. - Value — for a cohort dimension this is a dropdown of your checkpoints/groups (for example
v2_and_above); for a standard dimension it's free text (for examplecity = Bengaluru).
Add more rules to narrow further — for example version_cohort = v2_and_above and city = Bengaluru. All rules must match for a device to receive the release. Leaving targeting empty sends the release to everyone.
Your application's very first release always goes to all users. Targeting becomes available from the second release onward.
Finish the wizard (pick the package, set file priorities, add resources) and confirm. See Dashboard → Releases for every step.
Step 4 — Ramp traffic
A targeted release starts as an experiment: matched devices are split between the control (the previous release) and the experiment (this one). You control what fraction sees the experiment.
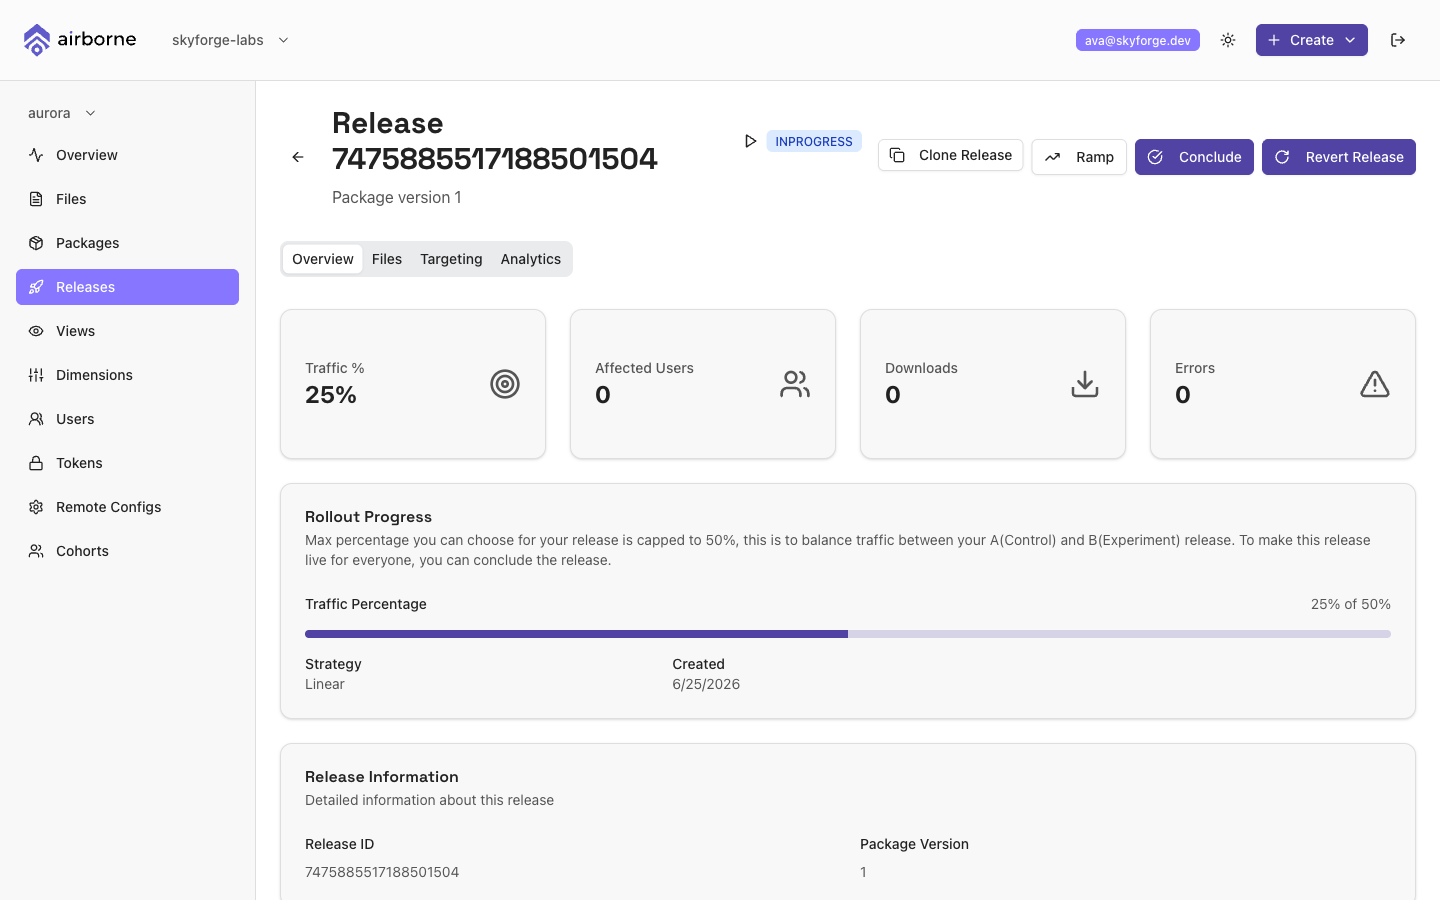
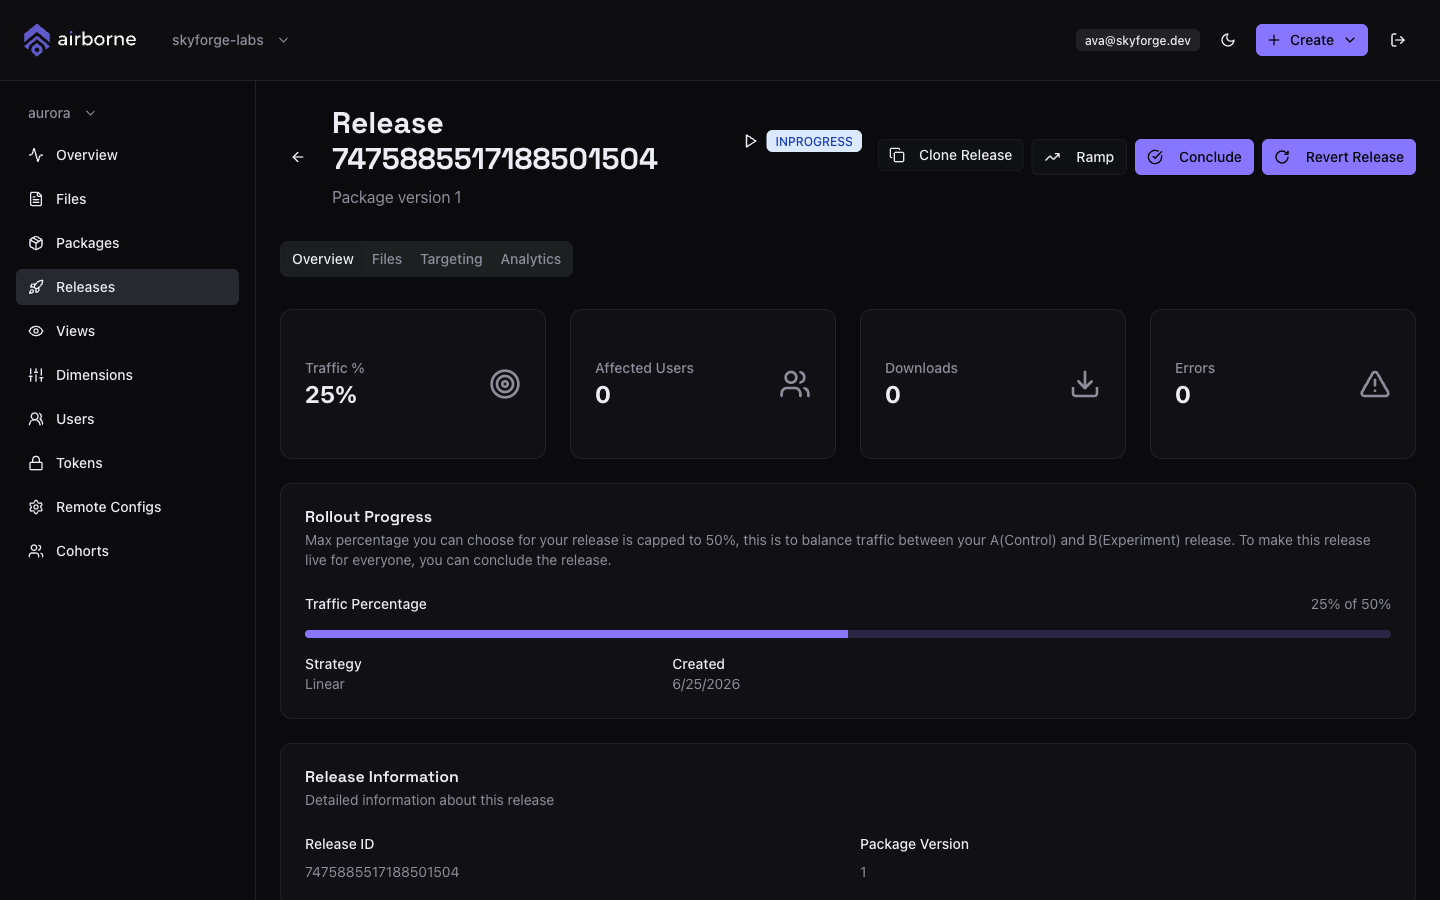
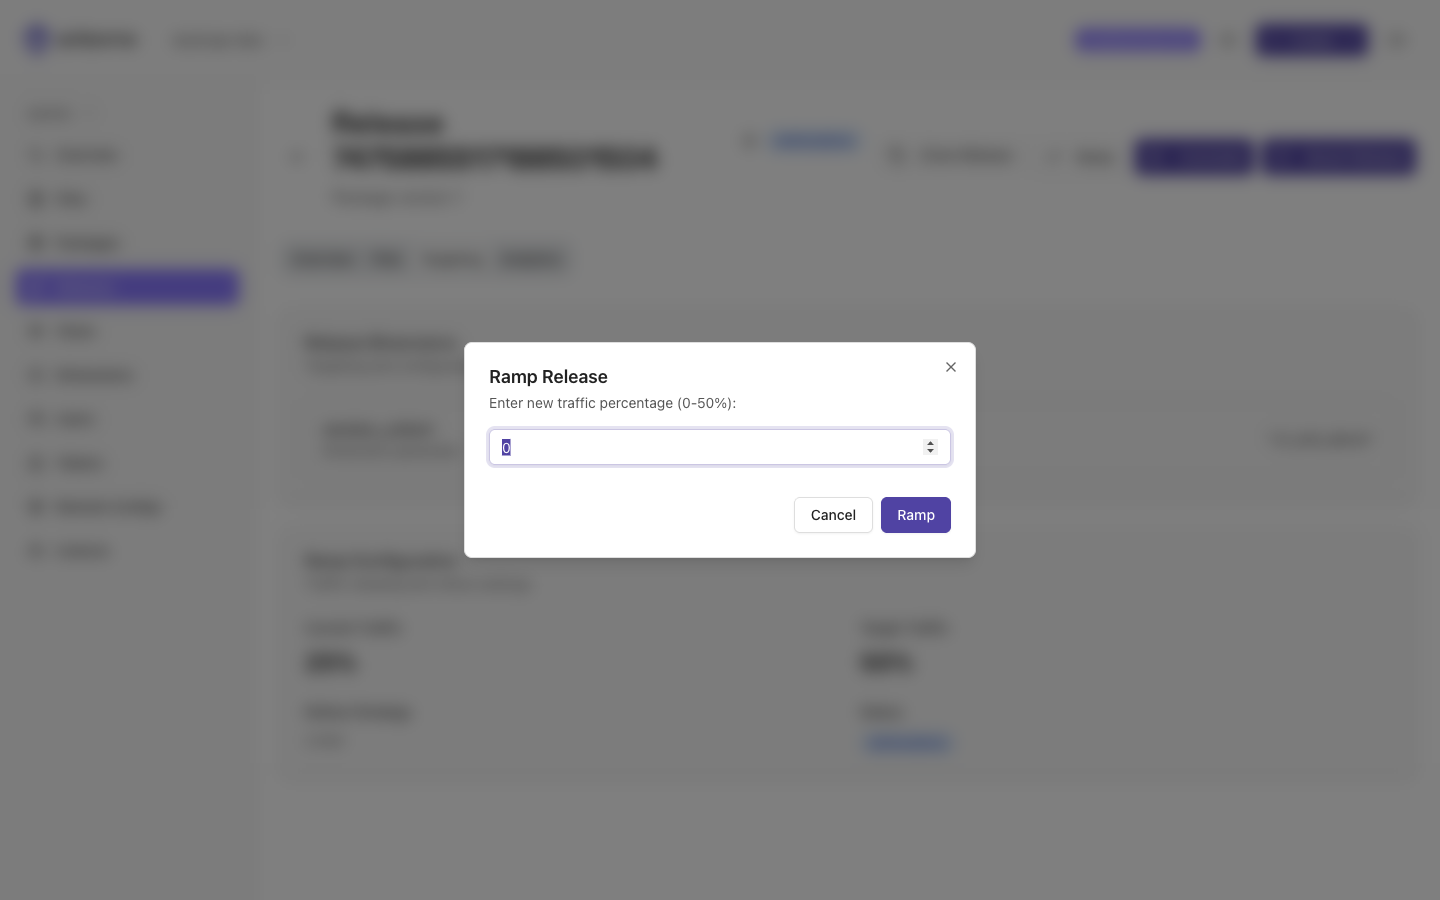
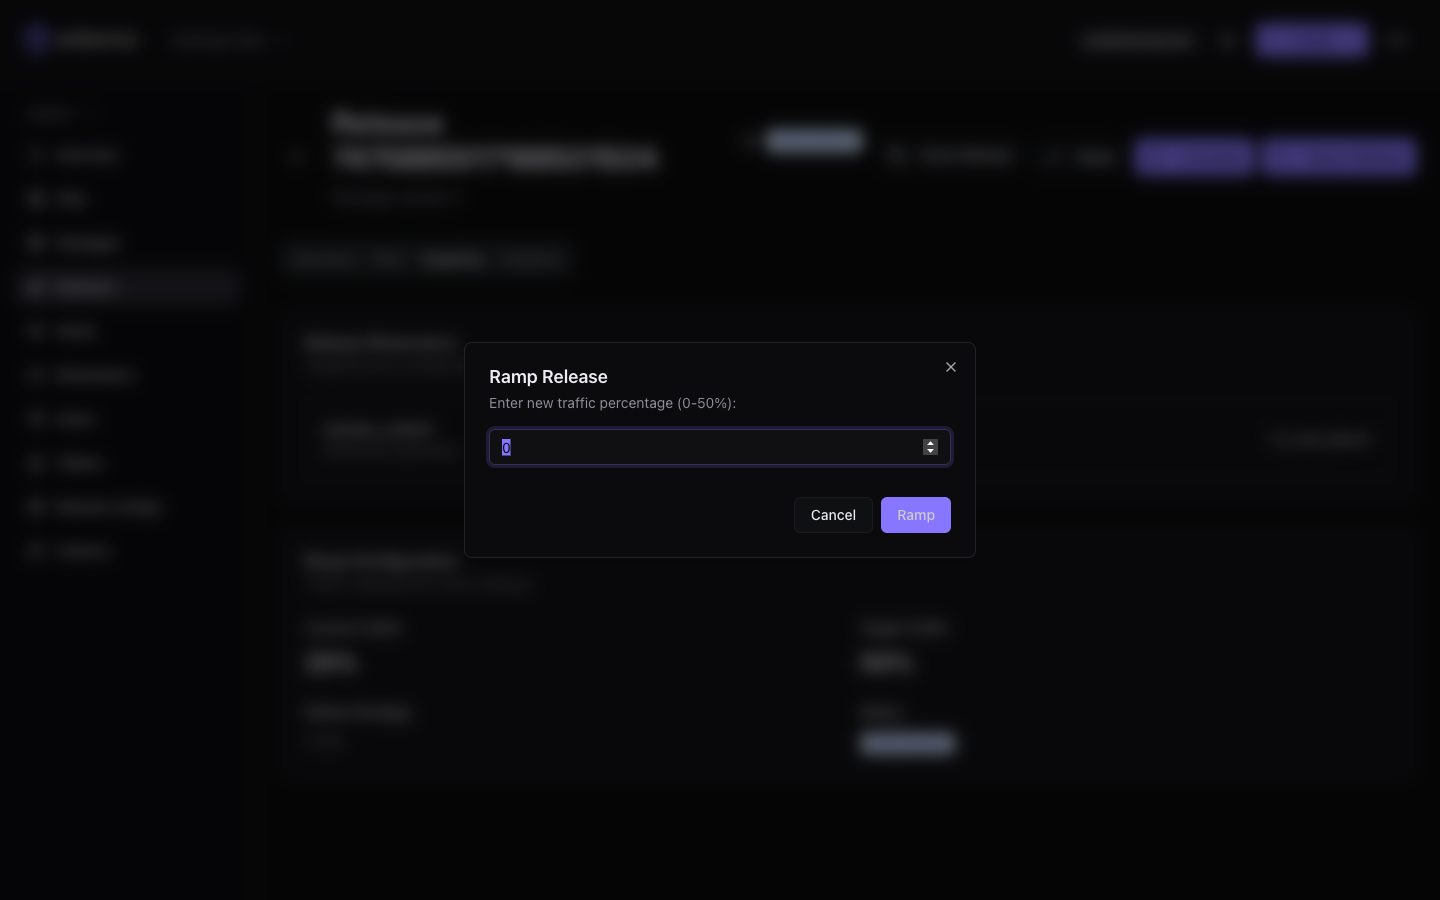
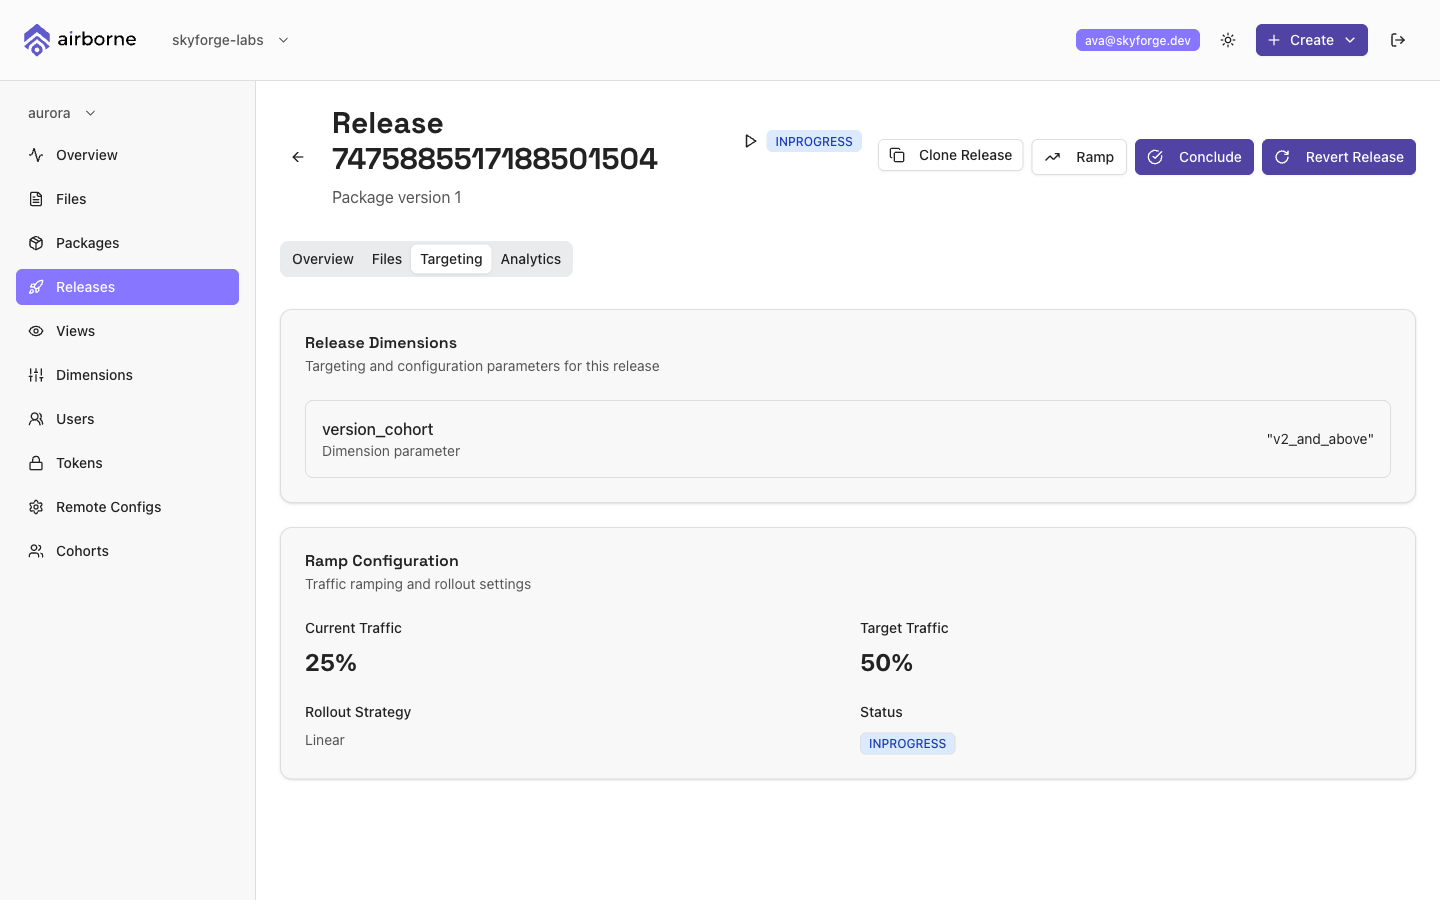
Click Ramp and raise the traffic percentage. Traffic is capped at 50% while a release is an experiment — that keeps a 50/50 control split so you can compare. When you're confident, Conclude to take it to 100% for the whole matched audience.
- Conclude — promote the experiment to 100% of the matched audience.
- Revert / Discard — stop the rollout and fall back to the control.
Step 5 — Monitor adoption
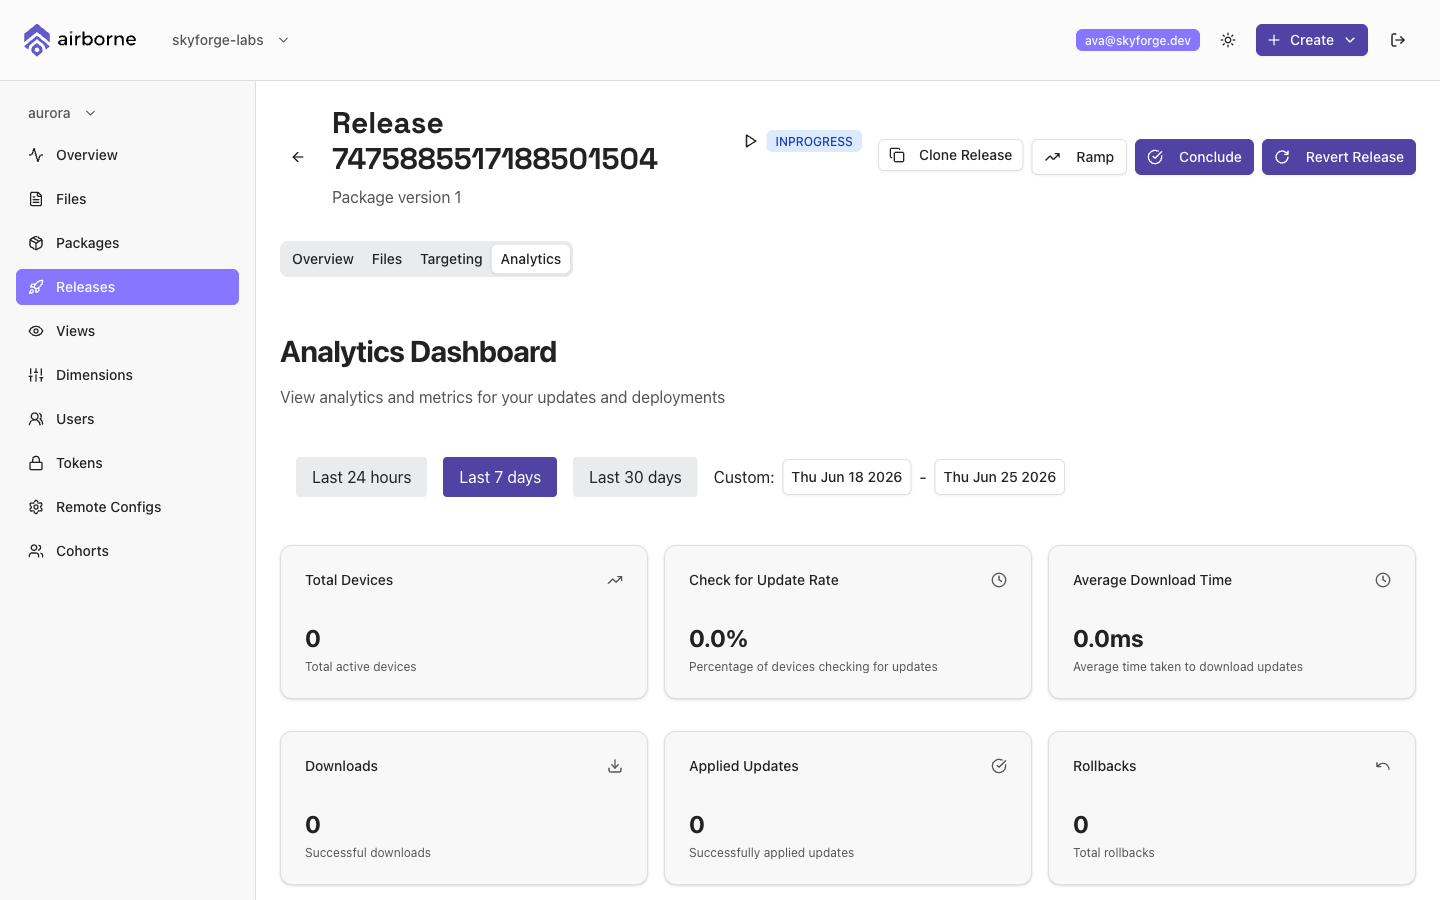
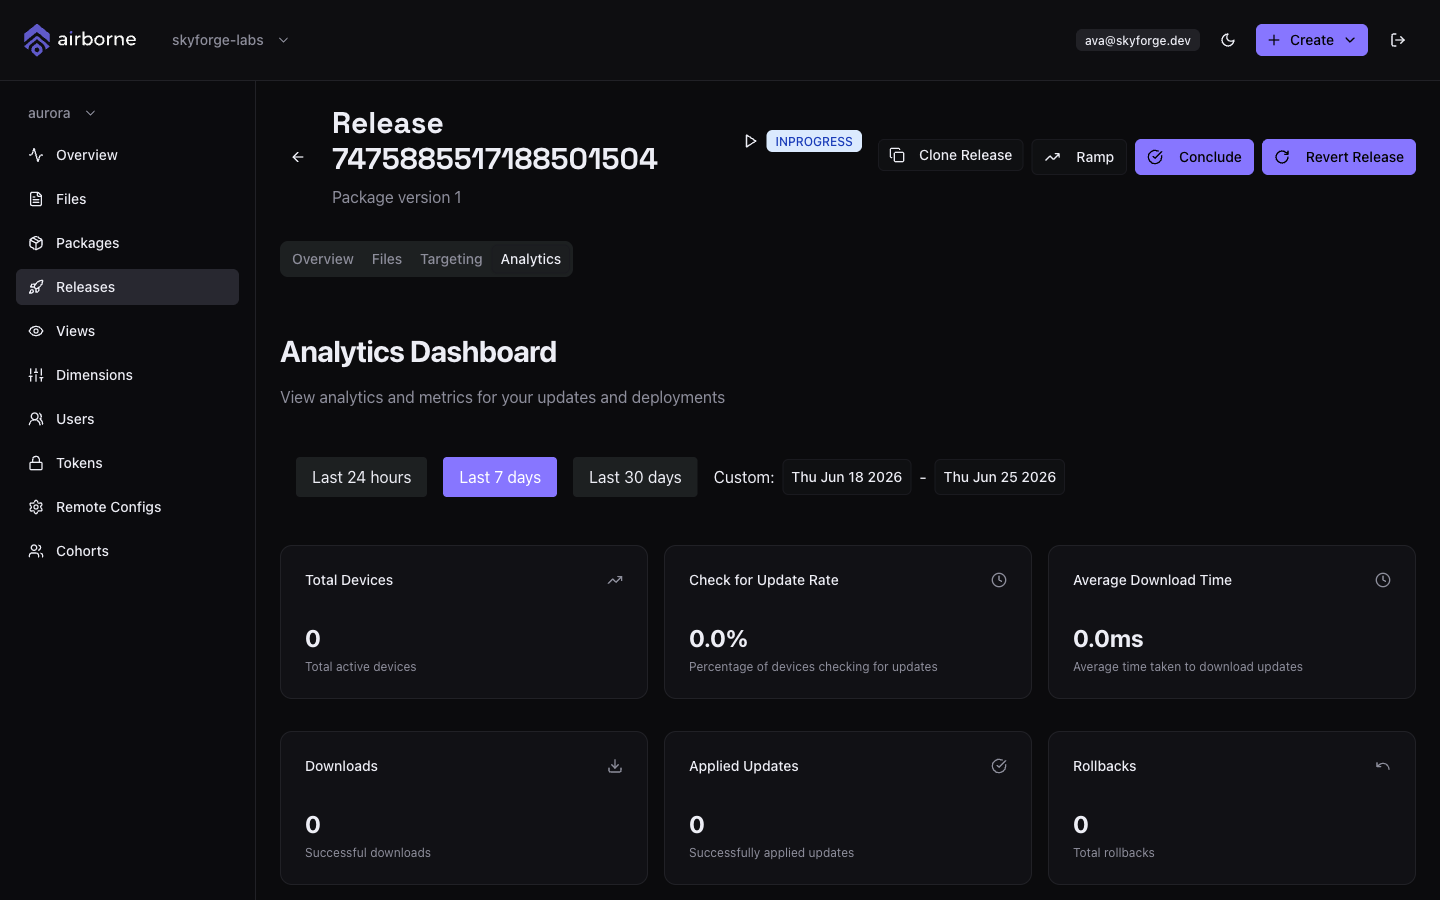
The Analytics tab tracks how the rollout is going — adoption over time, download performance, and errors — so you can decide whether to keep ramping or revert.
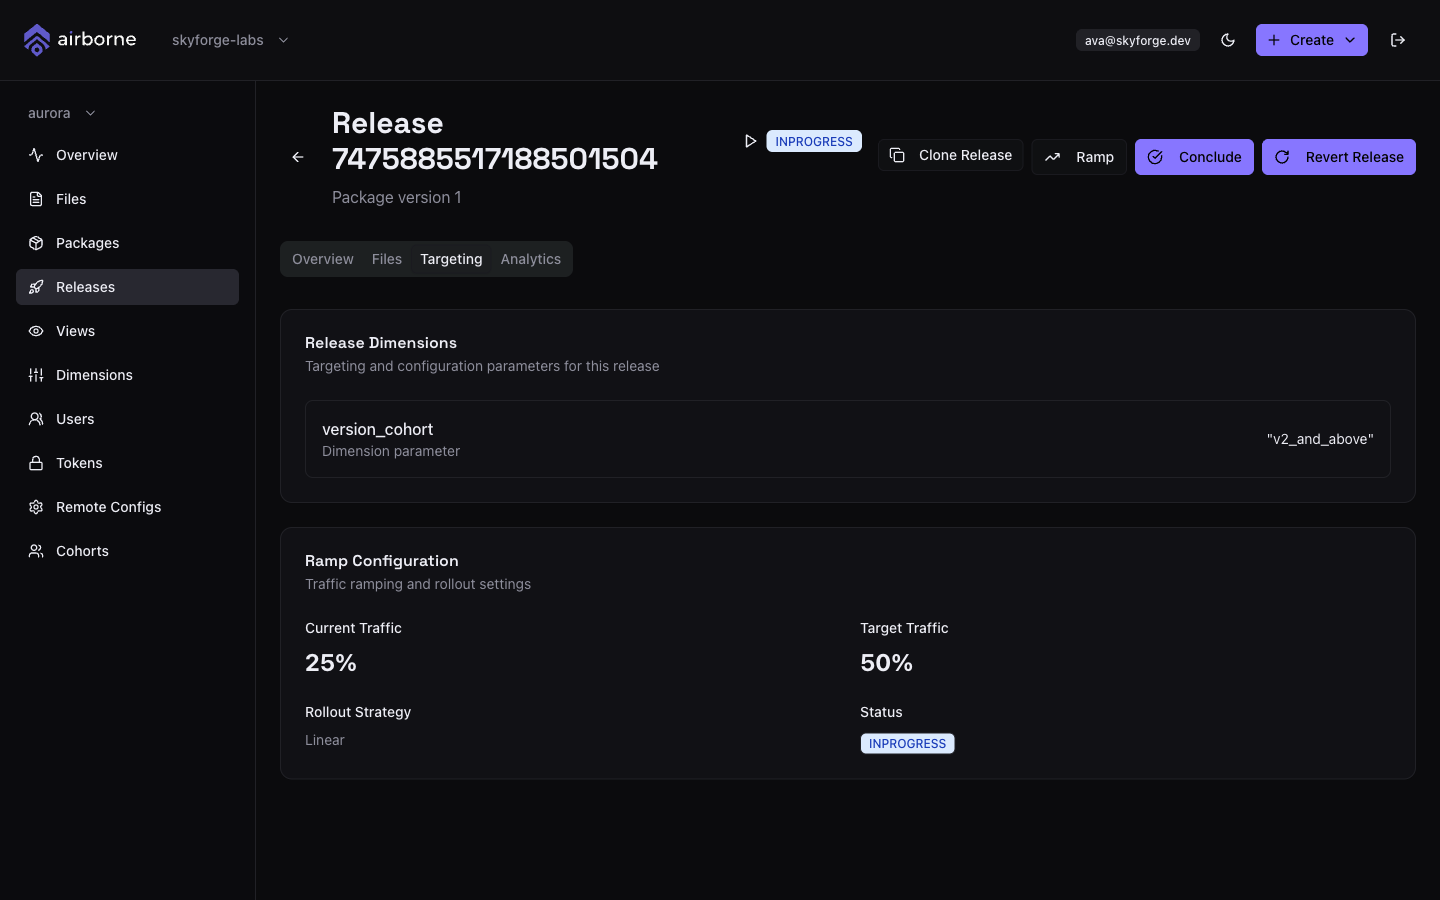
You can also confirm what's being served to a slice of users with the Targeting tab and with Views (saved dimension filters).
Putting it together
A safe rollout usually looks like:
- Define dimensions (
app_version,city) and aversion_cohortwith checkpoints. - Create a release targeting
version_cohort = v2_and_above(don't break older native versions). - Ramp to 10%, watch analytics, ramp to 25%, then 50%.
- Conclude to reach 100% — or Revert if errors climb.
Related
- Dashboard → Dimensions and Cohorts — the full feature reference.
- Dashboard → Releases — the complete wizard and lifecycle.
- Core CLI — create dimensions and releases (
CreateDimension,CreateRelease) from scripts/CI.