Users & Roles
Airborne controls access with role-based access control (RBAC). Users are granted roles, and each role is a bundle of fine-grained permissions. Access is managed on the Users page, which exists at both the organisation level and inside each application.
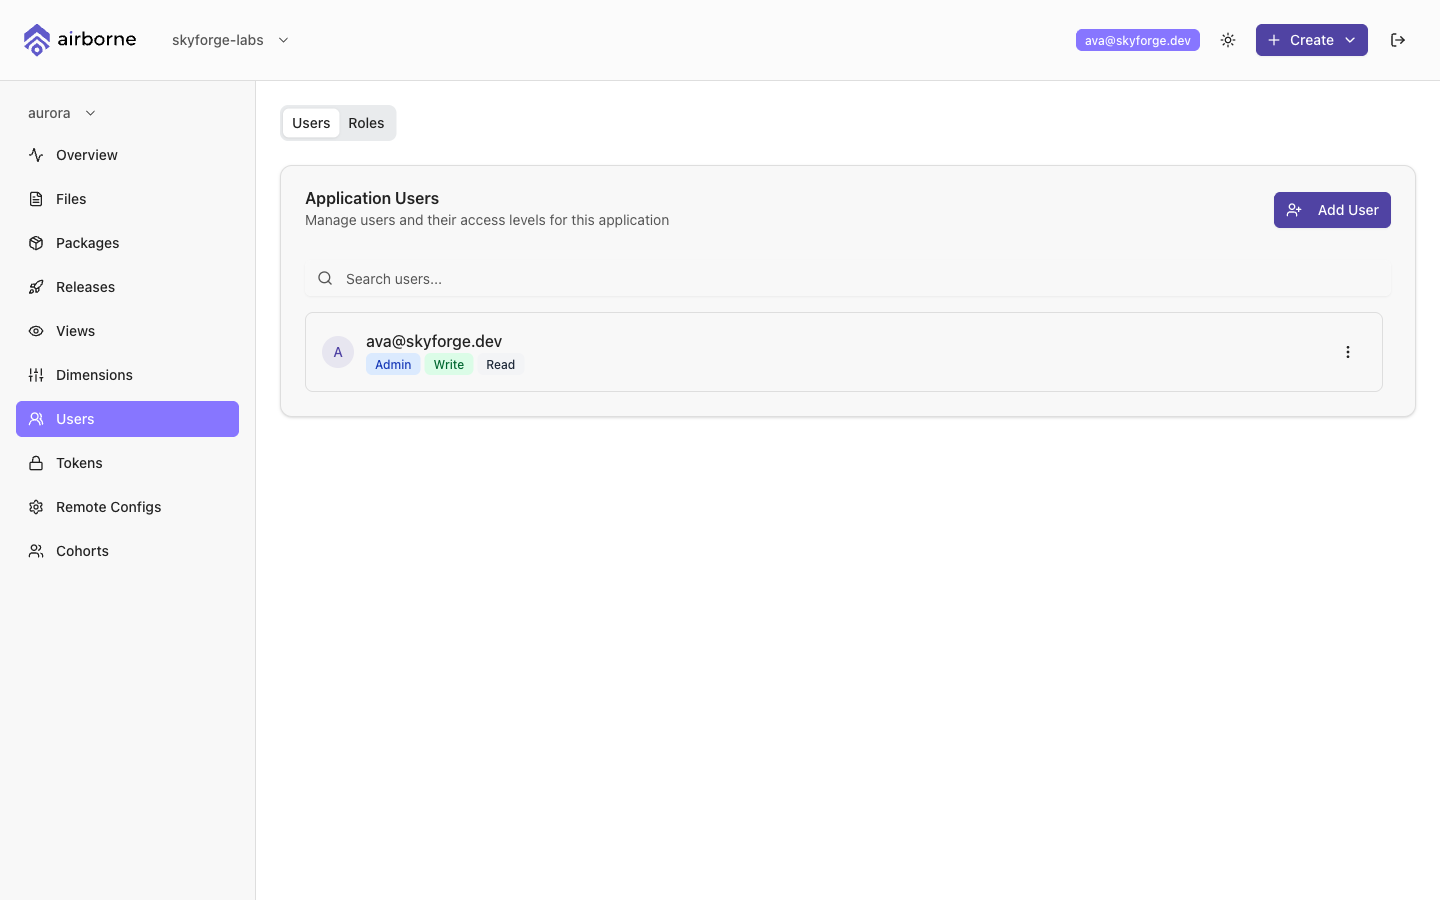
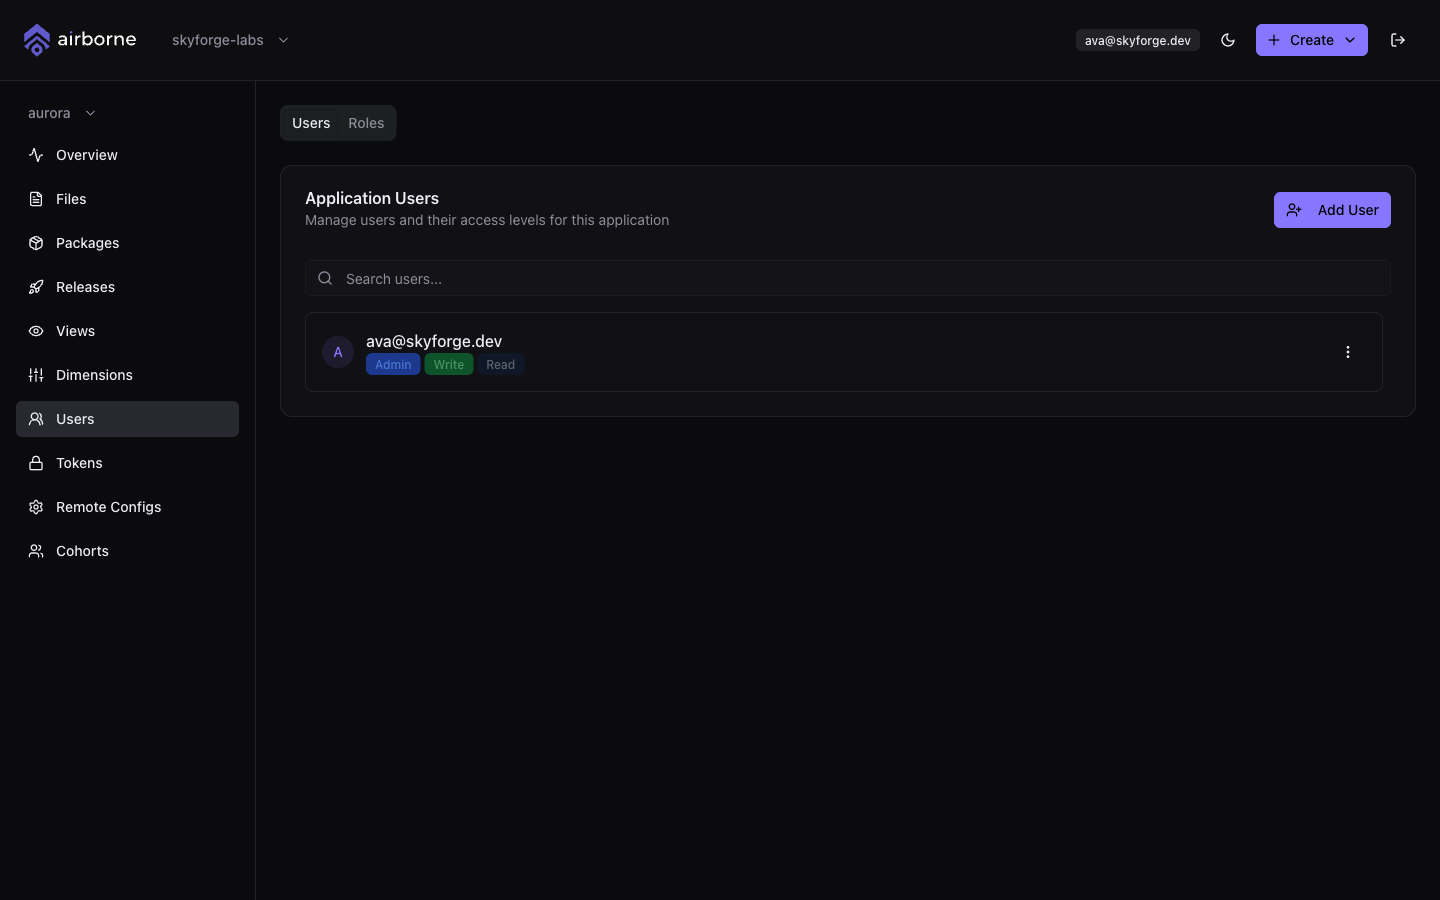
Organisation scope vs application scope
There are two Users pages, and they control different things:
- The organisation Users page (in the org-level sidebar) controls who belongs to the organisation. Organisation membership is also where ownership is held.
- The application Users page (in the app sidebar) controls who can access that specific application and at what role.
The page itself has two tabs: Users and Roles.
Adding a user
On the Users tab, choose Add User. In the Add New User dialog:
- Pick or enter the User. At the application level you can choose from the organisation's existing members; otherwise enter the user's email.
- Choose a Role from the dropdown (defaults to
read).
Choose Add User. The user appears in the list with a coloured badge for each role they hold.
Changing roles and removing users
Open the actions menu (⋯) next to a user to:
- Set role to
<role>— switch the user to a different role. - Remove User — revoke their access (asks you to confirm).
- Transfer Ownership — on the organisation Users page only, hand ownership to another member.
Removing a user or transferring ownership cannot be undone. The dashboard asks you to confirm both actions.
The permission model
Permissions are expressed as resource:action:scope — for example release:create:app or token:read:app. The scope is either:
app— the permission applies within an application (releases, packages, files, tokens, views, app users, and so on), ororg— the permission applies at the organisation level (managing the org and its users).
Common resources include release (with actions such as read, create, update, ramp, conclude, discard), package, token, release_view, property_schema, application_user, and application_role.
Built-in and custom roles
Airborne ships four read-only system roles:
| Role | Intent |
|---|---|
| owner | Full control, including transferring ownership. |
| admin | Full control short of ownership transfer. |
| write | Create and update releases, manage views, and so on. |
| read | View-only access. |
To define your own role, open the Roles tab and use the creation form:
- Enter a role key — lowercase letters and underscores only, for example
release_manager. - Search the permission list and tick every permission the role should grant.
- Choose Create Role.
Custom roles appear alongside the system roles and can be edited later; system roles are read-only. The exact set of actions a user can take in the dashboard — including whether they can add users, edit roles, or create tokens — is driven entirely by the permissions in the roles they hold.
Grant the narrowest role that lets someone do their job. Use read for stakeholders who only need visibility, and reserve admin/owner for the people who manage the workspace.