Releases
A release ships a package version to your users over the air. Releases are the heart of Airborne: you configure one in a six-step wizard, optionally target it at a slice of users, then roll it out gradually as an experiment — ramping traffic up, watching the metrics, and concluding when you are confident.
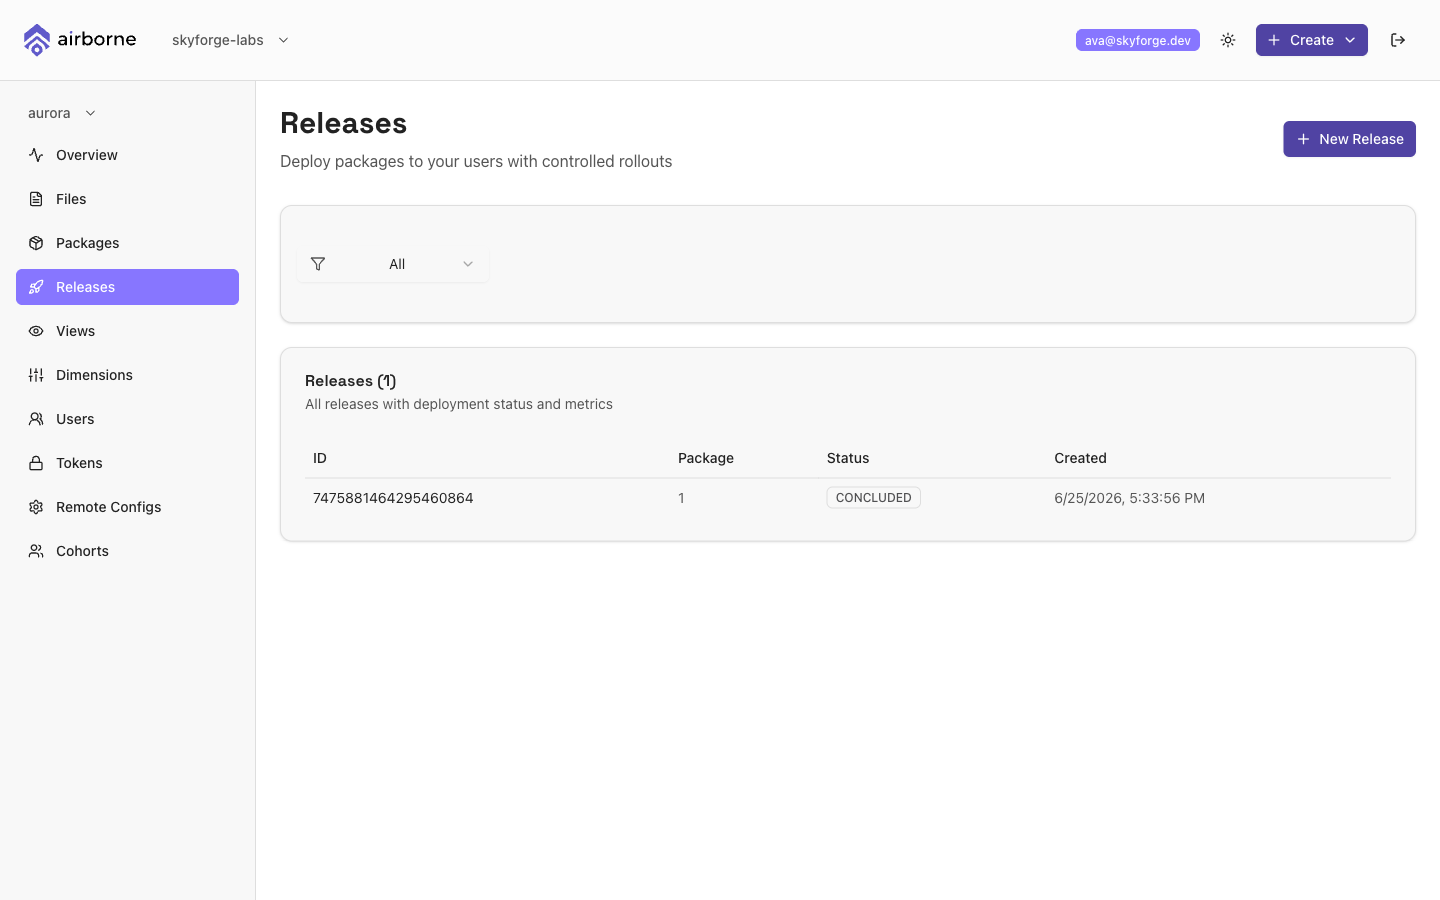
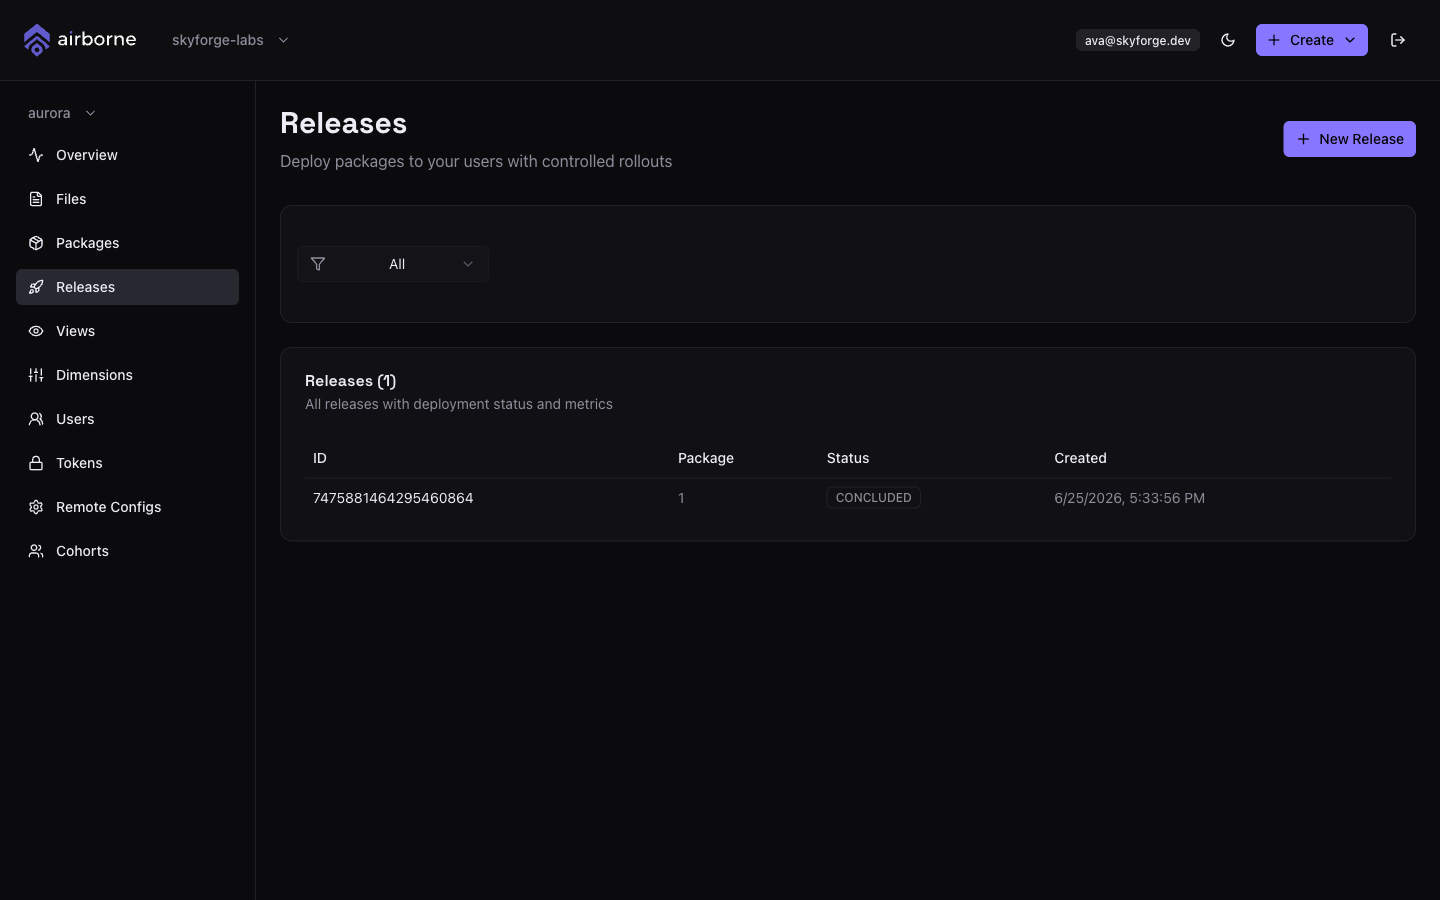
The Releases list
Each row shows a release's ID, its Package version, its Status, and when it was Created. Click any row to open its detail page. Filter by status with the tabs at the top:
| Filter | Meaning |
|---|---|
| All | Every release. |
| Created | Configured but not yet rolling out. |
| In Progress | Currently ramping (an active experiment). |
| Concluded | Rolled out to 100% and finalised. |
| Discarded | Abandoned before or during rollout. |
A release that is ramping shows its current traffic in the status — for example Ramping to 25%.
To start a new one, choose New Release.
For a full end-to-end walkthrough — files, package, then a targeted release — follow the Create & target a release guide.
The create wizard
The New Release button opens a six-step wizard. A step indicator across the top tracks your progress; use Next Step and Previous to move between steps, or Cancel to leave.
Step 1 — Configure
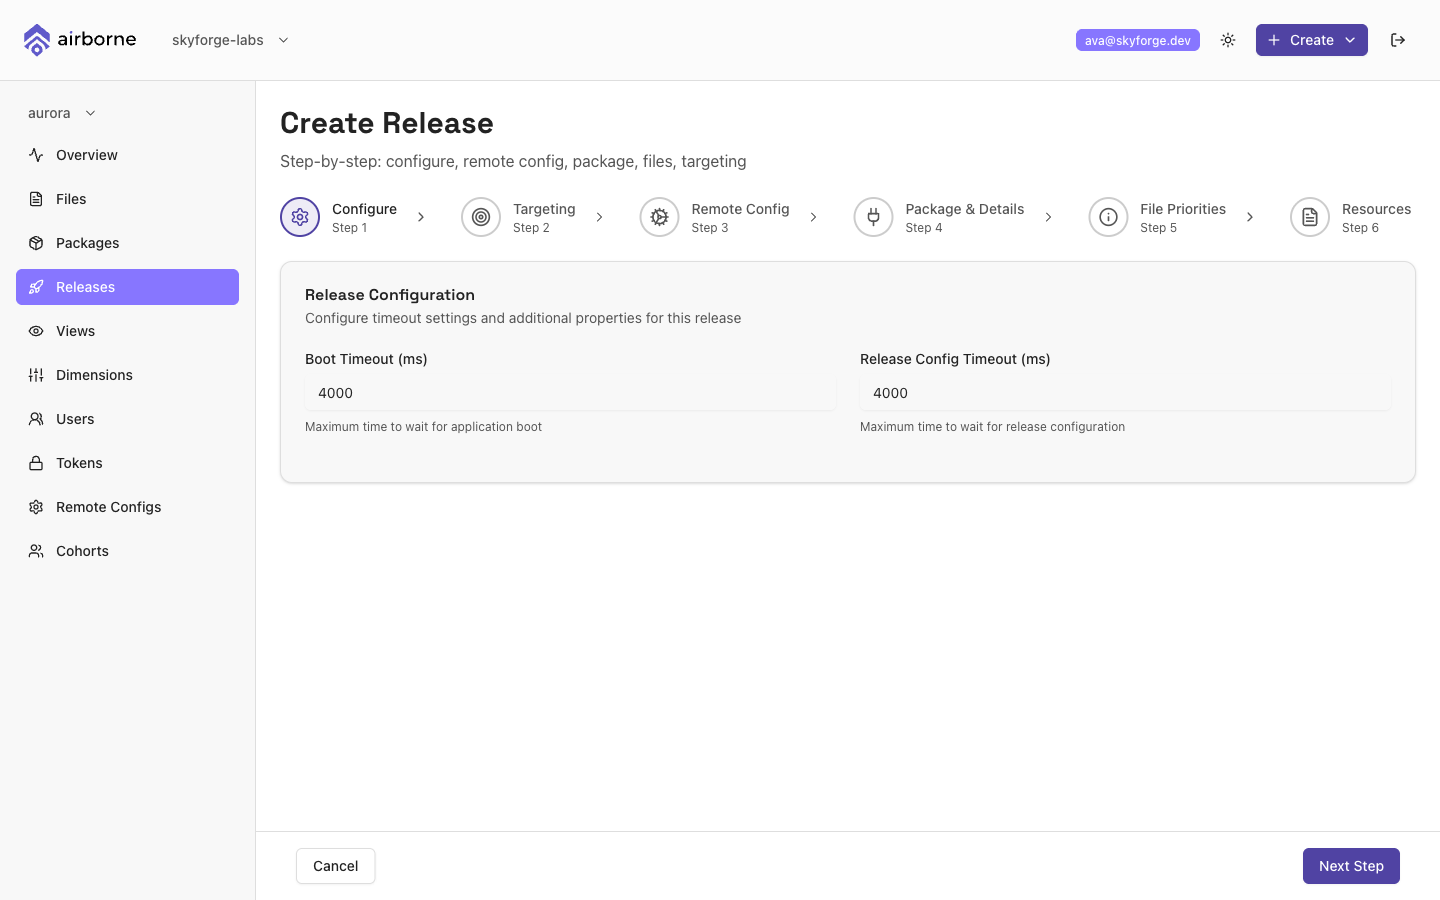
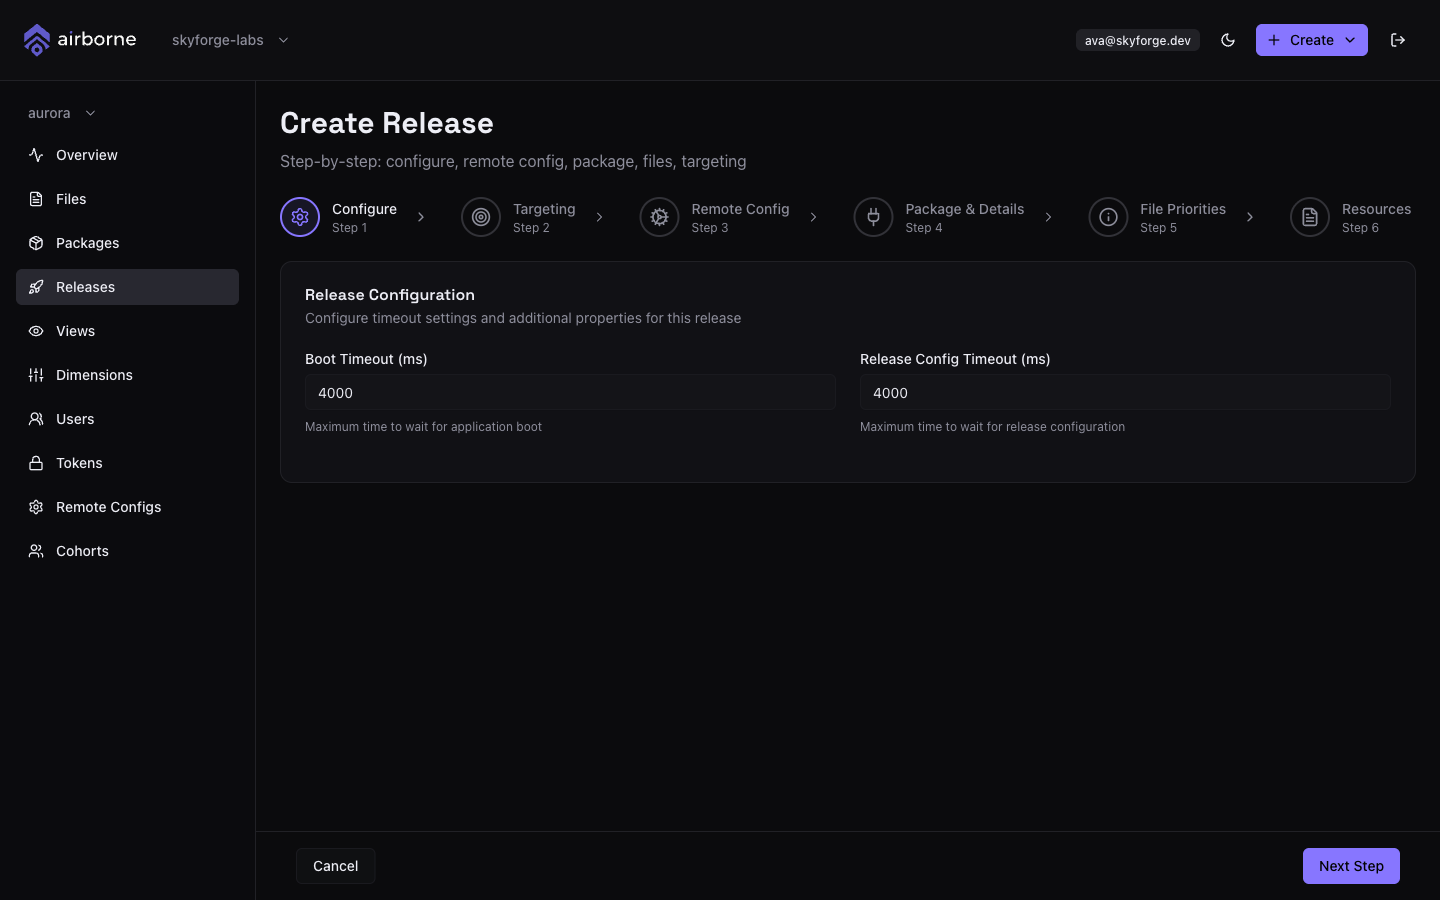
Set the timeouts the SDK uses when applying this release:
- Boot Timeout (ms) — the maximum time to wait for the application to boot (default
4000). - Release Config Timeout (ms) — the maximum time to wait for the release configuration (default
4000).
Step 2 — Targeting
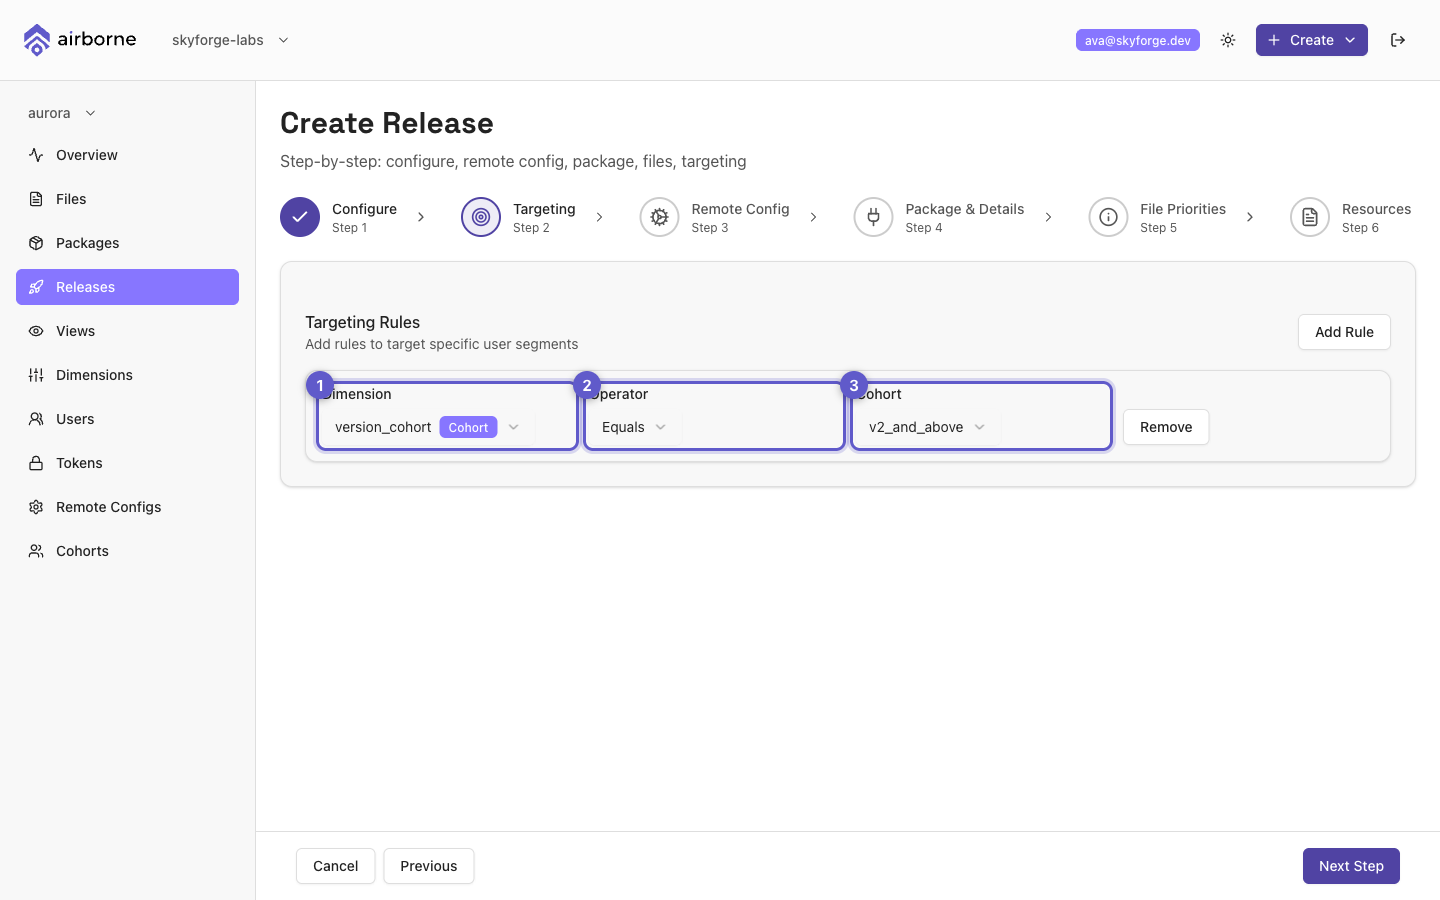
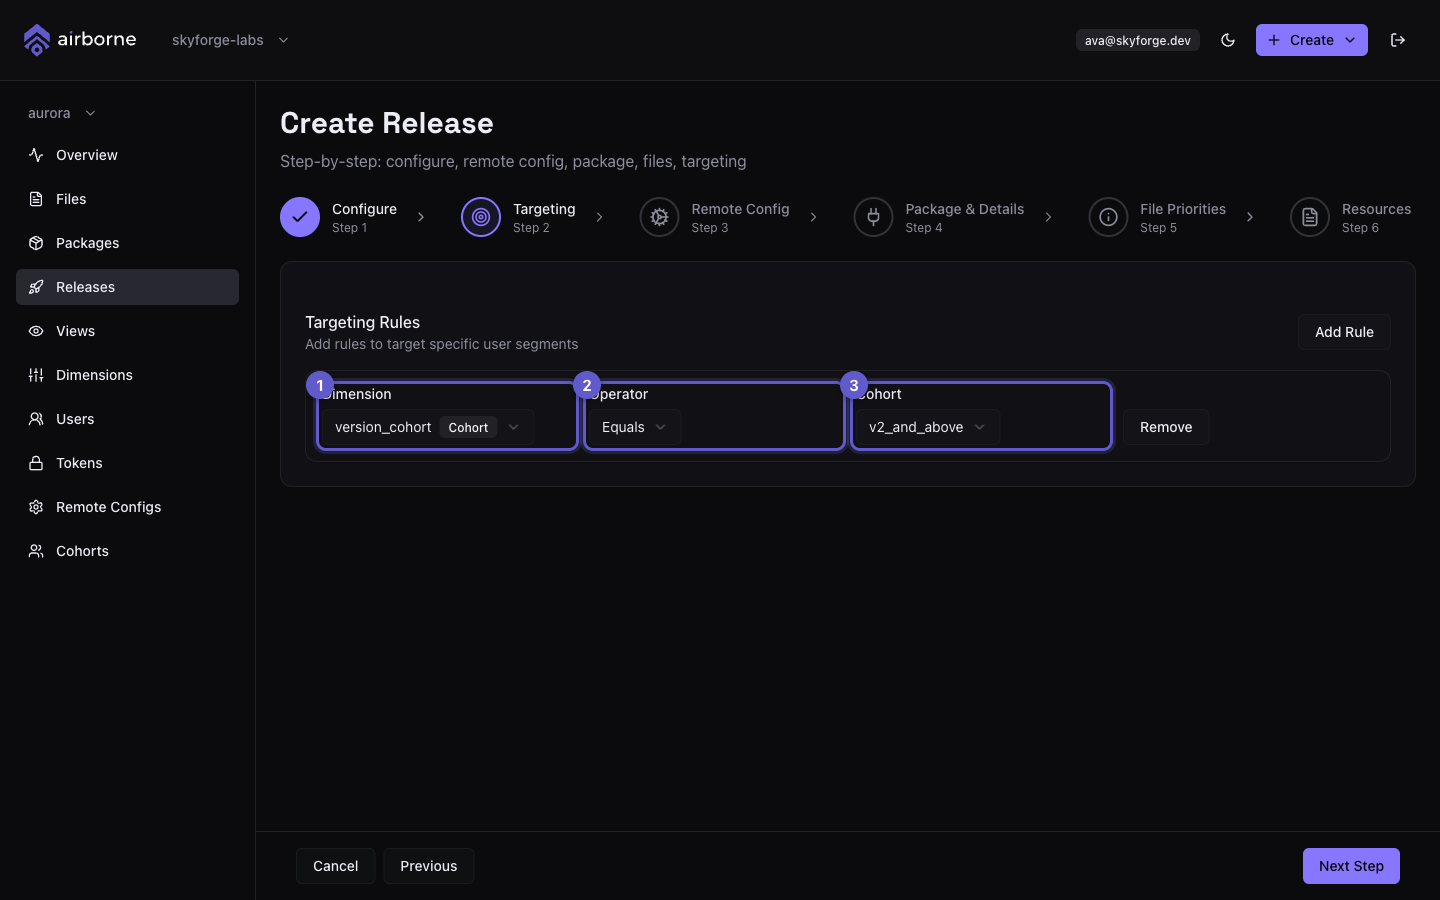
Targeting decides who gets the release. Choose Add Rule to add a rule made of a Dimension, an Operator (Equals), and a Value. Add as many rules as you need, and remove any with Remove. A release with no rules goes to all users.
If the dimension is a cohort dimension, the value field becomes a dropdown of that cohort's values (rather than a free-text box), and the dimension is tagged Cohort in the picker.
Your first release cannot be targeted — it always goes to all users. The Add Rule option only appears once the application already has at least one release. Targeting also can't be changed when editing an existing release; create a new release to change targeting.
See Dimensions to define the attributes you target on.
Step 3 — Remote Config
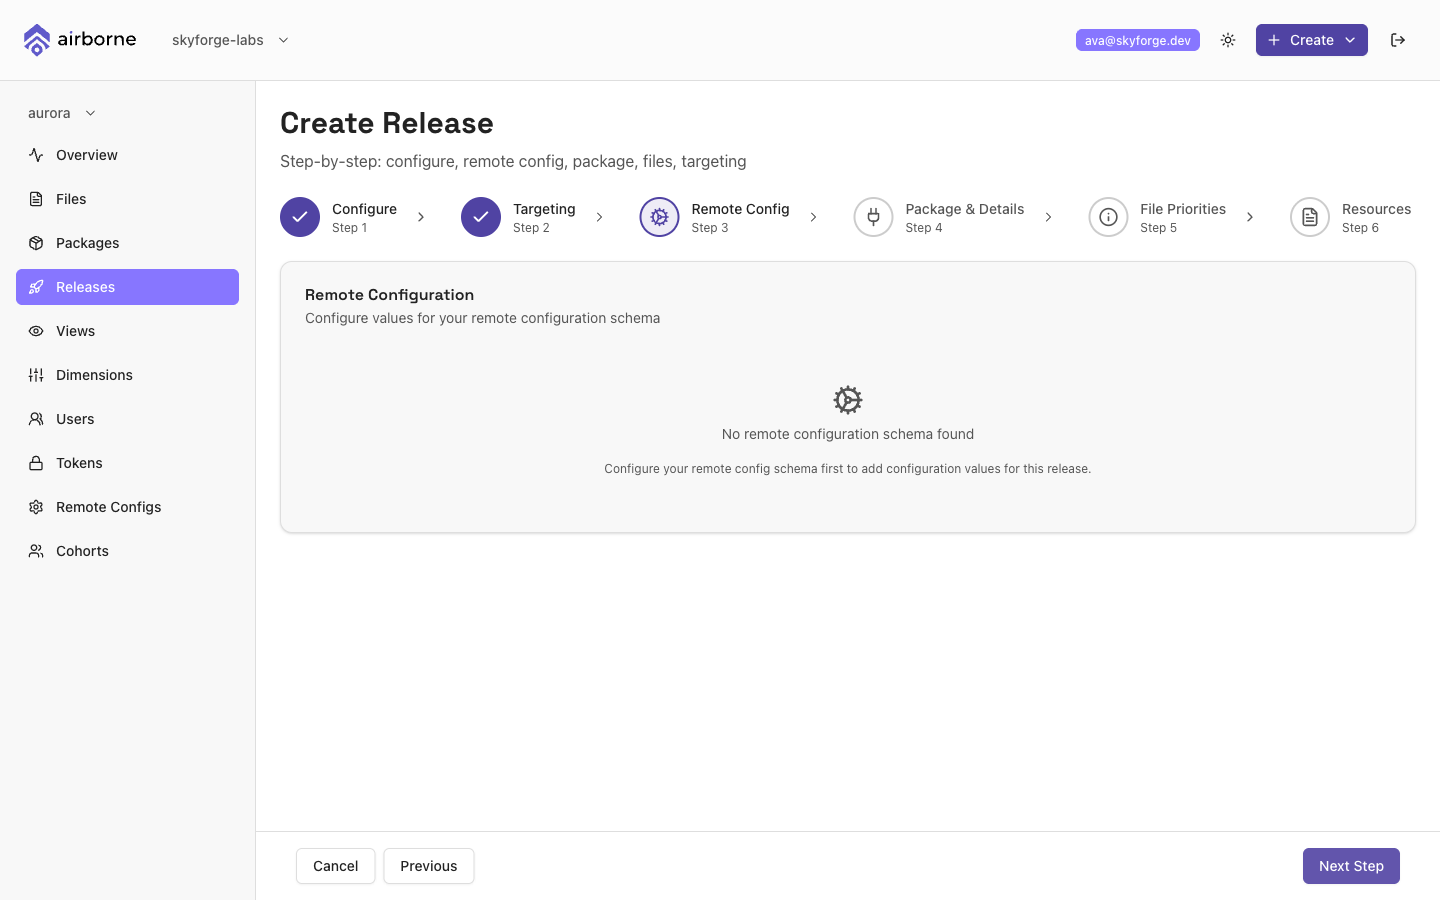
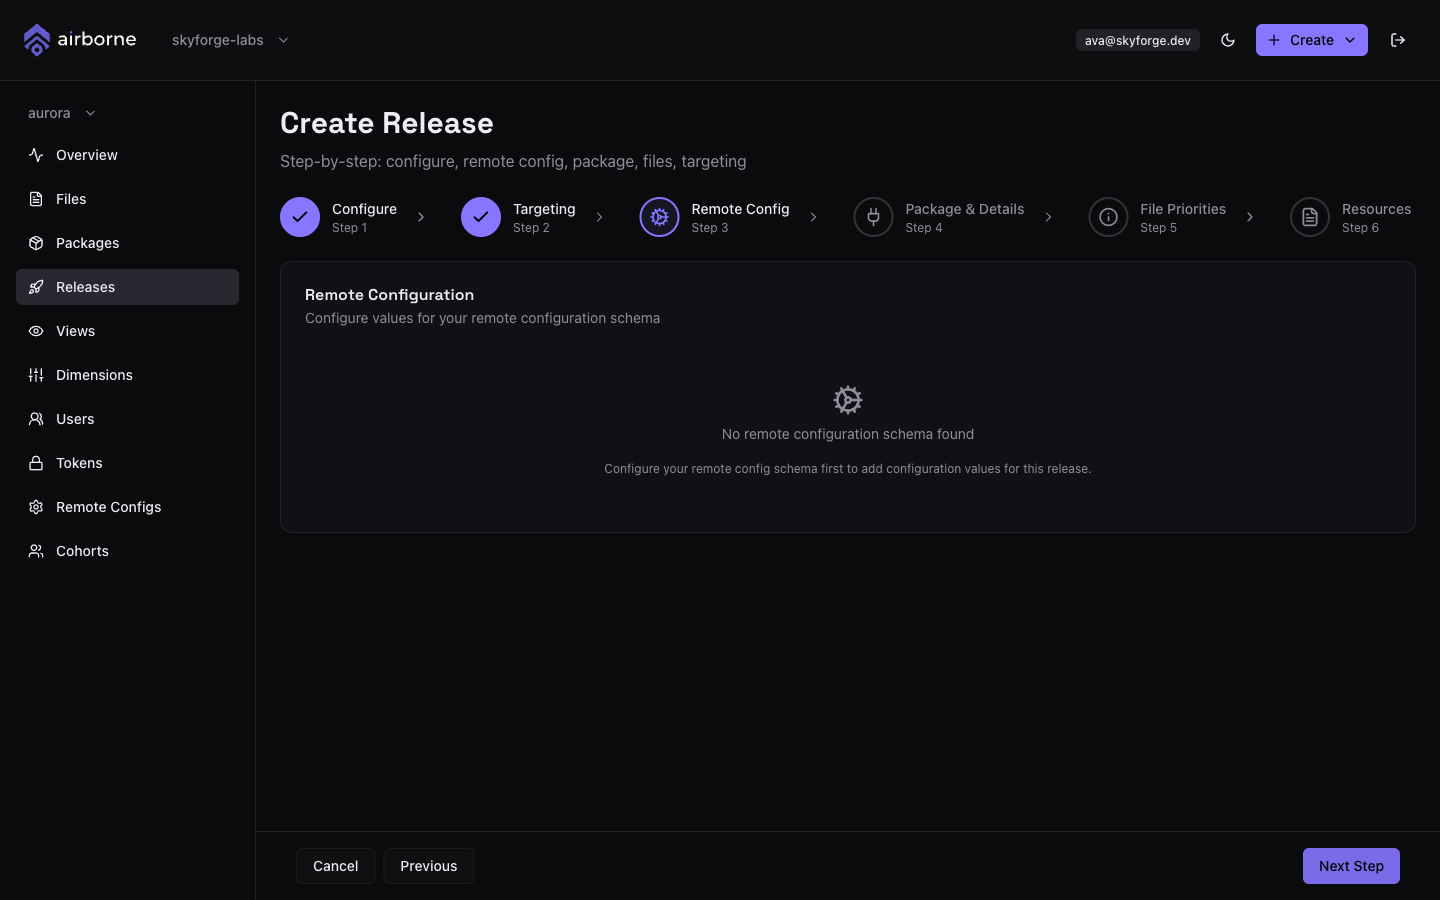
If your app has a remote-config schema, this step renders a form for it — a field per schema entry, typed as text, number, boolean, dropdown, or JSON for arrays and objects. Required fields are validated before you can continue, and a live Preview (JSON) shows the resulting configuration. If no schema is defined, the step explains that and you simply continue.
Step 4 — Package & Details
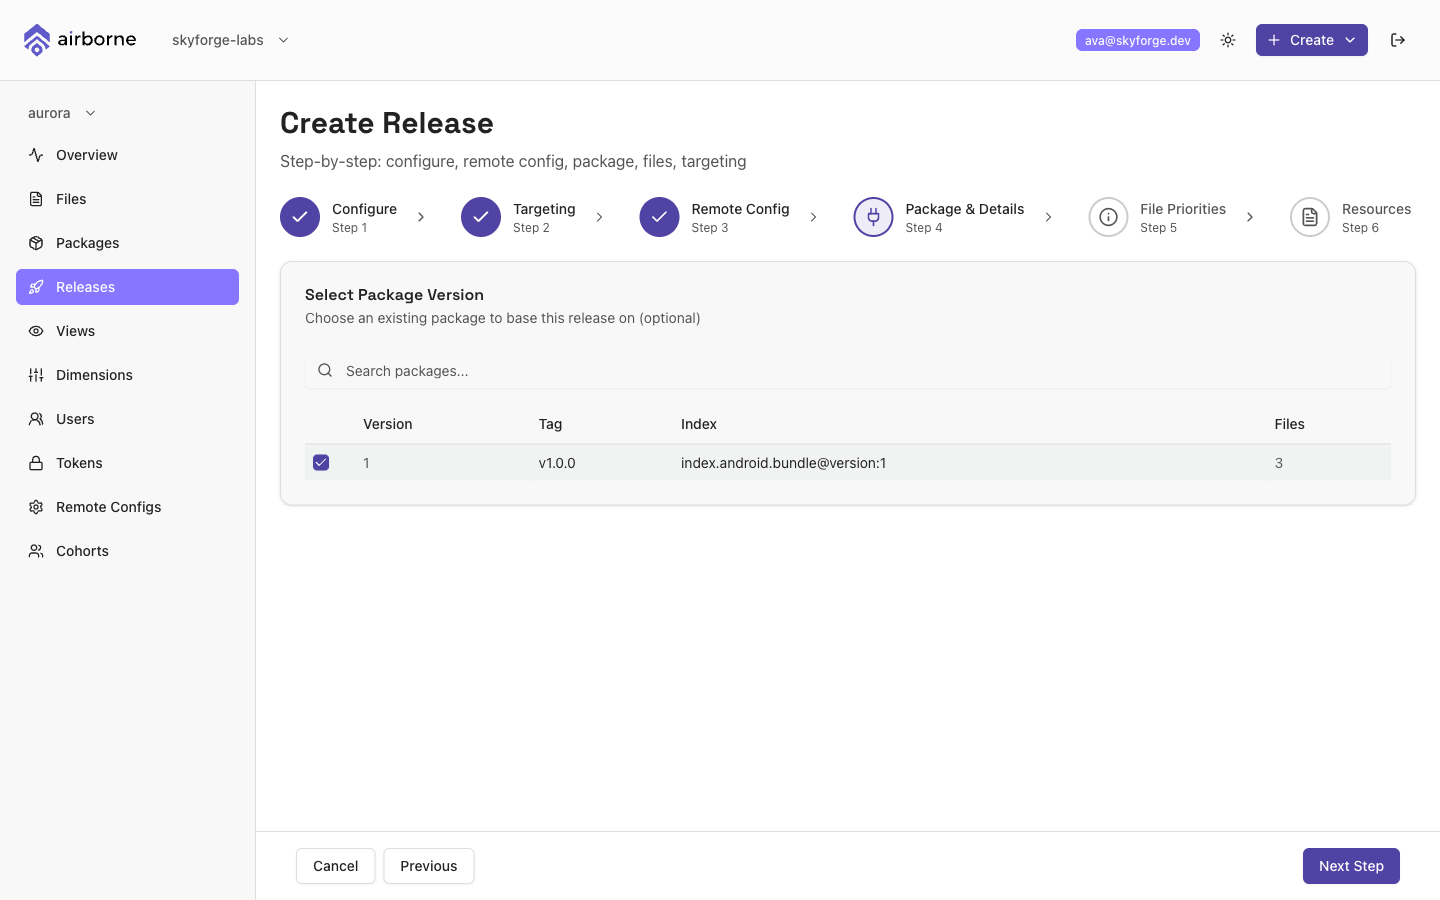
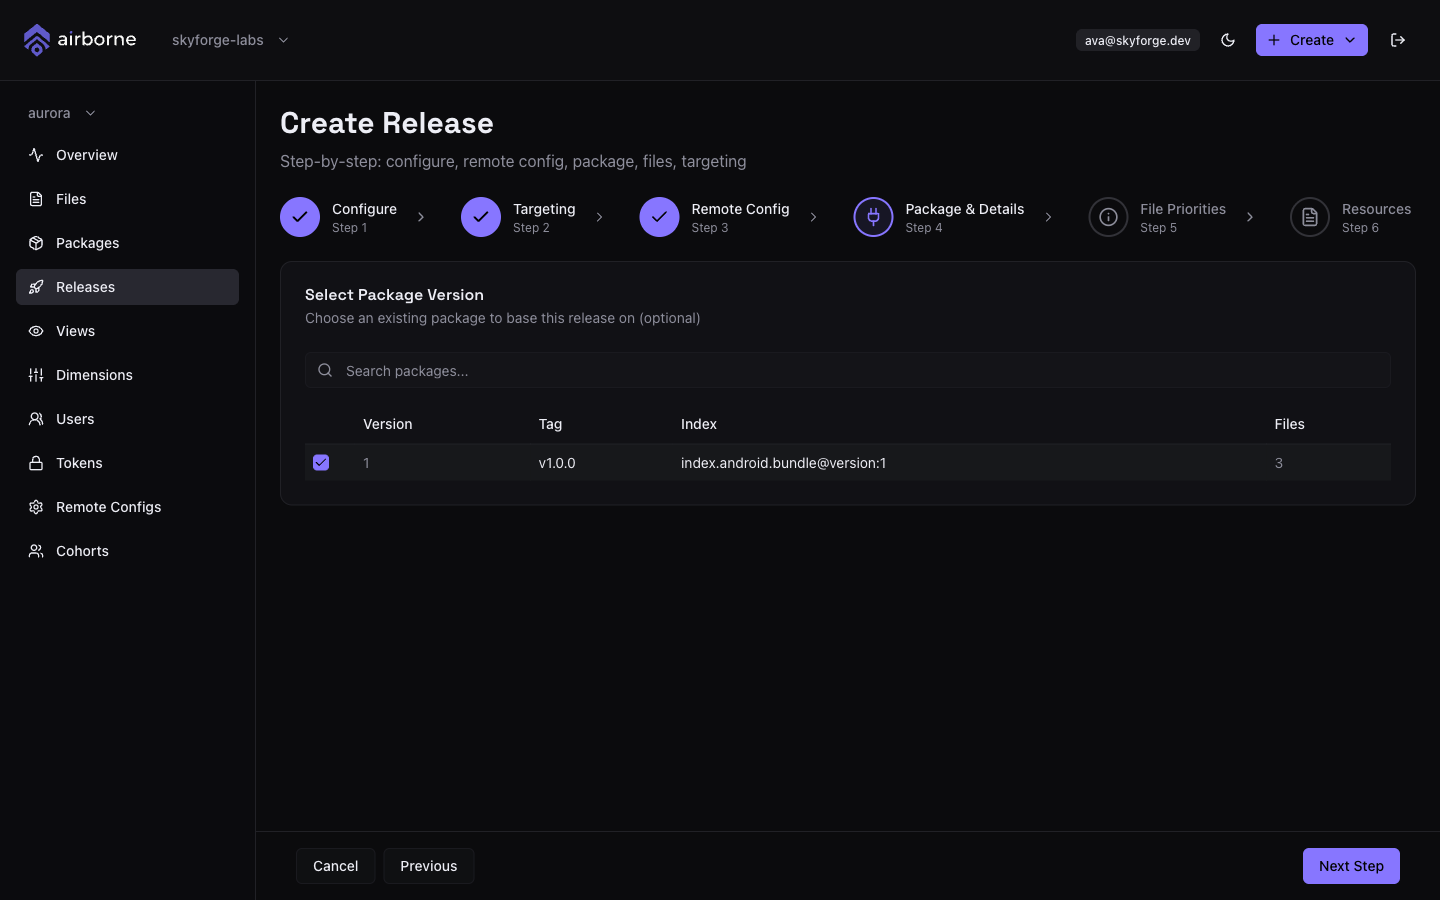
Pick the package version this release ships. Search packages by name, then select one with its checkbox (only one package per release). The table shows each package's Version, Tag, Index file, and Files count. You must select a package to continue.
Step 5 — File Priorities
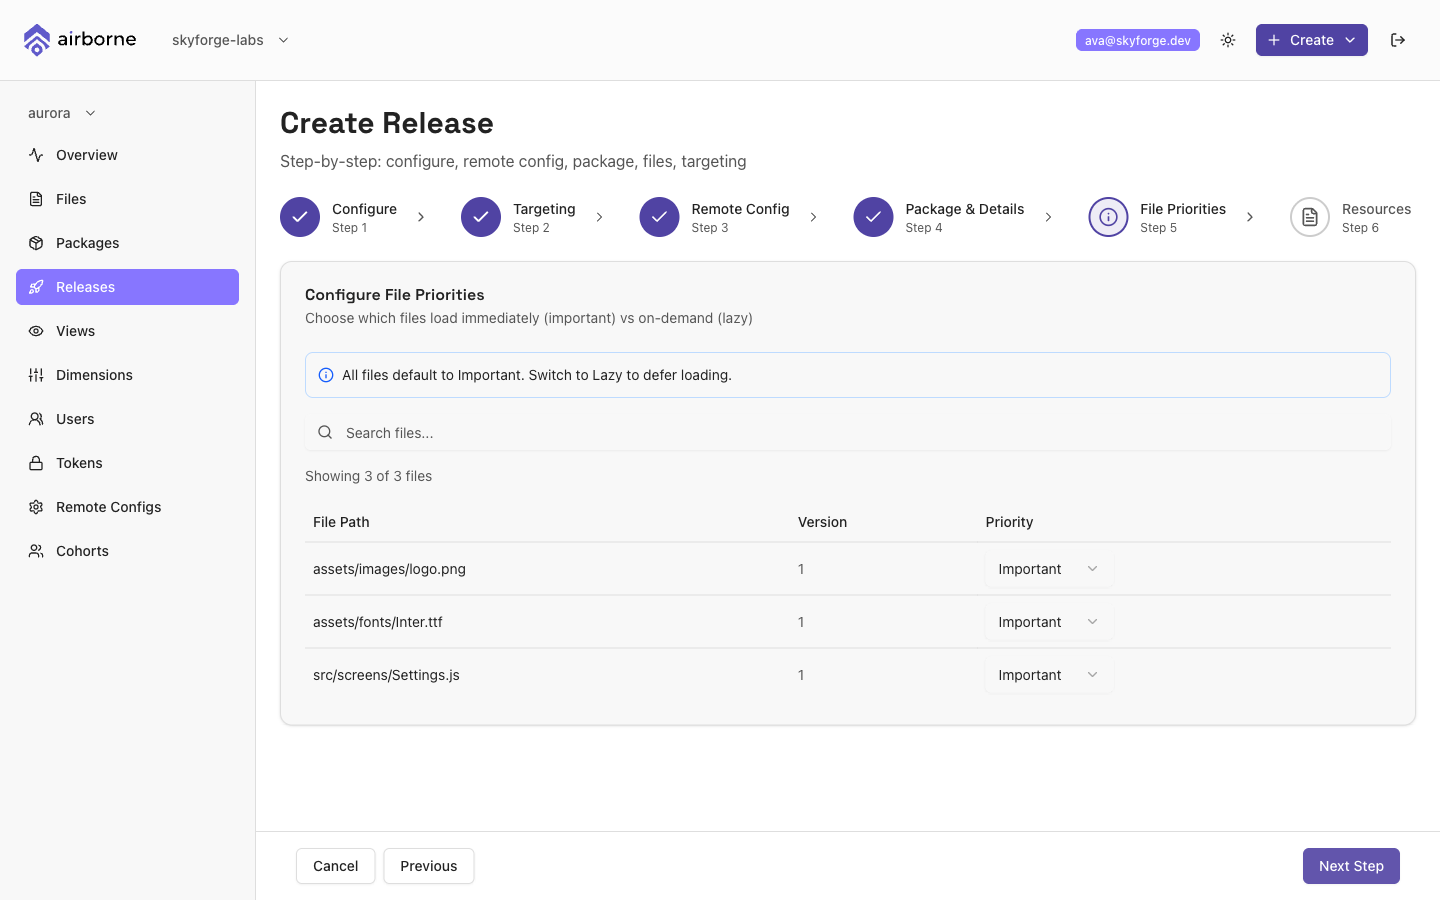
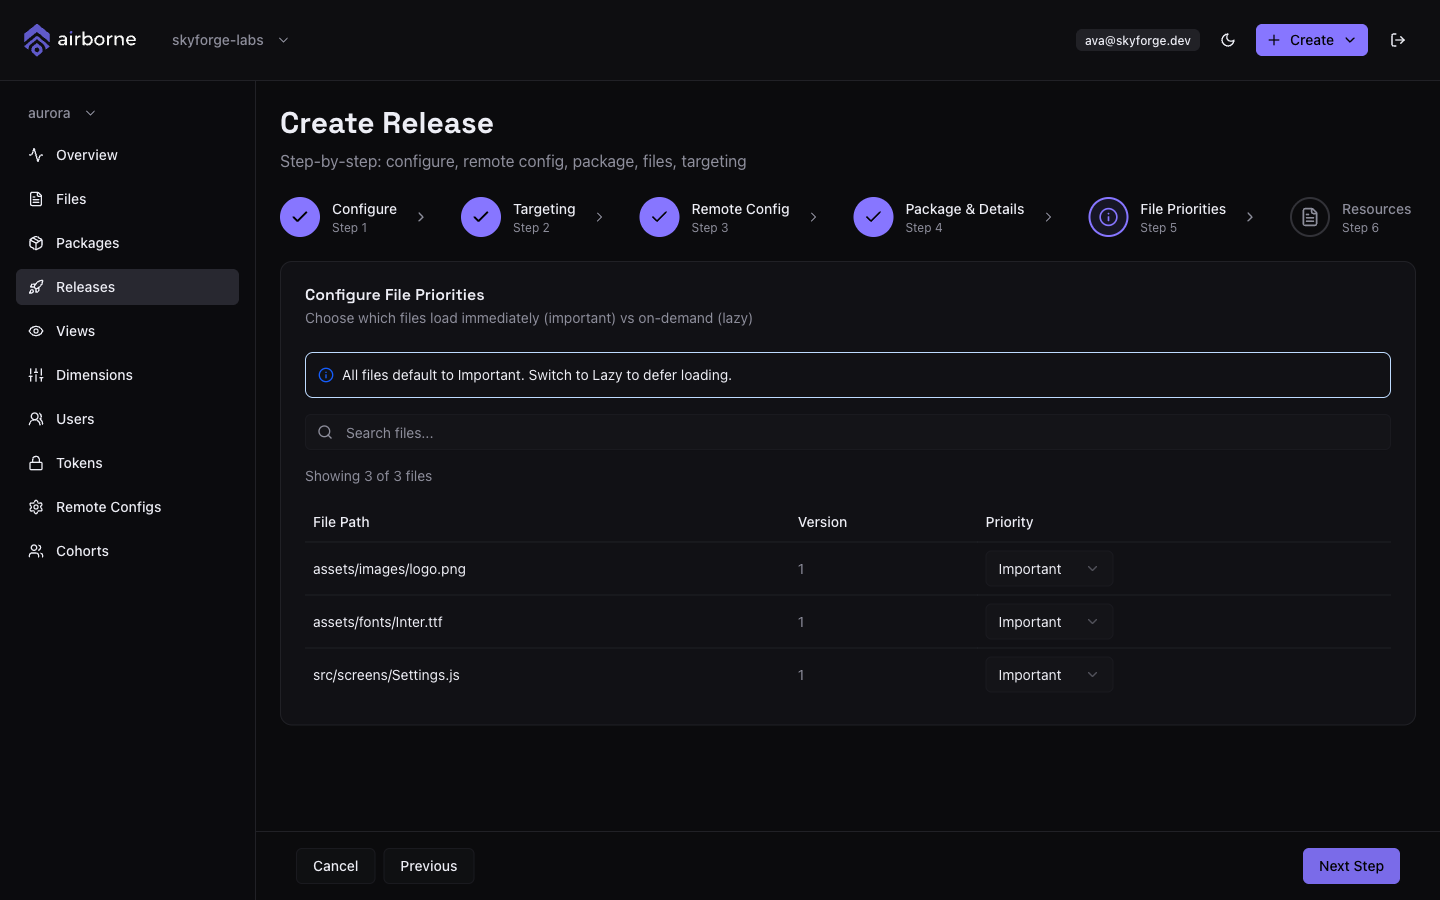
Decide how each file in the package loads. Every file defaults to Important (downloaded immediately). Switch any file's priority to Lazy to defer it so it downloads on demand instead. Search to find specific files.
Step 6 — Resources
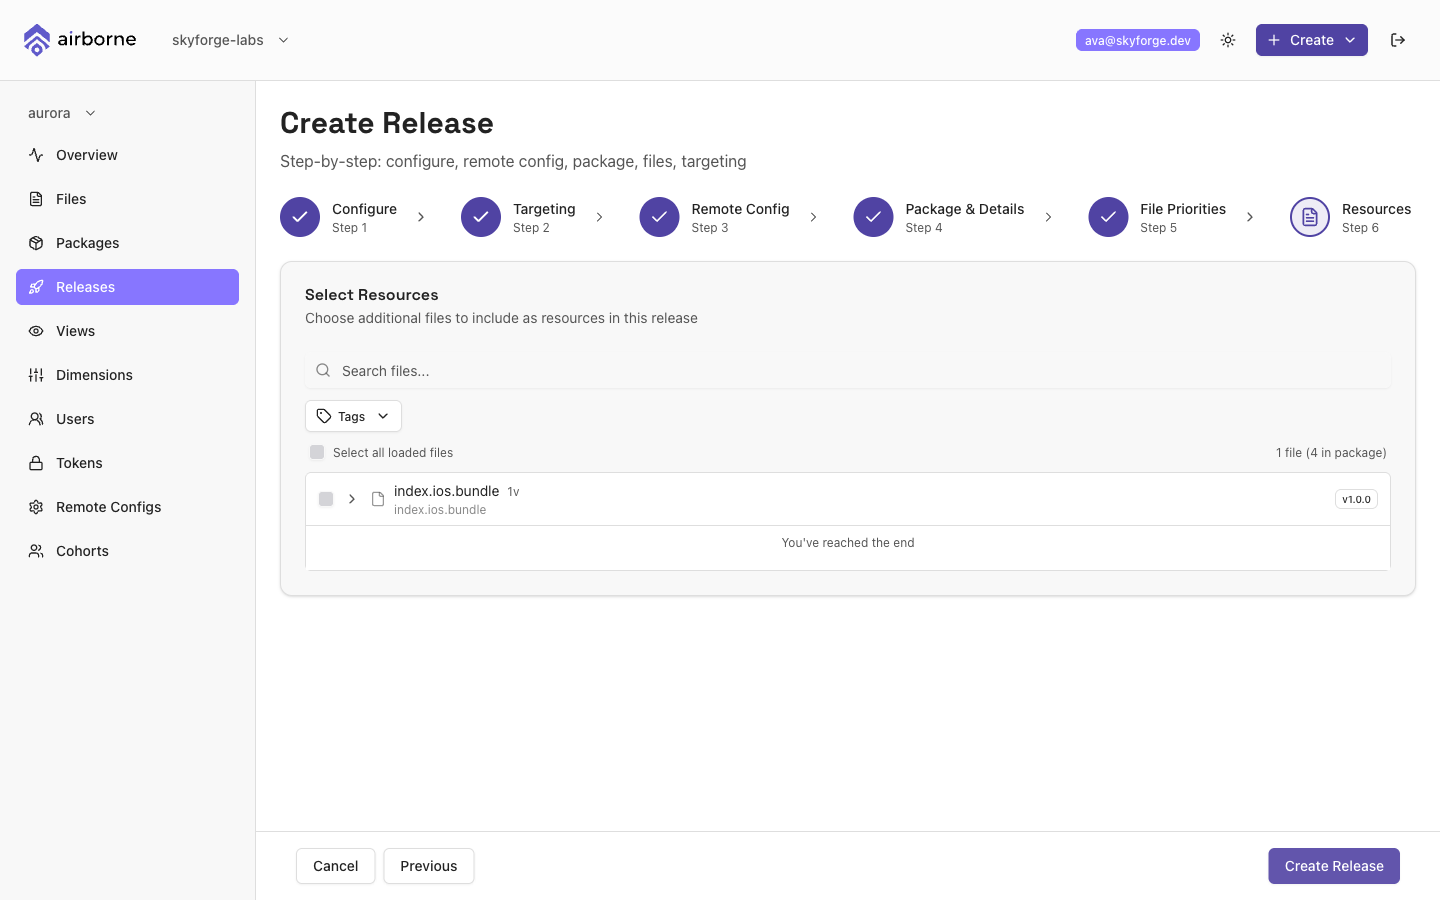
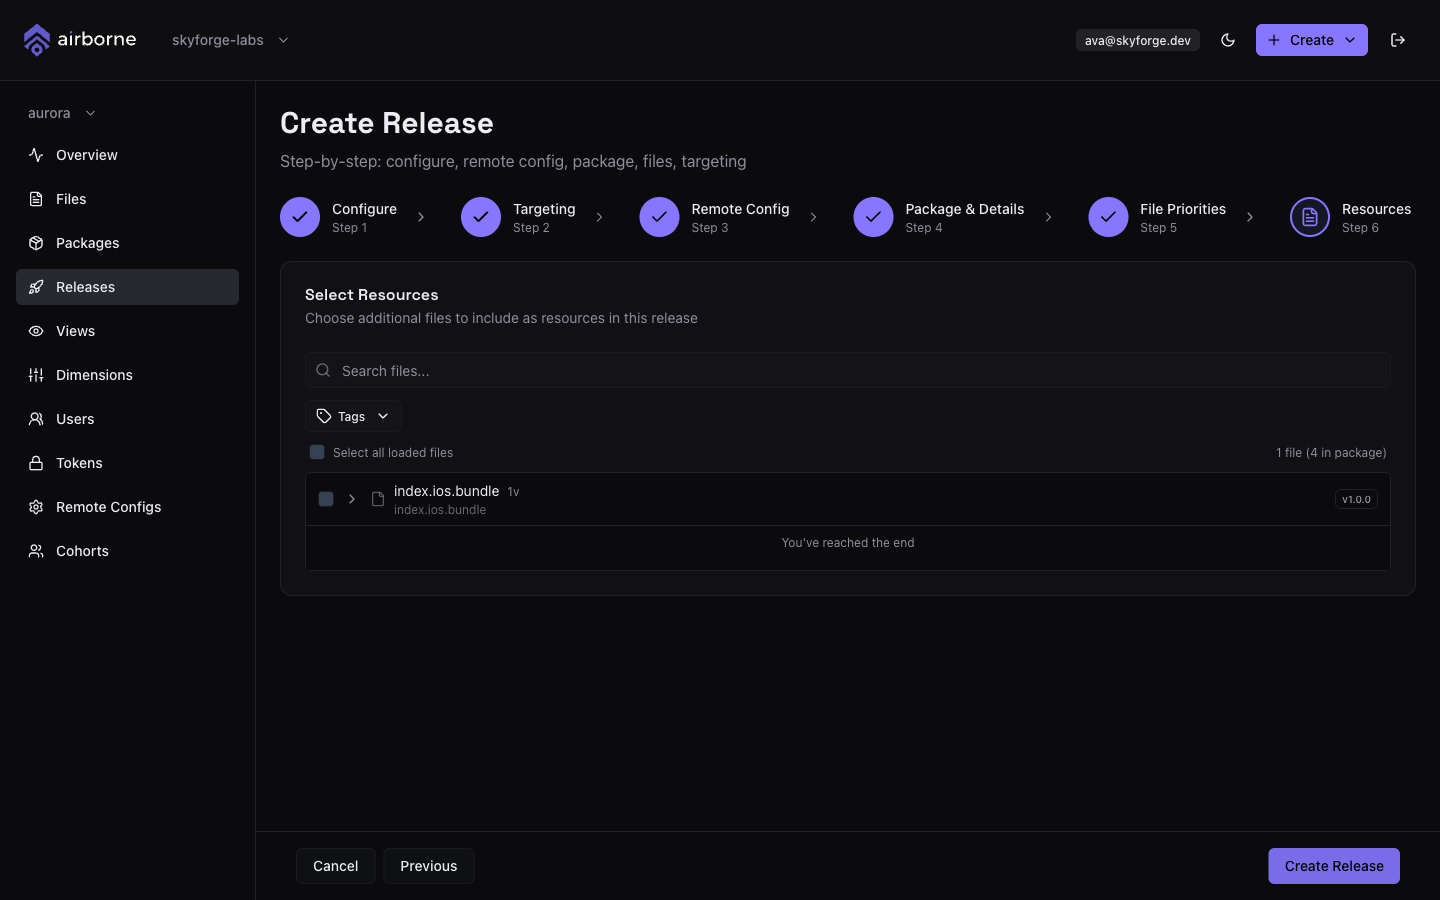
Optionally attach extra resource files to the release — additional files beyond those in the package. Select as many as you like; files already in the package are excluded from the chooser.
Confirming
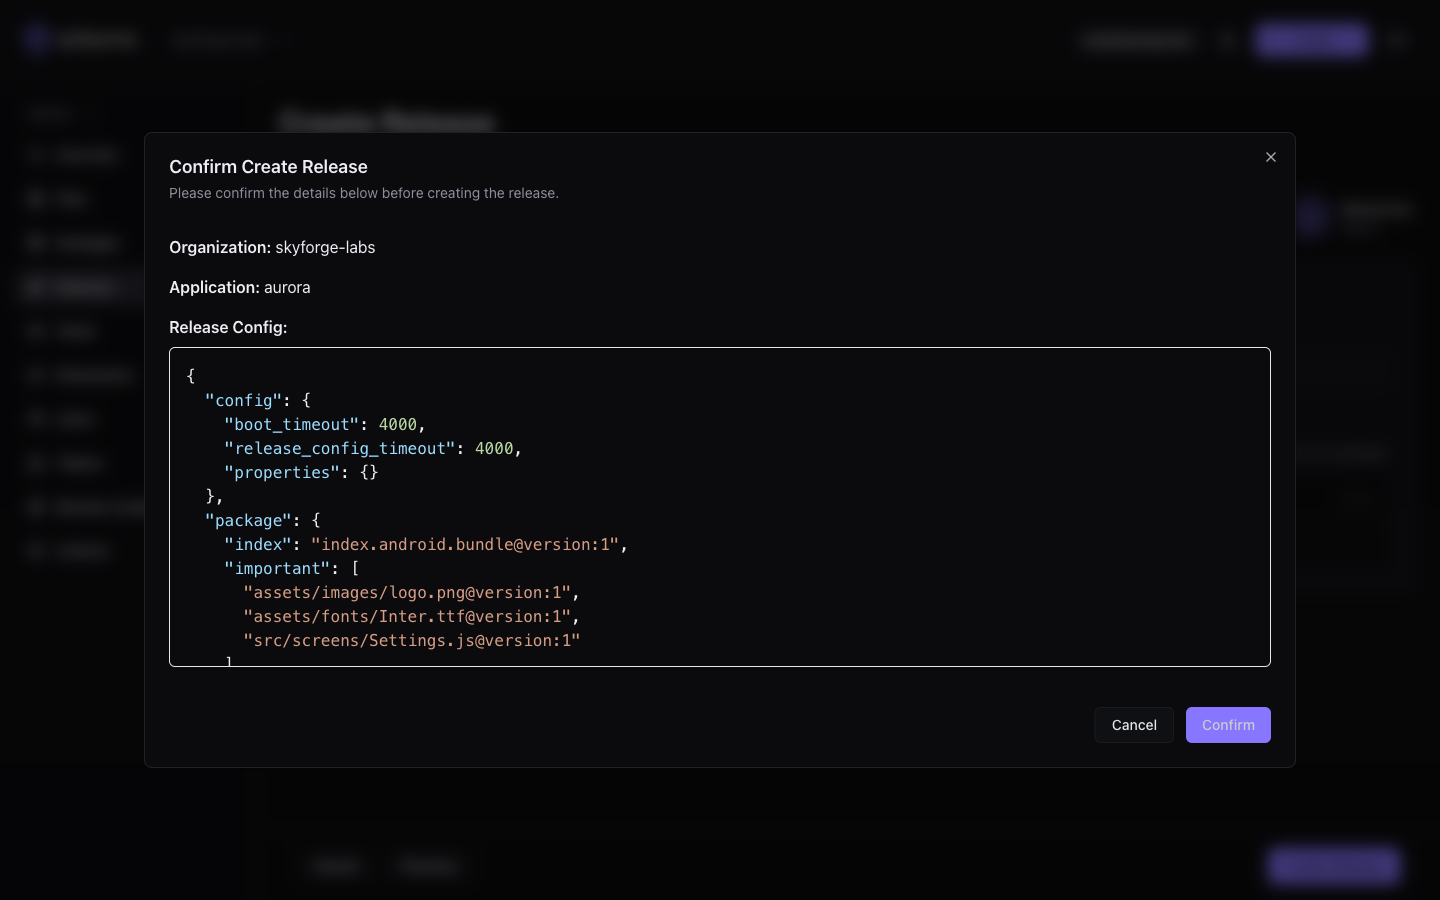
On the final step the action button reads Create Release. Choosing it opens a confirmation summarising the organisation, application, and the full release configuration as JSON.
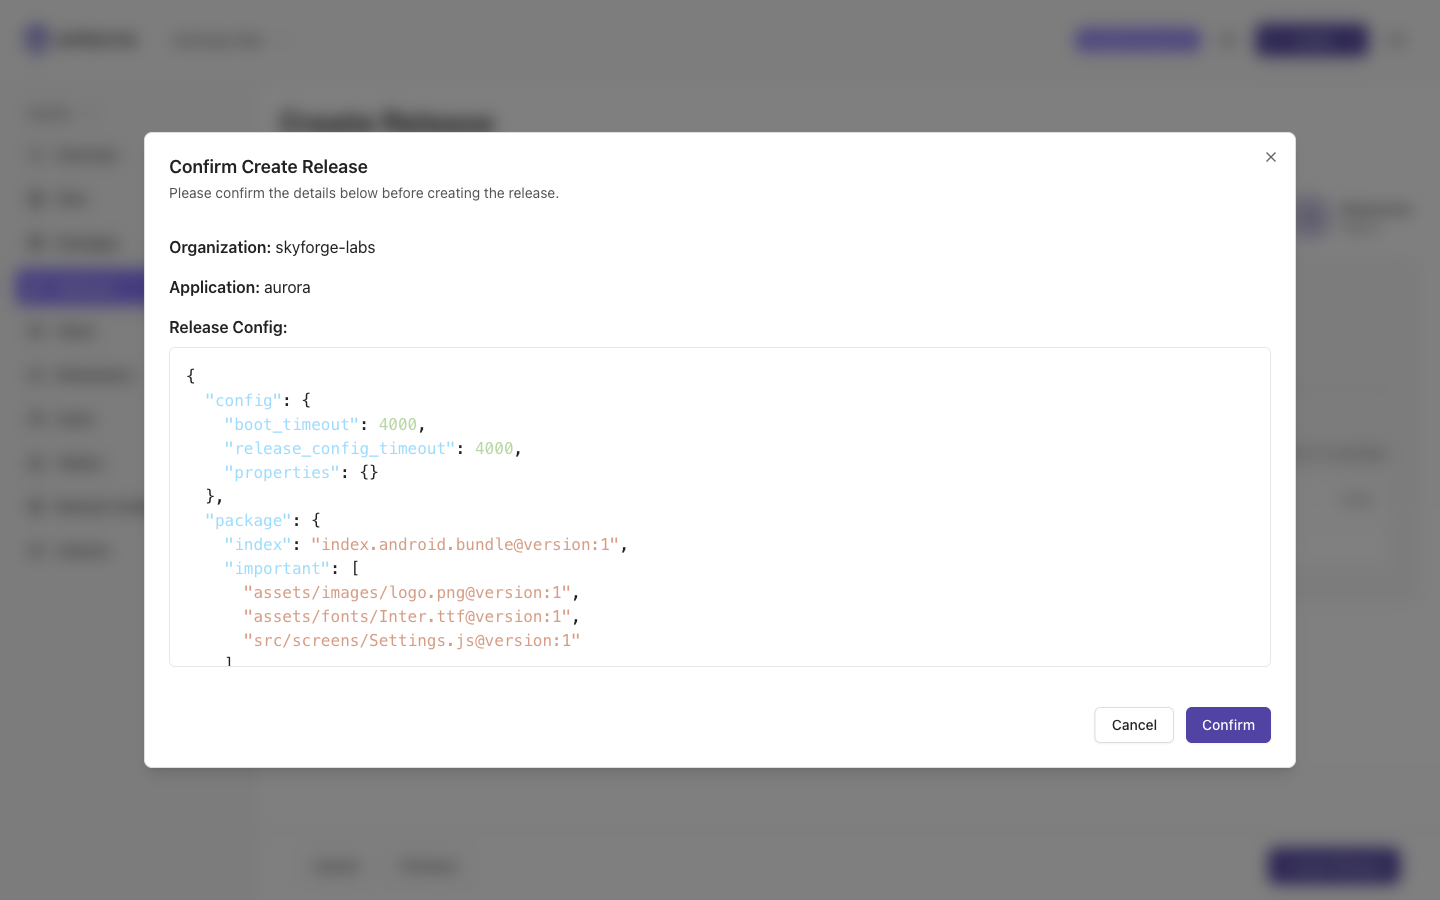
Choose Confirm to create the release. You land back on the Releases list with the new release in the Created state, ready to roll out.
The release detail page
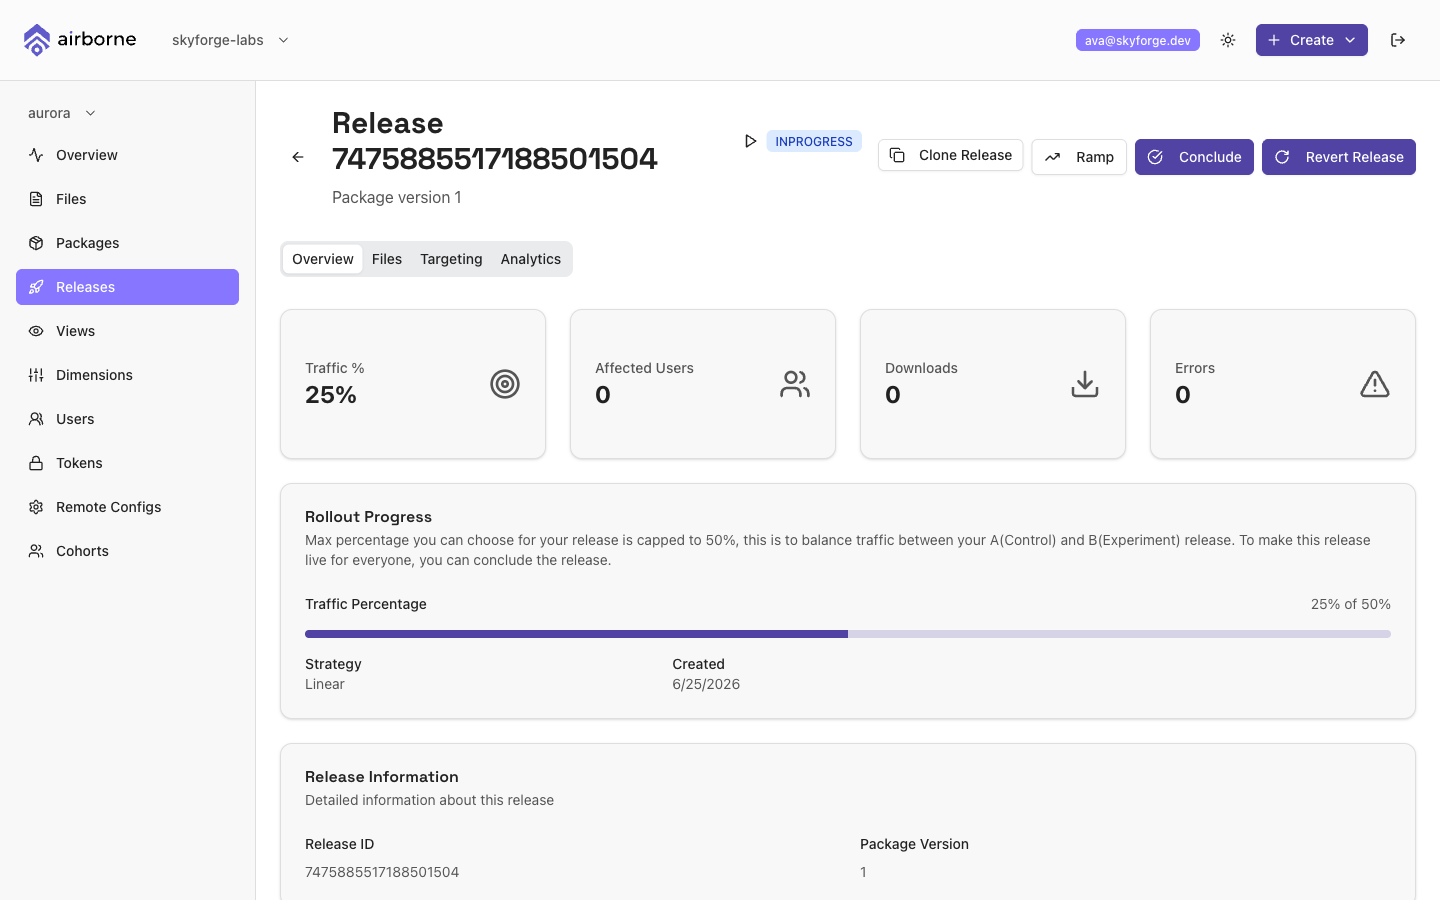
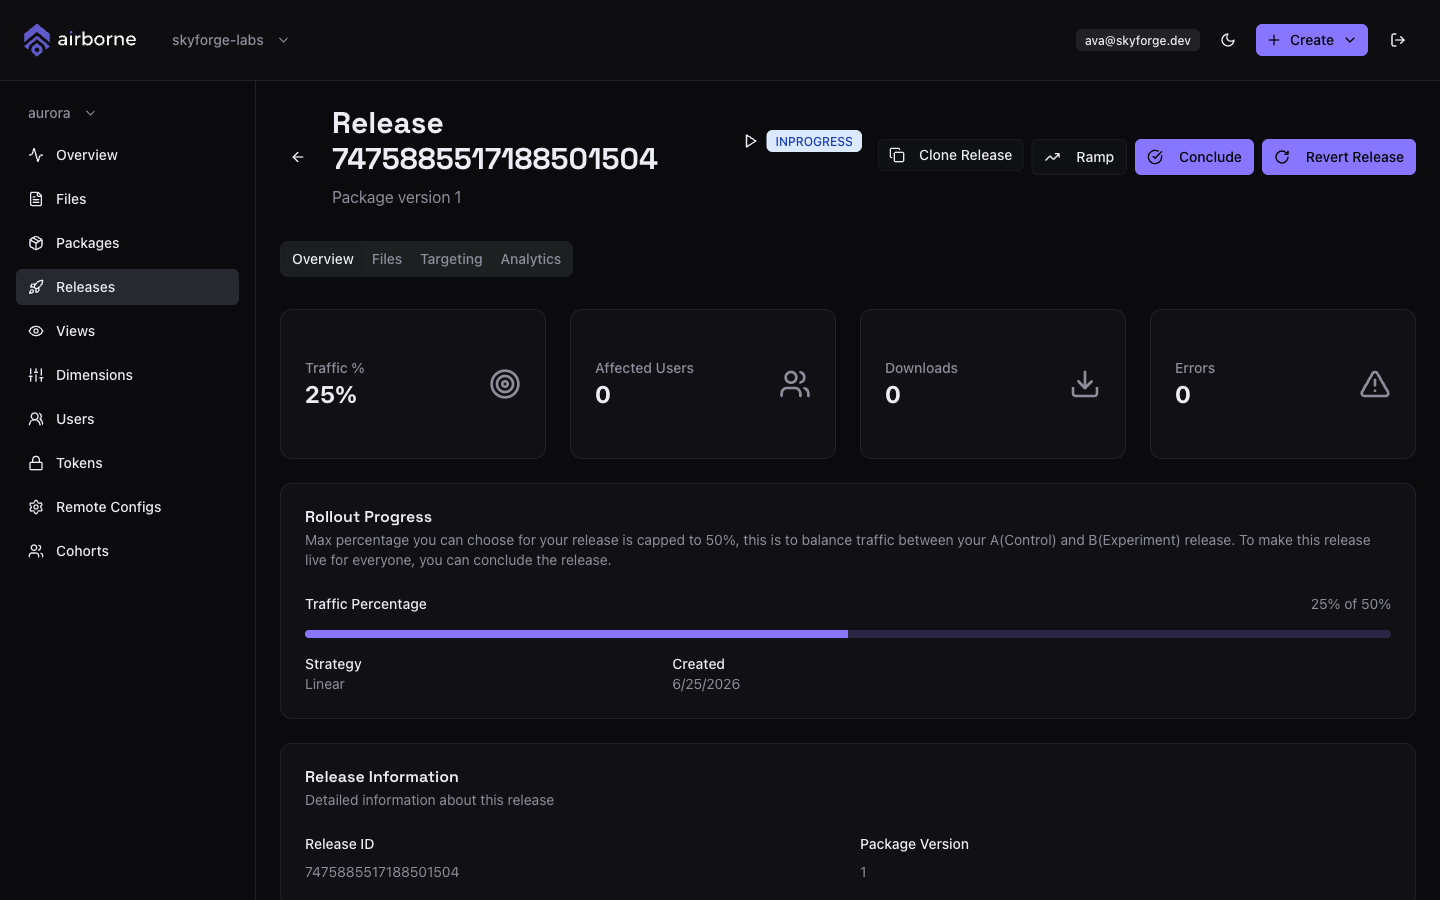
Click any release to open its detail page, which has four tabs and a row of lifecycle actions.
Overview tab
The Overview tab leads with four headline metrics:
- Traffic % — the share of eligible users currently on this release.
- Affected Users — how many users it reaches.
- Downloads — how many times its files have been downloaded.
- Errors — errors reported against it.
While a release is Created or In Progress, a Rollout Progress card shows current traffic against the target (for example 25% of 50%) with a progress bar, plus the rollout strategy, creation date, and status. The tab also shows the release ID, package version, and the full release config as JSON.
Files tab
The Files tab lists the Package Files and Resource Files in the release — each with its path, URL, checksum, and (for package files) whether it is important or lazy.
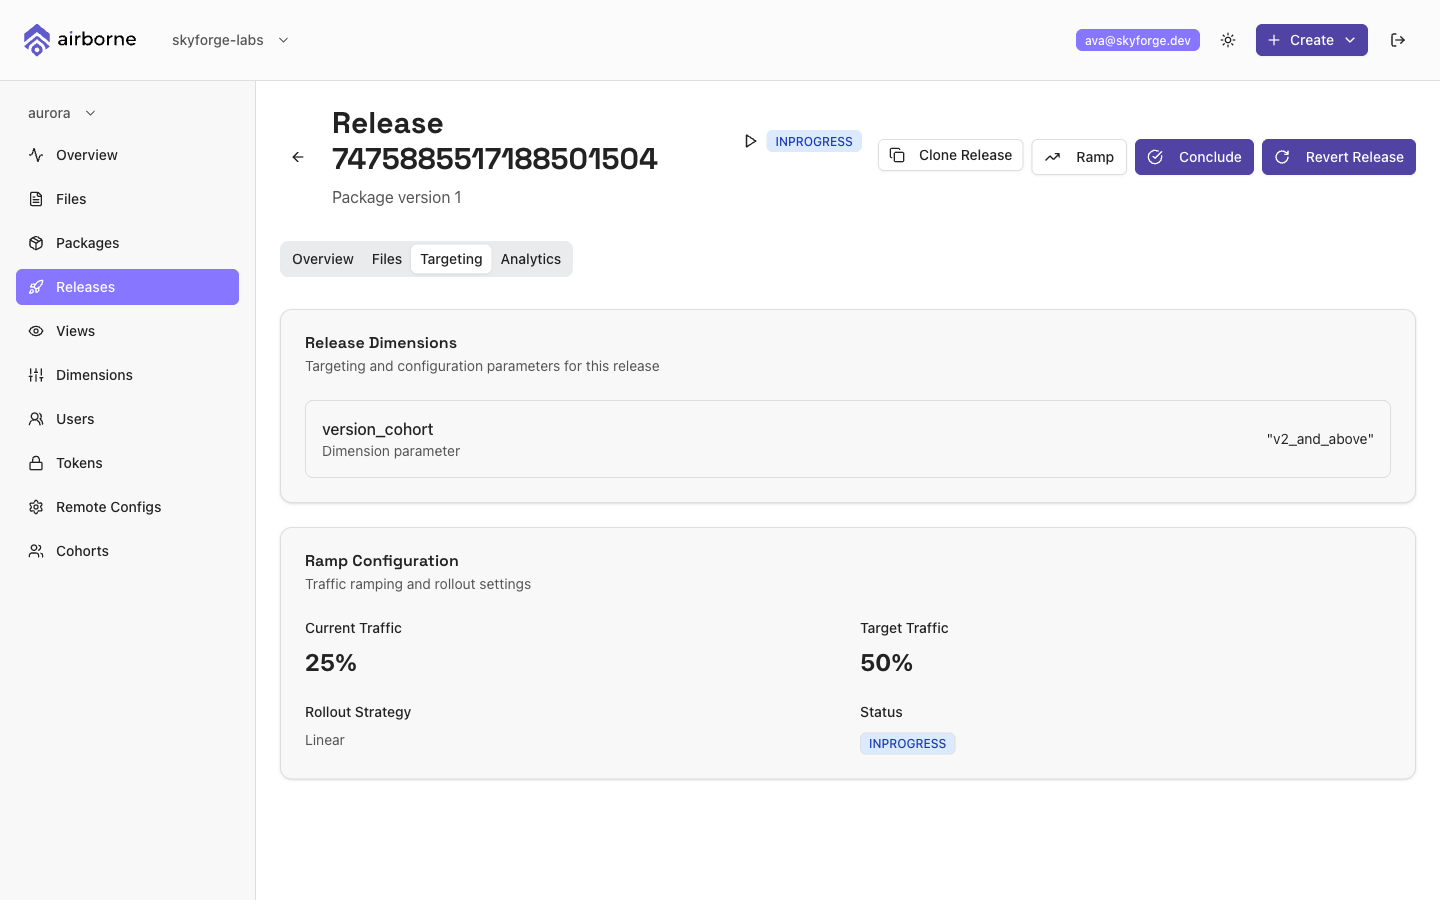
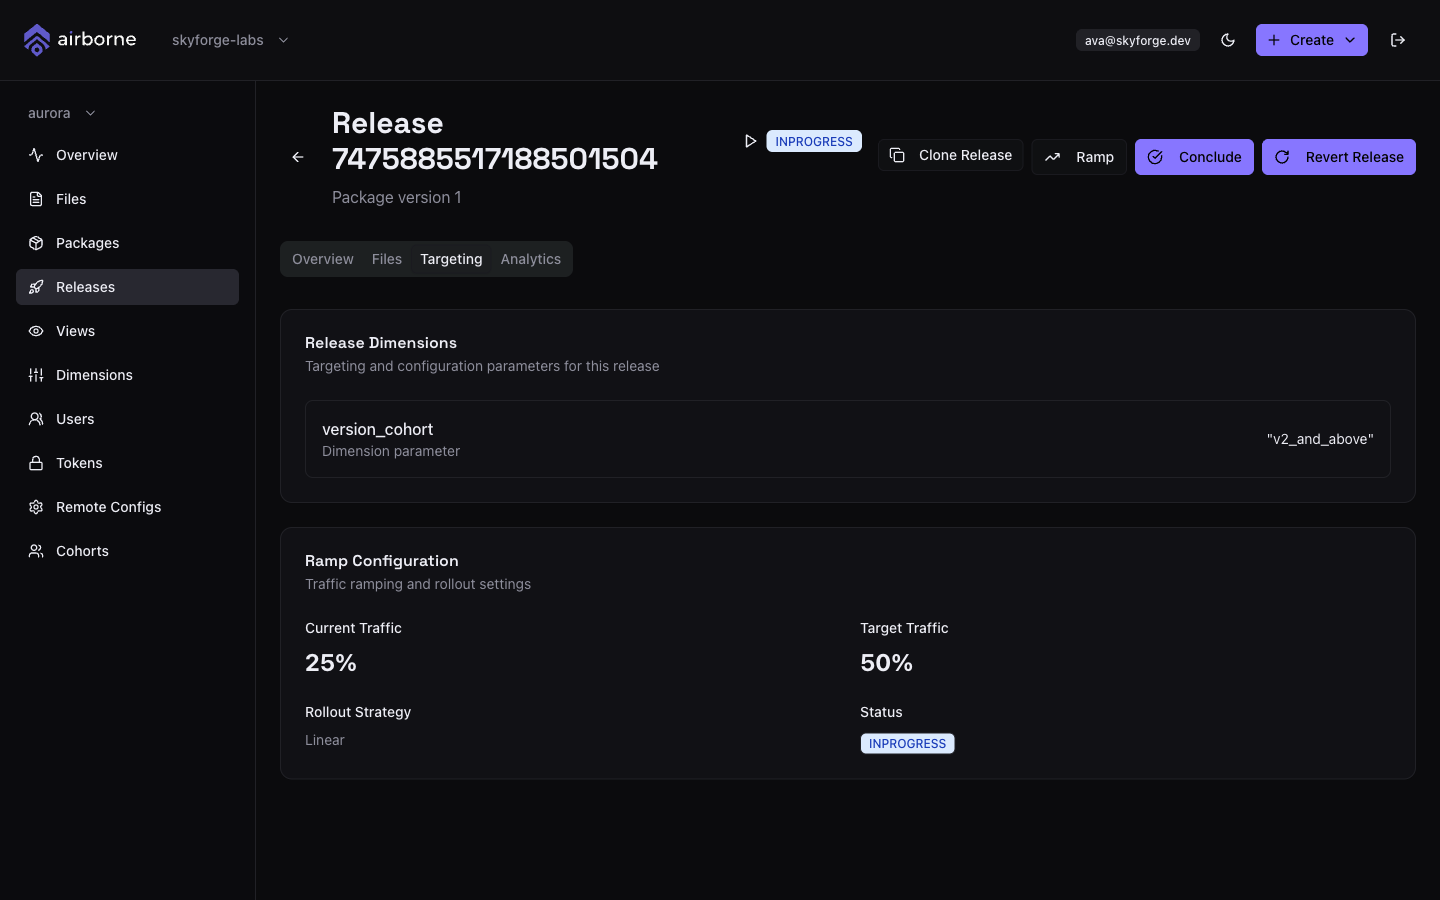
Targeting tab
The Targeting tab shows the Release Dimensions (the targeting rules as key/value pairs) and the Ramp Configuration (current vs target traffic, strategy, and status).
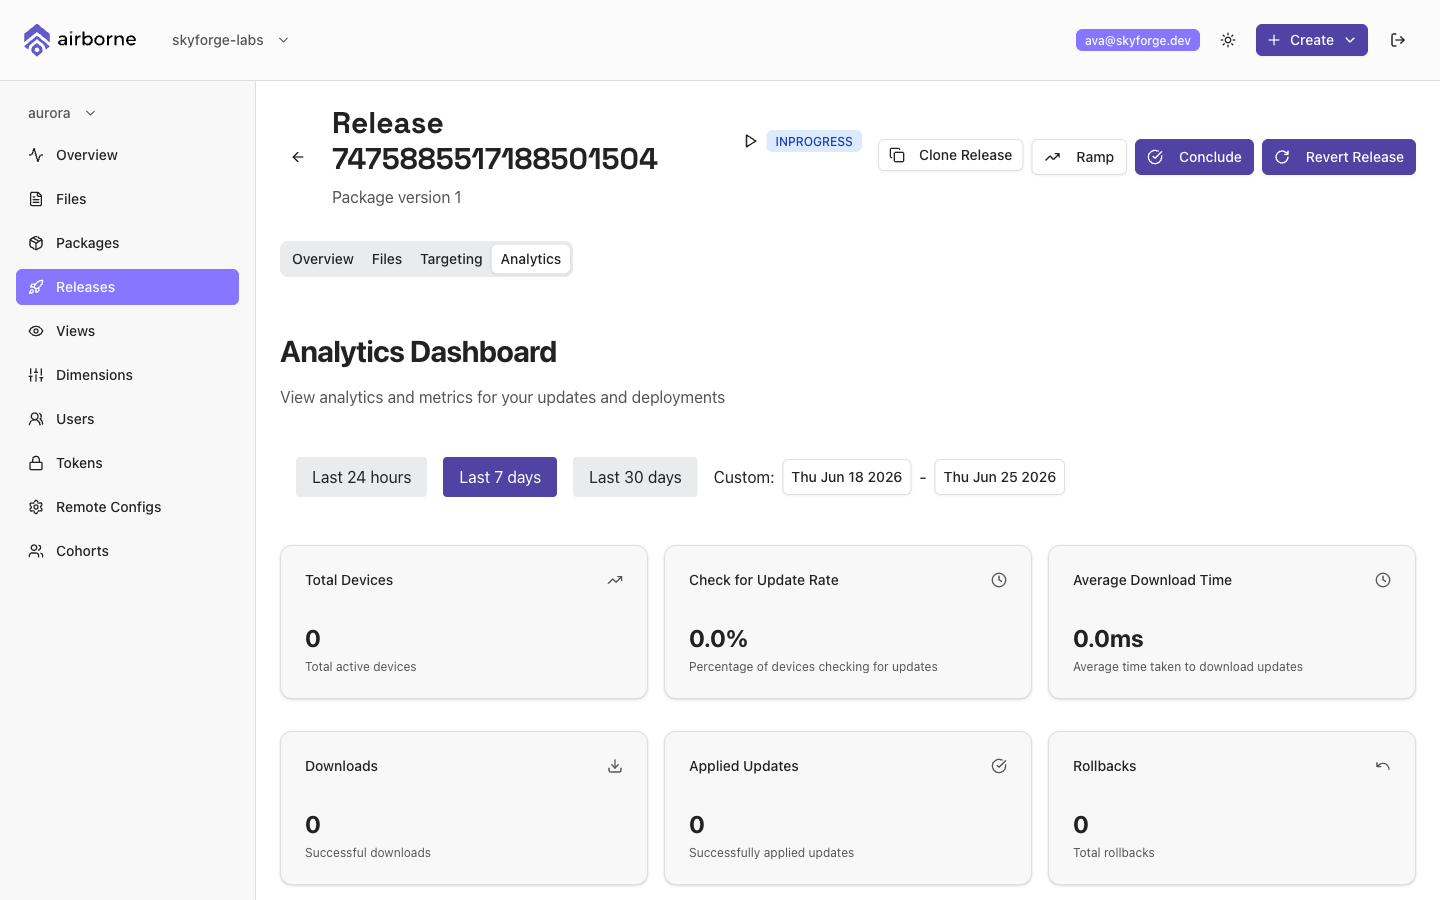
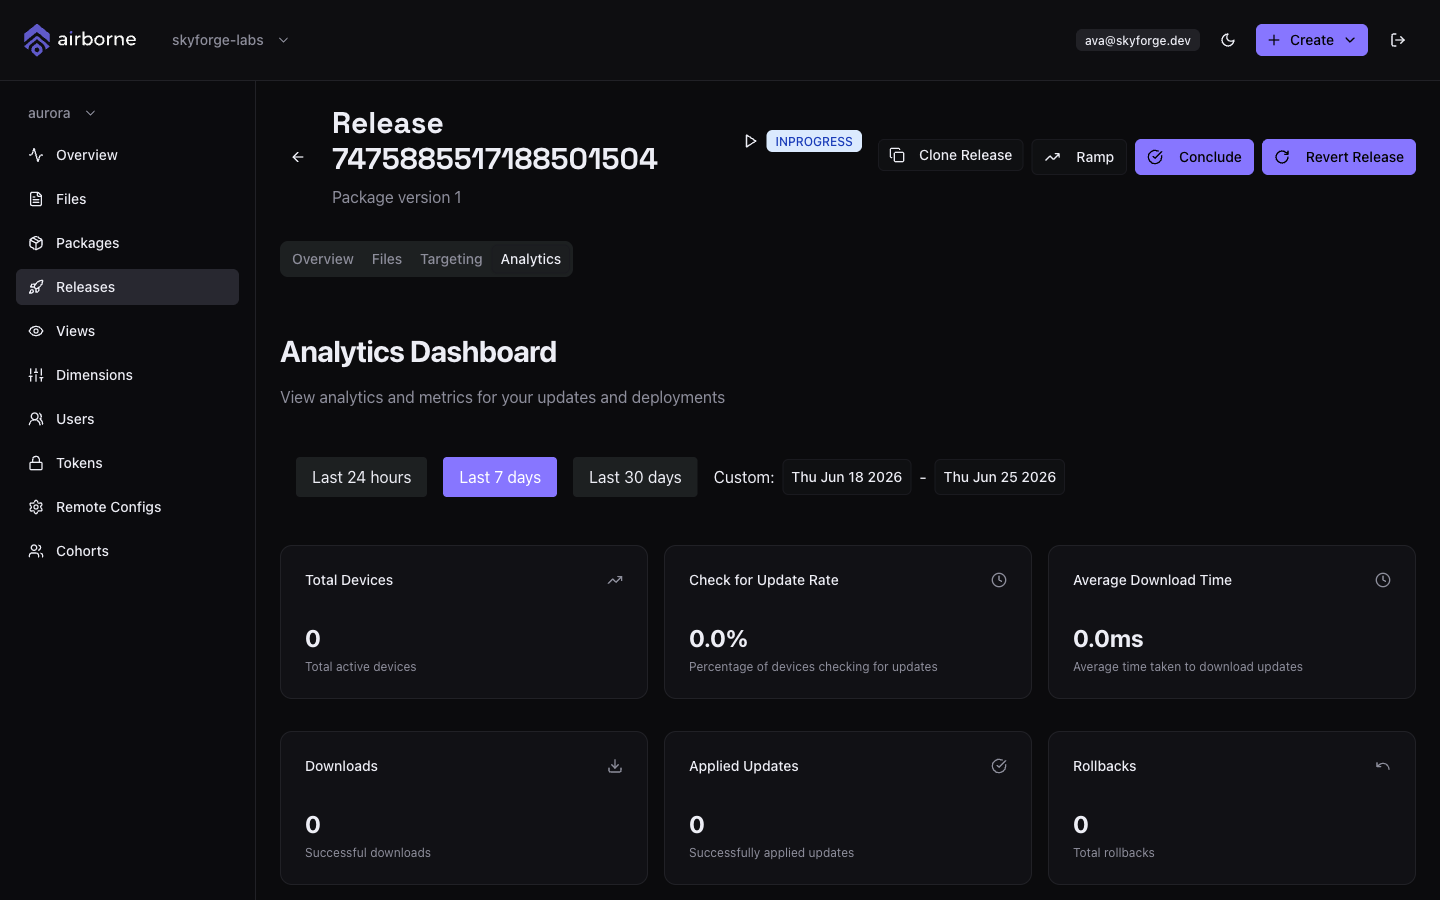
Analytics tab
The Analytics tab charts the release's performance over time.
The release lifecycle
A release runs as an experiment with two arms — a control (your existing experience) and an experimental arm (the new release). You roll the experimental arm out gradually and then make it permanent. The actions available depend on the release's status:
Ramp
While a release is Created or In Progress, choose Ramp to set how much traffic it receives.
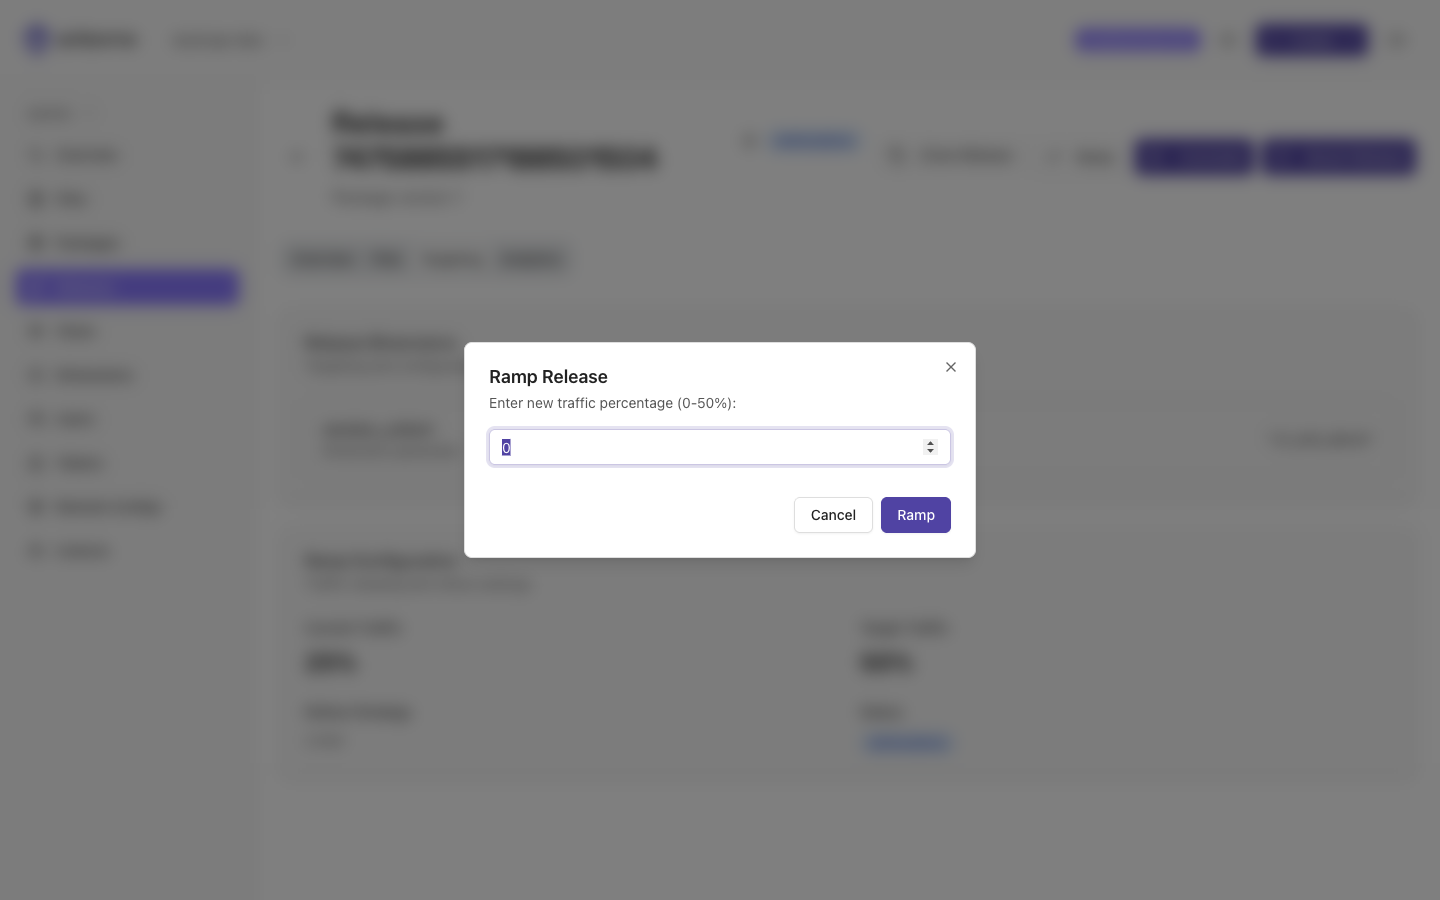
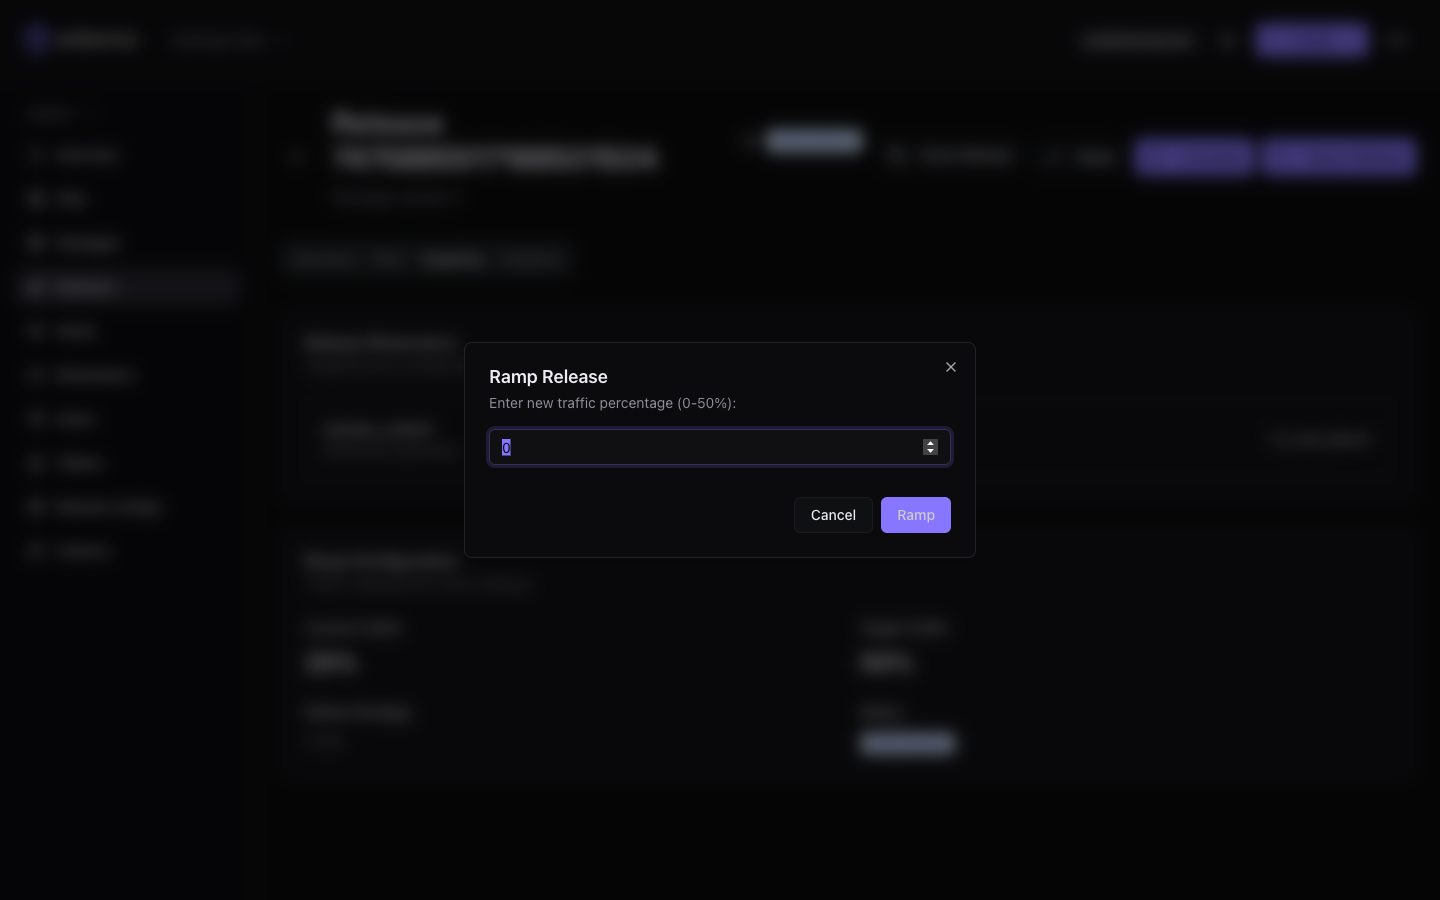
Enter a new traffic percentage and confirm. Ramping is capped at 50% — this keeps traffic balanced between the control and experimental arms so the experiment stays valid. Ramp up in steps, watching the metrics each time.
Conclude
When you are confident, choose Conclude (available while In Progress). This rolls the release out to 100% of users and finalises it — the experimental arm becomes the experience for everyone.
Revert
If something looks wrong, choose Revert Release (also available while In Progress). This concludes the experiment on the control arm instead — effectively rolling back to the pre-release experience. This cannot be undone.
Discard
While a release is still in the Created state (not yet ramped), choose Discard to abandon it. This also cannot be undone.
Clone and Edit
- Clone Release opens the wizard pre-populated with this release's full configuration — timeouts, targeting, remote config, file priorities, resources, and package — so you can tweak and ship a variant. The cloned wizard's final button is Create Release.
- Edit (available while
Created) lets you adjust a release that hasn't rolled out yet. Note that targeting cannot be changed when editing — clone or create a new release to change who is targeted.
Conclude, Revert, and Discard are final and cannot be undone. Ramp gradually and watch the Errors and Affected Users metrics before concluding.